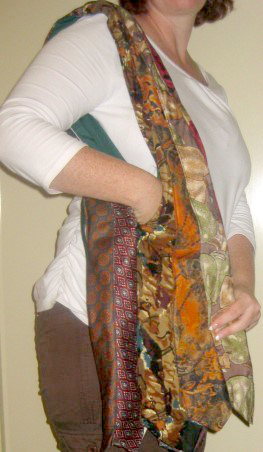
What you need
Sewing Machine
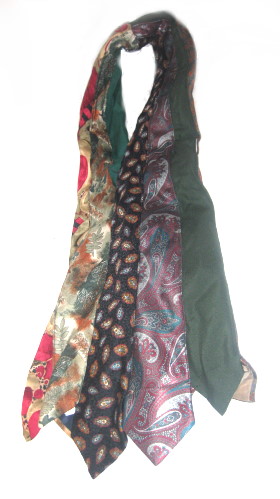
10 or more Neck ties
Optional lining/backing fabric
Instructions
Side of Bag (make 2)

Cut 16″(40 1/2) cm off the top of each tie. This gives you your bag or length drop. Measure how far you want your bag to hang before cutting.
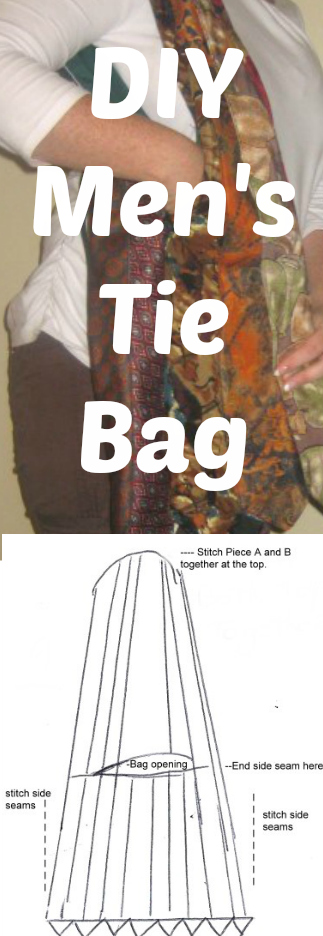
Lay 5 ties side by side and stitch together as shown to form one side of the bag. You can overlap or the ends ones to form the shoulder width. If you only want a thin shoulder strap, cut the ends of the ties down till you reach your desired width.
Begin by pinning the ties together and then sewing the if you wish for stability you can stitch them onto a lining or backing fabric. Calico works well.
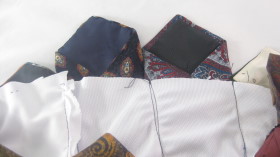
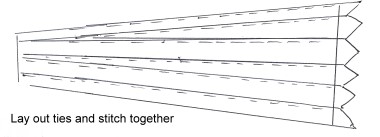
You will need to make 2 sides so repeat above.
Once you have both side panels created, sew them together as shown by stitching the two shoulder strap ends together.
Turn the bag inside out and sew the side seams leaving enough space for your arm and hand to get into the bag. Around 15 inch worked well.
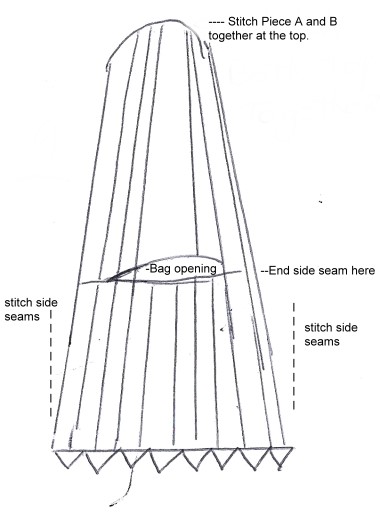
Next is to finish off the bottom of the bag. You have 2 options curved or straight.
Curved. Leave the bag inside out and sew a curved edge from side to side to form the base. Cut off any excess tie ends and turn right side out.
Straight. Turn the bag right side out and sew along the bottom. We created our bottom seam around 2″ from the bottom so that our Pointed recycled neck tie ends could flap at the bottom.
All done!


I think it’s cool. At least people still make things on their own whim instead of going streamline and only doing what’s cool. Keep crafting! Original crafting always stands out to people in a good way, it shows motivation and imagination.
Can’t wait to make this!!
eww gross. UGLY
Mmm… not sure about this one.
I’m sorry to whoever created this bag, but I have to agree with another comment I saw…This bag is ugly!
i like your idea! thak you for putting in your time to share this! this is really awesome! THANKS!
that is really ugly.