
What you need
Toy filling/wadding
Fabric
Felt
Broomstick
Chopstick
Size – 12 ” (30cm)
Instructions
Start off by printing the various patterns. There are three and you need to print all of them. Each pattern page should be sized to fit flush on an A4 sized papers.
Felt Witch On A Broomstick Pattern 1
Felt Witch On A Broomstick Pattern 2
Felt Witch On A Broomstick Pattern 3
Boots
Sew 2 pieces together with blanket stitch and black thread. Fill with wadding down into the toe. Cut out the boot top and set aside for later.
Hat
Sew both brim pieces together with a blanket stitch in black thread.
Sew the cone shape (top) by sewing down the two straight sides. Fill with wadding. Stitch the cone to the brim and stitch around the edge with blanket stitch.
Body
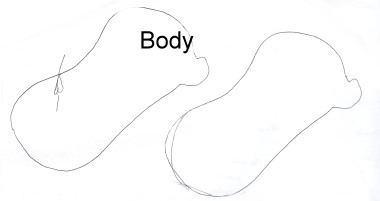
Stitch around the body with your machine or hand stitch. Leave a small opening for turning and filling at the top of the head as this will be covered by the hat. Fill with wadding and stitch closed.
Cheeky Surprise
Take a stitch at the back of the body and take the thread (on the outside) and pull it tight. This will form the bare bottom look.. Fasten off underneath.
To make the chin stand out make a stitch just above the chin and pull tightly. Make 2 tight stitches where your eyes will be and fasten off your thread on the head under the hat area.
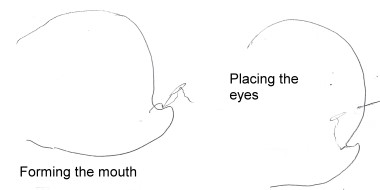
For the mouth, take your needle under the fabric and come out where the eyes will be. Make an indentation on one side then take the thread under the fabric and do the second eye. Fasten off.
Nose
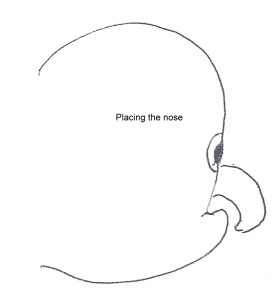
Stitch around the nose and turn right way, fill with wadding.
Legs
Stitch down the legs to make a tube, Turn and fill with wadding leaving one end with a small amount of filling for wrapping into the boot.
Wrap some thread around the thin end, this will be pushed into the boot.

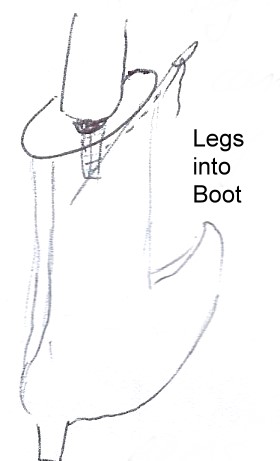
Stitch the legs into place with the band section at the shoe end. When both legs are stitched into place add the boots.
Do this by pushing the wrapped area down into the boot top. You will need to snip a small hole into the boot top piece to push the wrapped end into.
Secure with stitches then sew boot top to remaining part of shoe as shown.
Arms
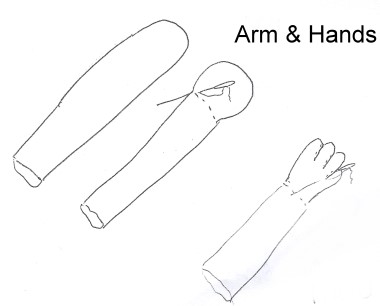
Stitch both arms like the legs only stitch across at one end. This forms the hand area.
Cape
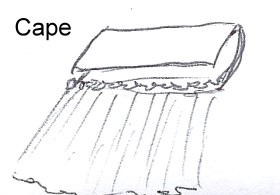
To make the cape take your large pattern piece and hem along one long side. and the two small sides. Gather along the other long side and gather up with a running stitch until it fits the top band pattern piece.
Sew in place and fold over the band section to cover up the stitches. Sew up the sides. Make a tie for the cape with either ribbon or cord. then tie around witches neck.
Broomstick
You can pick up small brushes at discount stores that look like broomstick bristles. You could use plastic brush if that was all that you could find.
Wrap the brush end around a chopstick and secure with glue and wrap with ribbon or cord if you want to hide the join.
Pop your witch on top and secure with glue.
All done!




LOVE this! Thank you so much for sharing.