This version uses easy-to-find ingredients and a simple painting technique that even non-artists can master. I’ll walk you through every step, plus give you a few creative variations so your bath bombs will always stand out.
Get more details about this project
What you need
For the bath bombs:
- 1 cup baking soda (softens water, helps fizz)
- 1/2 cup citric acid (fizzing magic)
- 1/2 cup cornstarch (makes bombs silky in the tub)
- 2 tbsp Epsom salts (relieves tired muscles)
- 2 ½ tbsp sweet almond oil (or other light carrier oil)
- 3/4 tbsp water (distilled if possible)
- 15–20 drops rose fragrance oil or essential oil
- A few drops polysorbate 80 (optional, helps oils disperse in water)
- Bath bomb moulds (sphere or floral shapes work well)
For the painted design:
- Mica powder in rose pink, deep red, and leaf green
- 99% isopropyl alcohol
- Fine-tipped paintbrush
- Small mixing palette or egg carton wells
Instructions
Step-by-Step Instructions
Step 1 – Mix the Dry Ingredients
In a large mixing bowl, whisk together the baking soda, citric acid, cornstarch, and Epsom salts. Break up any clumps — smooth texture is key for even fizzing.
Step 2 – Combine the Wet Ingredients
In a small jar, mix the almond oil, fragrance or essential oil, polysorbate 80 (if using), and water. Give it a quick shake.
Step 3 – Bring it All Together
Slowly drizzle the wet mixture into the dry mixture, whisking constantly. Go slow to avoid activating the citric acid too soon. You want the texture of damp sand — it should hold together when squeezed in your hand.
Step 4 – Mould the Bath Bombs
Pack the mixture firmly into your moulds, pressing each half together tightly. Gently tap them out and place them on a tray lined with baking paper. Let them dry for 24–48 hours in a cool, dry spot.
Step 5 – Prepare Your Paints
In separate wells of your palette, mix each mica colour with a small amount of isopropyl alcohol to form a thin paint. The alcohol will evaporate quickly, leaving just the shimmering colour behind on your bath bombs.
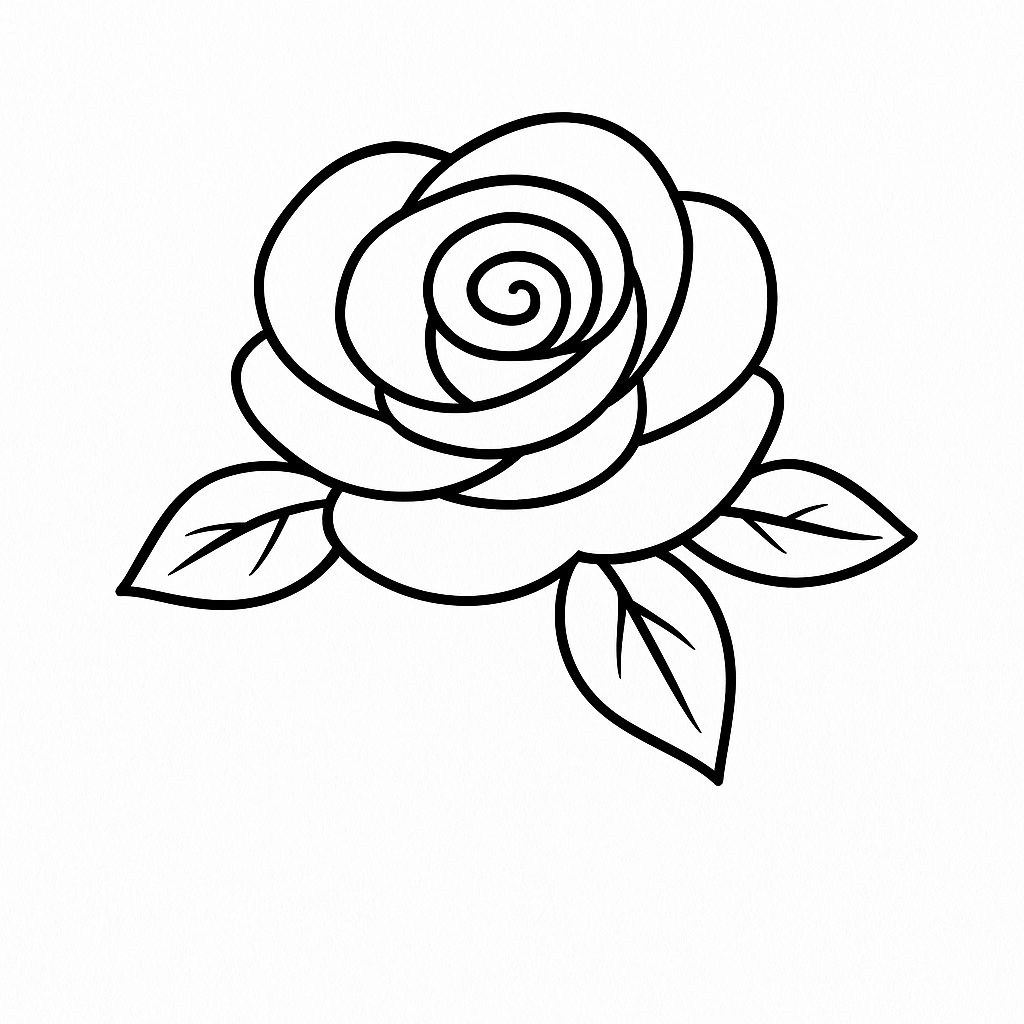
Step 6 – Paint Your Roses
Using the fine brush, start with a base of rose pink petals, layering deep red for depth, and finishing with a few green leaves. Don’t aim for perfection — loose, soft strokes make them look more organic.
Step 7 – Let the Paint Dry
Allow painted bath bombs to dry for another hour before wrapping or storing.
- Store in an airtight container to keep them fresh and fizzy.
- For gifting, wrap in clear cellophane and tie with a blush pink ribbon. Add a little “Handmade with Love” tag for that boutique touch.
Creative Variations
- Lavender Blooms – swap the rose oil for lavender essential oil and paint tiny purple sprigs.
- Peony Pastels – use peach and pale pink mica for a soft, romantic look.
- Metallic Accents – add gold mica edging to petals for a luxe finish.