What you need
To make this string art you will need:
1) Wooden board,
2) String or embroidery thread,
3) Scissors,
4) Glue,
5) Snowflake template,
6) Nails and hammer.
Instructions
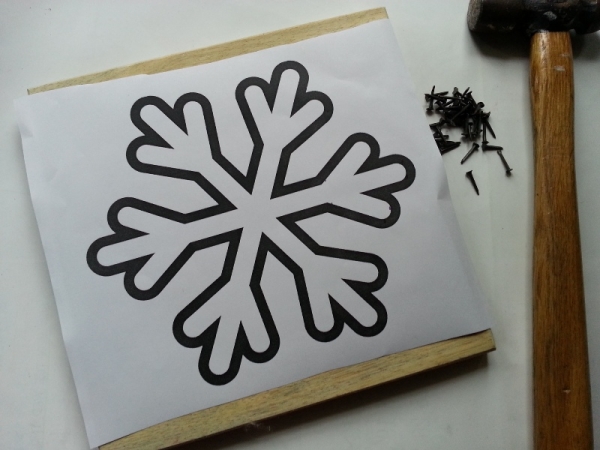
Step-1: Select a wooden board piece for your string art. It should be half an inch thick but the width and length of the board depends on your choice. Mine is 8 X 8 inches. Download and print a snowflake vector pattern. The pattern should be easy to trace. Place the printed paper (of the snowflake) on the wooden board.
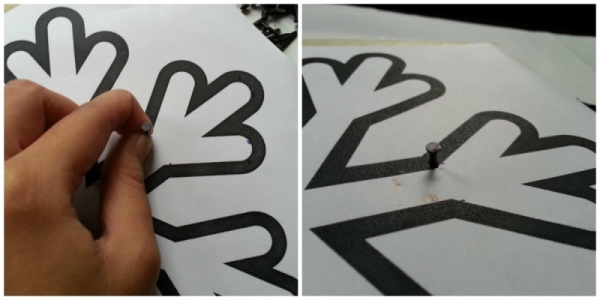
Step-2: You can mark the positions of the nails before hammering them, I think it’s better that way. Place each nail on its marked position and hammer them carefully, hammer the nails halfway into the wooden board.
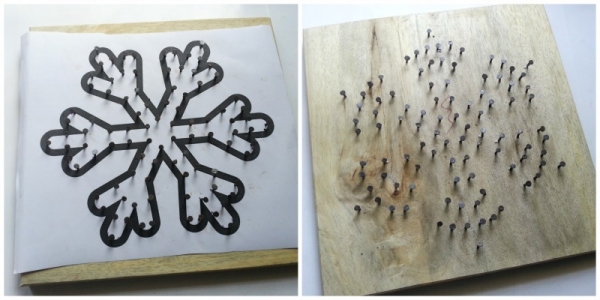
Step-3: The center and the points of the snowflake is the most important part of the design. Try to hammer nails neatly on those parts. Done hammering nails? Now rip off the template paper neatly.
Step-4: Prepare the string. Use blue or white string or embroidery thread or crochet thread. Tie a knot on any one of the nails from the sides. Better to start from a nail on the edge of a point. Choose a starting point, wrap it around a nail and tie a knot. First wrap the string or thread around the side nails to trace the main shape of the snowflake.
Step-5: Start wrapping the thread around the nails randomly but try to keep a sound pattern. Take the string towards the center. This is the fun part and I really enjoyed wrapping the thread and creating random patterns. Try to fill the whole design with the string. When you’ll reach to the end you can simply wrap the thread around a nail and tie a knot. Apply a drop of glue to secure the knot and trim extra thread. Enjoy!


I love this! But I was unable to get the download to work. Could you send it again please?
Hi Pam – we have updated the link.
Thank you for sharing this … mornin hugs!
fantastic ideas really am impressed. Please keep them coming