What you need
These are the materials you need to make your own crayon candles:
1. Crayons – Any brand will do. Do pick a wide selection of colors so you can experiment on different design and color combinations.
2. Wax – You can choose between paraffin, beeswax, or soy wax. I’ve differentiate these types of wax in the instructions below.
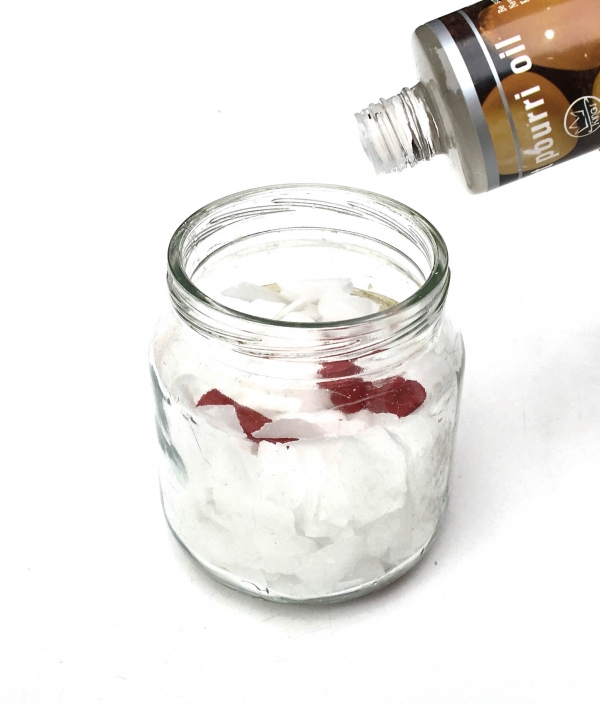
3. Fragrance oil – Choose the fragrance you like. There’s a wide selection of scents from the craft store. I used potpourri oil in amber scent for this.
4. Candle holder – Size will depend on how many layers you want and if you want to add some extra gifts there like ring jewelries. Use a clean, dry, and transparent glass as a holder. I used one that is a little bit taller and wider than a shot glass.
5. Candle Wick – Length of the wick depends on how tall your glass holder is. I usually cut wicks the same length as the glasses.
6. Glass jars – This is where you’ll melt the crayons. You can use old food glass containers but make sure they’re clean and dry. I used baby food jars for this project. You may need to use several glass jars if you’re planning to do layers.
Other materials include:
Stovetop
Saucepan
Water
Stick for stirring
Pot holder
Instructions
1. Think of a design then choose how you want to layer colors. Remember that you’re working from the bottom to the top so you have to make up your mind in terms of layering colors. Peel the crayon’s label and chop into small pieces. You could also shave it using a craft blade or cutter. You’d want the pieces to be small and thin so it will melt faster.


2. To help you choose the right wax candle, here are the main differences:
Paraffin Wax – this is probably the most commonly used wax. Most of the candles you buy in stores are made from this wax. However, some candle makers would rather use other candle wax for ethical reasons as paraffin is a byproduct of crude oil refinement (related to petroleum) which some people think of as toxic.
Soy Wax – this type of candle wax has become a go-to choice for a lot of candle makers and manufacturers. It is considered more environmental-friendly than paraffin but less expensive than beeswax. It’s also biodegradable and lengthens the burn life of your candles.
Beeswax – if you want to create a high-quality, premium candle, this is the wax to use. However, it’s more expensive than the first two waxes. Candles made from beeswax burns longer and it produces less smoke with just minimal dripping.
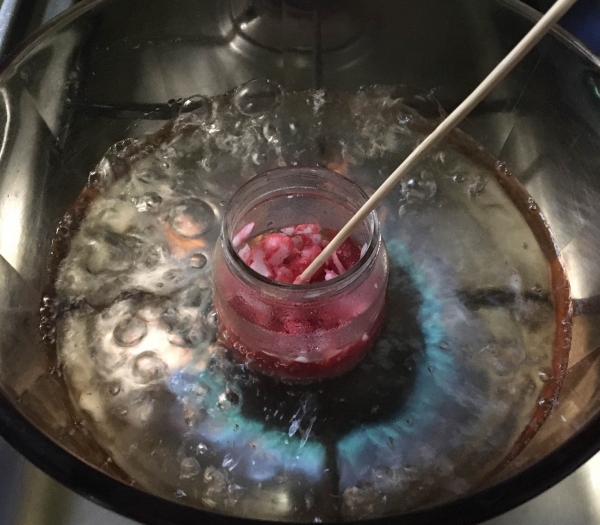
I used paraffin wax for this project. To start melting the wax, on a stovetop, set up a double boiler where you can place a saucepan filled with about two inches of water, or until the glass jar is covered half. Put the wax (flake or pellet form), small crayon pieces, and the fragrance oil in the glass jar. Place it in the middle for faster melting. Set the fire to low-medium heat and allow the water to boil, stirring the wax mixture continuously using a skewer or a popsicle stick. Stir until the wax and crayon have completely melted and well combined.

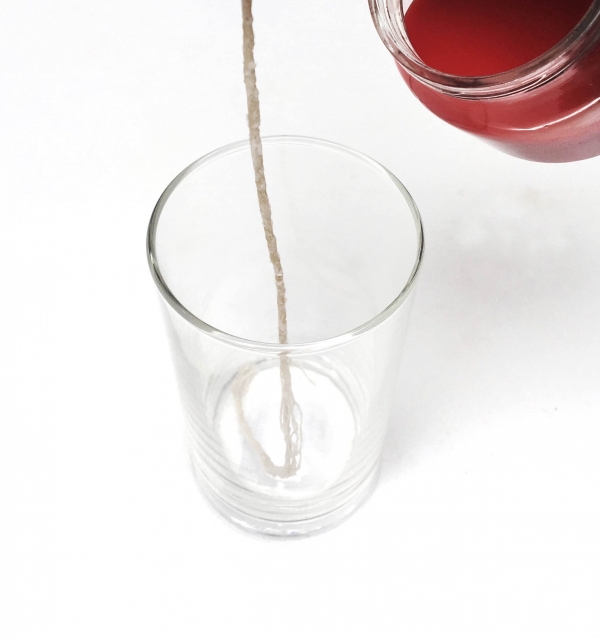
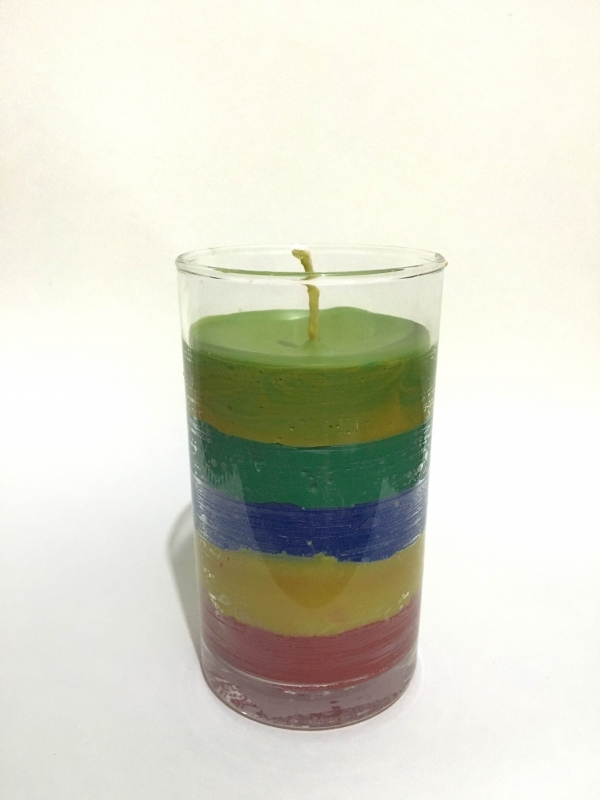
3. Now the fun part — layering! Carefully remove the glass jar out of the hot water with a pot holder and set it aside to cool just a little. Give it a minute. Set up the wick in the middle of the candle holder glass then pour the melted crayon mixture into the glass carefully until you reach your desired thickness of each layer.

Allow the wax to harden for about 30 minutes before adding another layer of color. I know it’s a bit of a work especially if you’re working on several layers. It took me a couple of hours to finish this, but the wait is worth it.
4. Repeat 2 and 3 until you finish filling up, about an inch before the rim.

Tips:
– Mark the glass jars before starting to layer for even thickness and interval.
-Create marble effects by combining two colours and lightly running a skewer to mix.
-A friend of mine who sells soy ring candles, Royal Essence, taught me to simply use aluminum foil to wrap some surprise gifts with and put it inside the candle. I’d recommend using a wider candle holder for this. So to add some surprise jewelries in your crayon candle, halfway through filling it up, place the jewelry (rings are the most common) wrapped securely with foil, before pouring the next layer.
I hope you enjoy making your own crayon candles. It takes a lot of patience but the finish product is lovely!


What do you think of this project? Let us know!