
What you need
1 yard pink cotton fabric
1/2 yard green cotton fabric
Green embroidery thread
Pillow stuffing
Sewing supplies
Instructions
For the stem:
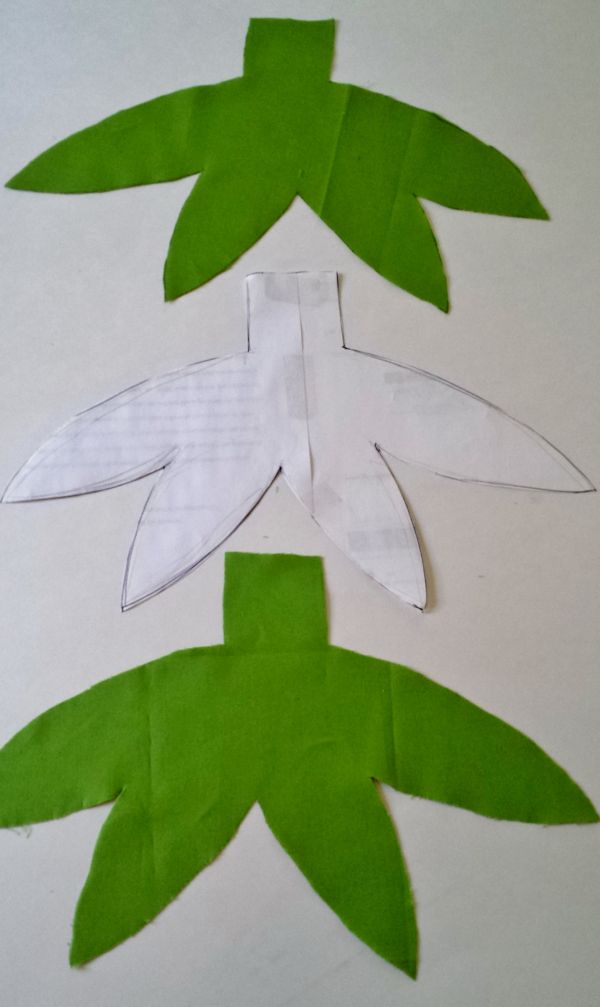
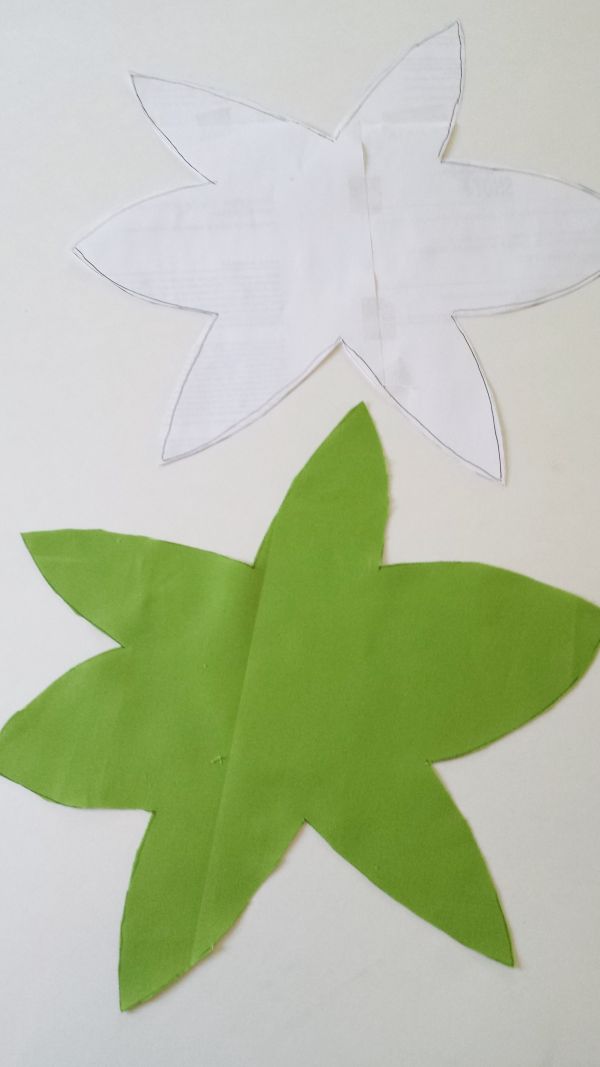
1. Sketch out a stem shape for the strawberry and cut two pieces out of the green fabric. The stem should be roughly 2 x 2 inches and the leaves should be altogether 14 inches across.
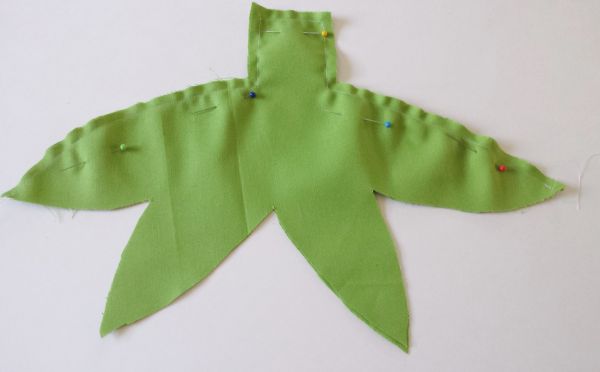
2. With right sides together, sew along the top edge of the upper leaves and around the straight lines of the stem as shown in the photo below.
3. Flip right side out and lay out, stem facing up, on a sheet of paper to sketch out the bottom piece of the stem and cut one, as shown below.
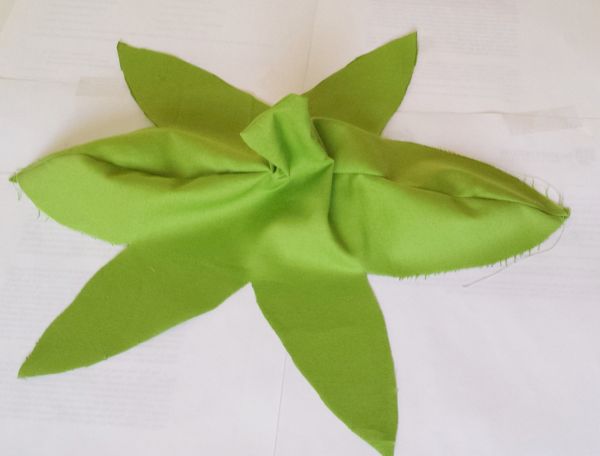
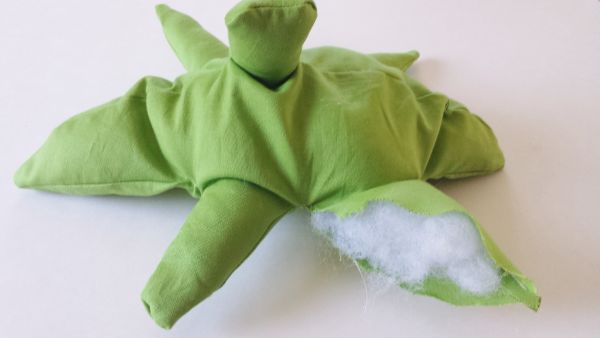
4. With right sides together, pin top of the stem to the bottom piece of the stem, tucking the top of the stem inside, and then sew completely around the piece, EXCEPT for the side of one leaf which will be used to turn it right side out.
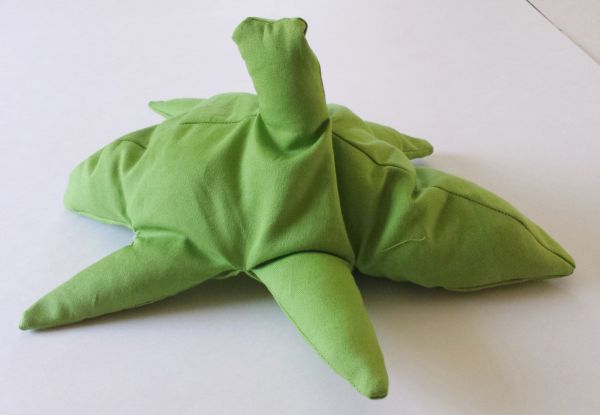
5. Turn right side out and stuff all leaves and top of stem with stuffing.
6. Hand sew the remaining side closed.
For the berry:
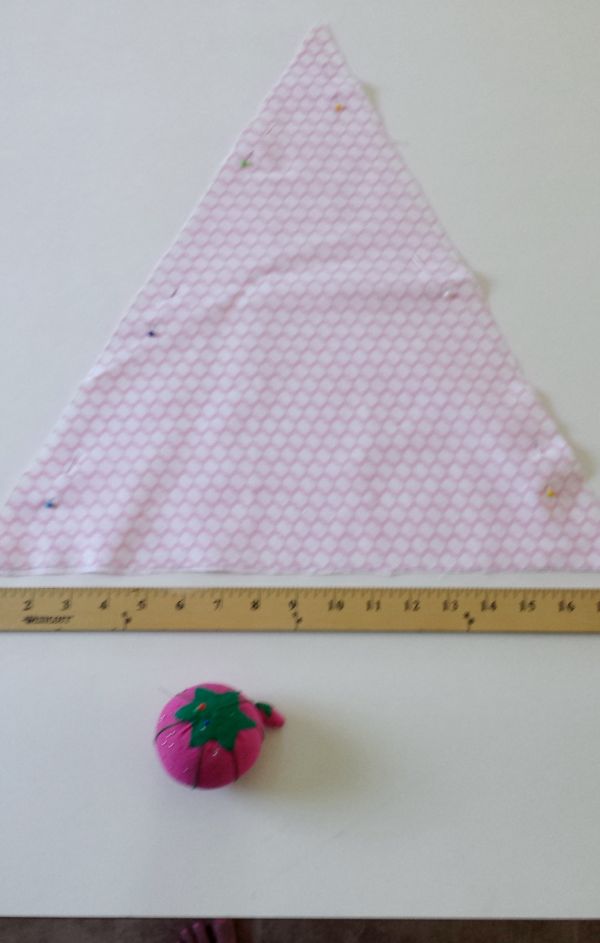
1. Cut 2 triangle form the pink fabric with an 18″ base and two equal sides.
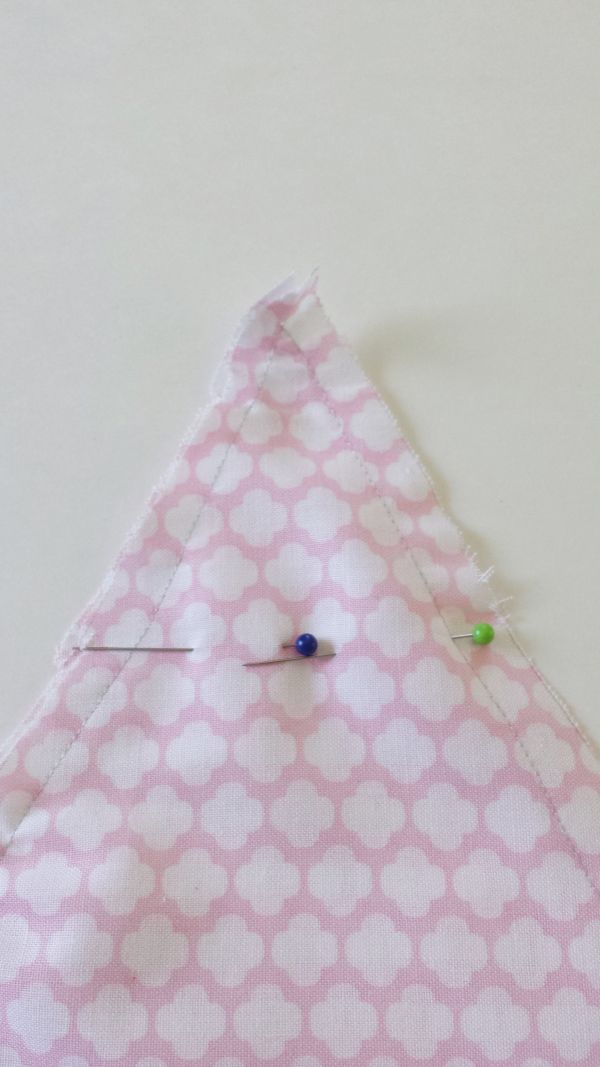
2. Sew the two long side seams and then sew a horizontal line about 2 inches from the top point.
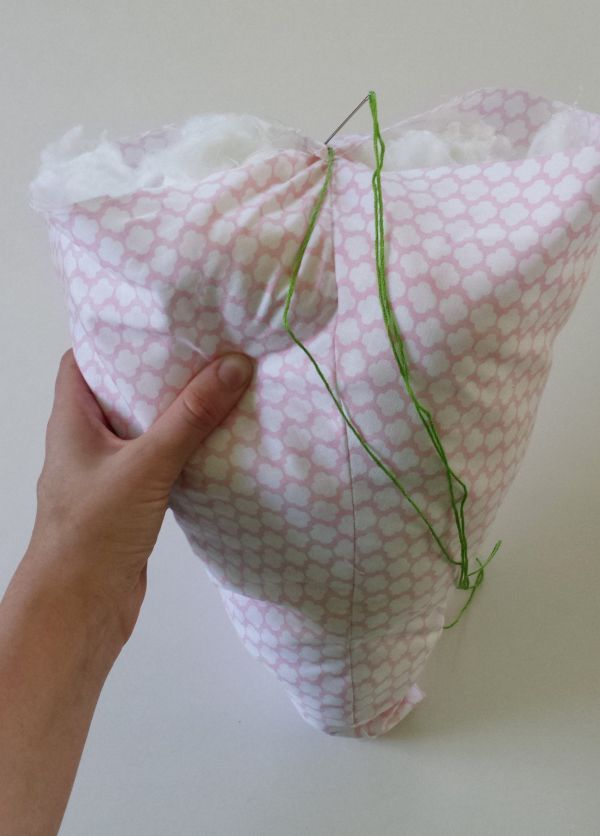
3. Stuff with stuffing.
4. Using a large needle and embroidery thread, sew the top of the berry closed, drawing in the open edges.
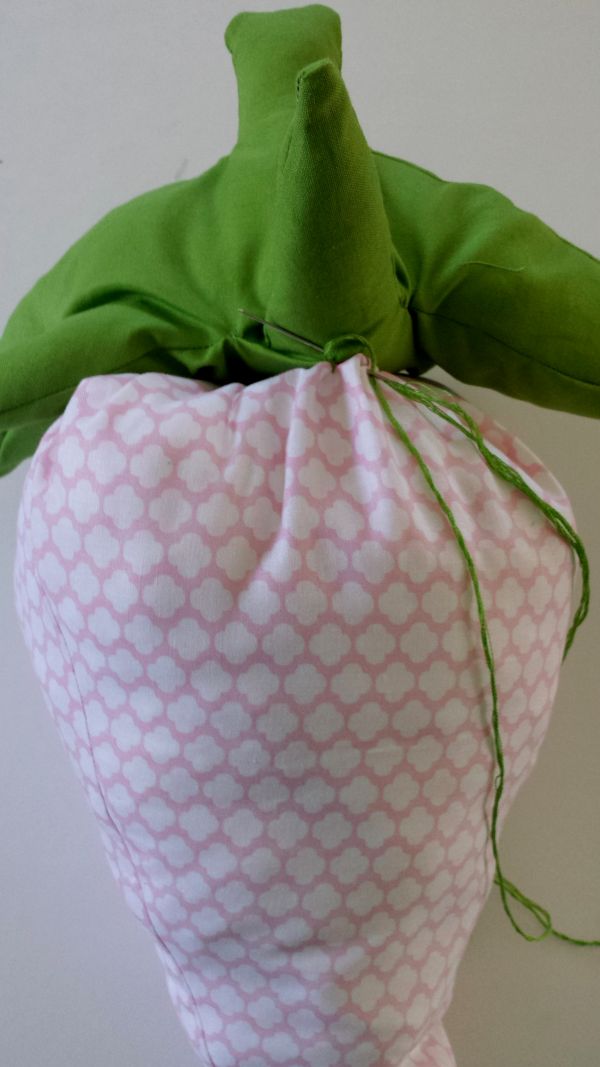
5. To assemble: continuing with the embroidery thread, attach the stem to the berry, stitching down the middle first and then attaching the leaves.
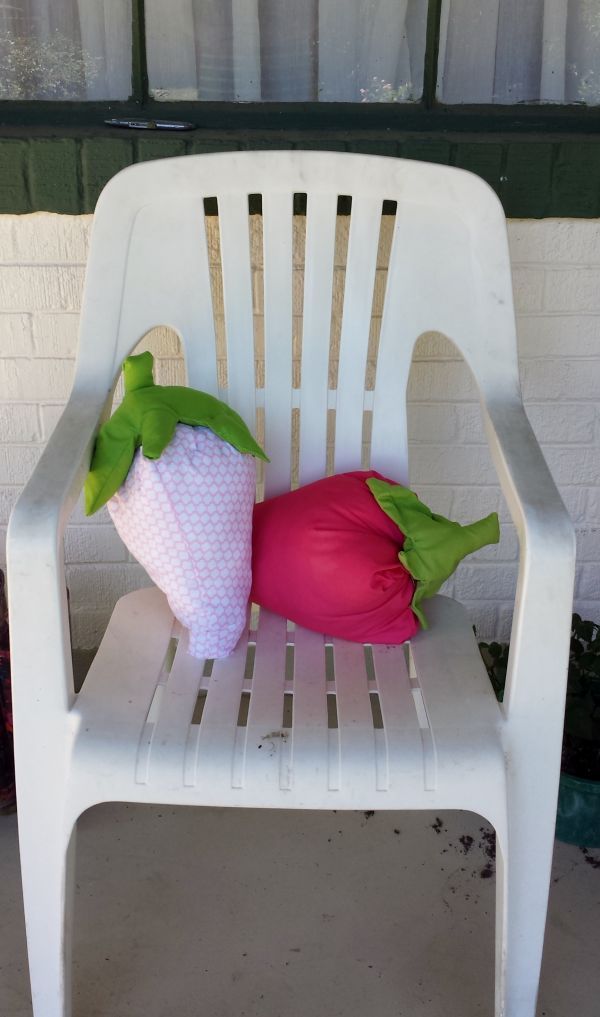
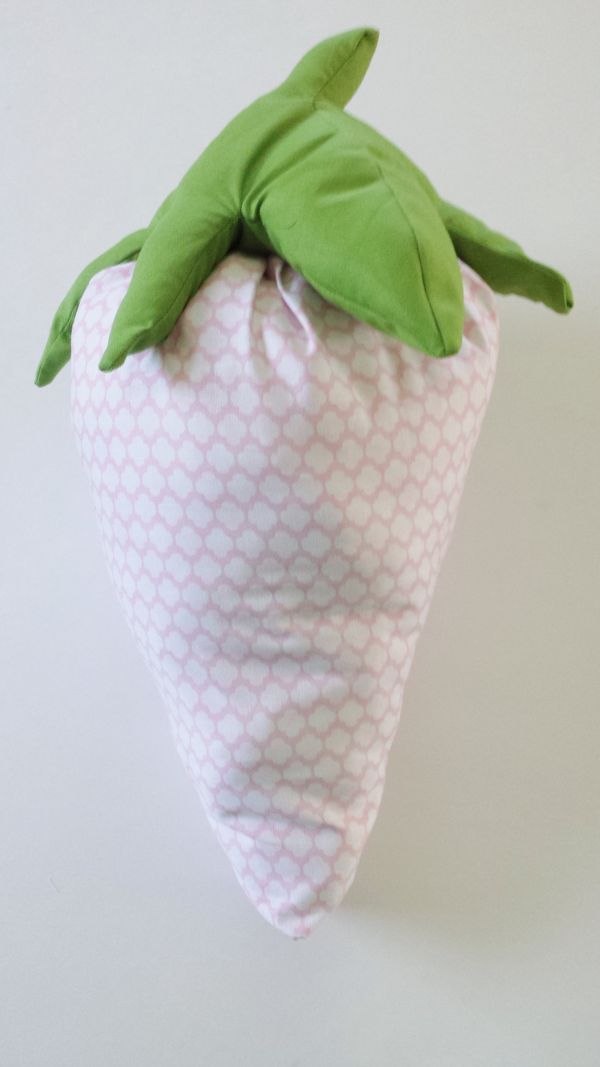
All done. What do you think?





It’s fabulous. Thank you so much for the pattern.