
What you need
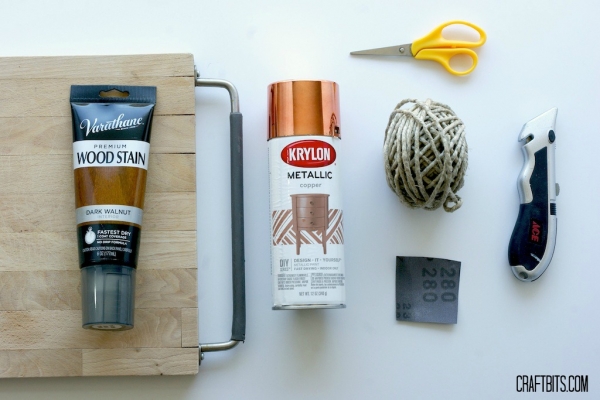
Cutting board (IKEA), rope, dark wood stain, metallic copper spray paint, scissors, exacto knife, painter’s tape, sand paper, and a hook to hang the shelf from the ceiling.
Instructions
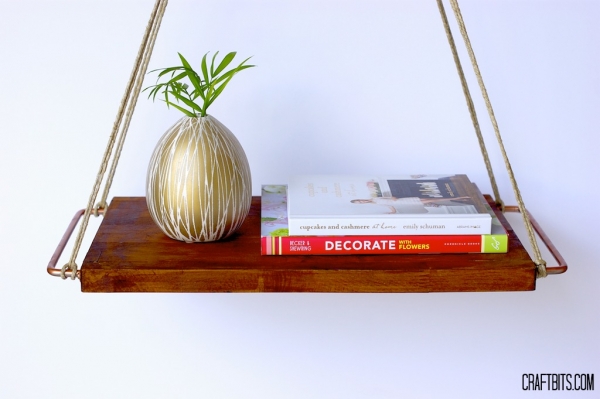
Upcycling is a popular trend in the DIY world, where old and unused items are given new life and purpose. With just a few simple supplies, you can take an old cutting board and turn it into a beautiful and functional floating shelf. Whether you’re looking to create a new plant shelf, a bedside shelf, or just a place to stack your books, this tutorial will show you how to make a stunning upcycled floating shelf in no time. Not only will you be able to give your old cutting board a new purpose, but you’ll also be doing your part for the environment by giving new life to a previously discarded item. So, if you’re ready to add some charm and character to your home, grab a few supplies and let’s get started on this upcycled floating shelf tutorial!
Gather supplies:
Painter’s tape and ceiling hook not pictured.
Sand down the board before applying dark walnut wood stain using cloth or rag.
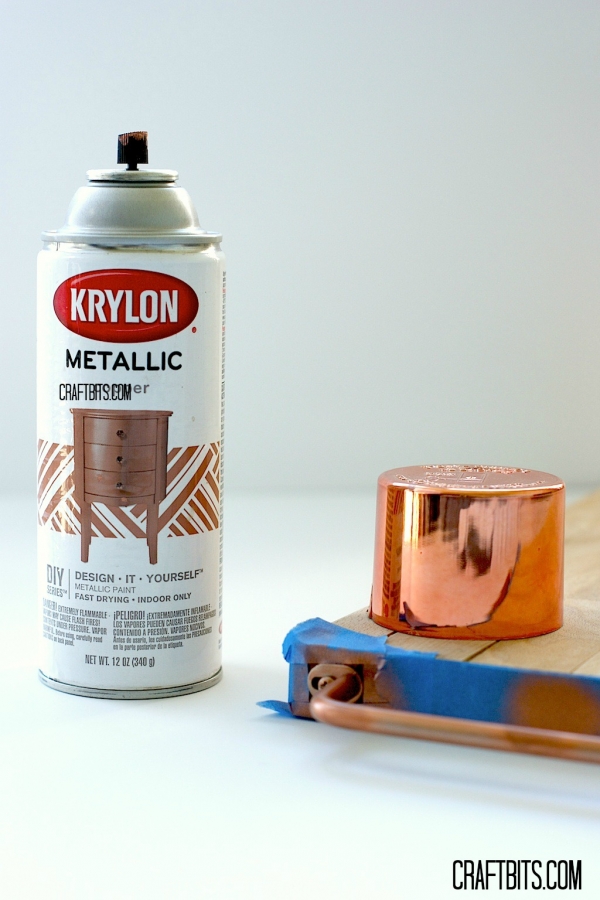
The handles were covered so I used an exacto knife to cut away the rubber covering the handles. I then covered the wood board with painter’s tape and spray painted the hardware with metallic copper spray paint.
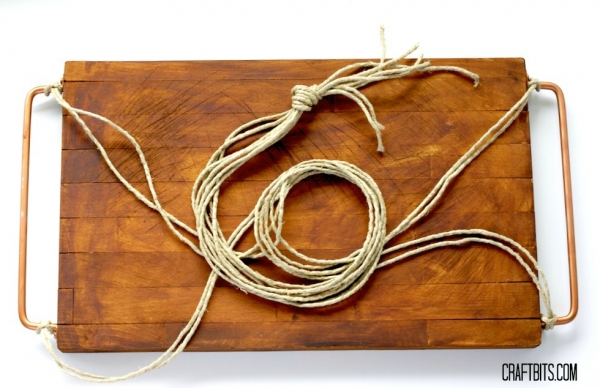
Cut four pieces of rope (one for each corner) about 4 feet each. Use a simple knot to attach rope to each corner by passing the line through a loop around the corner of each handle.
Lastly, connect the lines from all corners using simple knot and hang up by a ceiling hook.





Very nice and save space. good DIY