
What you need
Hardback book
Craft knife
Epoxy
Fabric
Paper
Pen
Fusible webbing
Iron
Small drill with drill bits
Scissors
Button
Needle and thread
Elastic hair tie
Instructions
Open the book and cut along the binding to separate the pages from the cover. Open the book to the back cover and repeat to completely remove the pages.
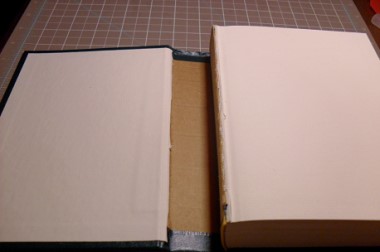
Stand the cover up while sitting on a sheet of paper. The book needs to be opened to the widest you would like the purse to open to.
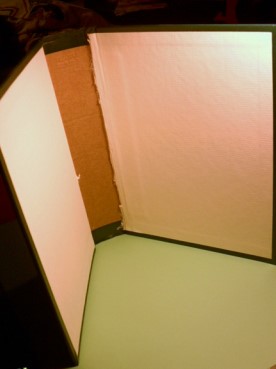
Trace around the outer cover to make a “V” and then connect the two top points of the “V” together with a straight line.
Cut this shape out and use as a template to cut 4 pieces of fabric and add ¼ of an inch all the way around for a seam allowance. These will be the sides of the purse.
Place the cover onto the wrong side of the fabric and trace around it also adding ¼ of an inch all the way around for a seam allowance.
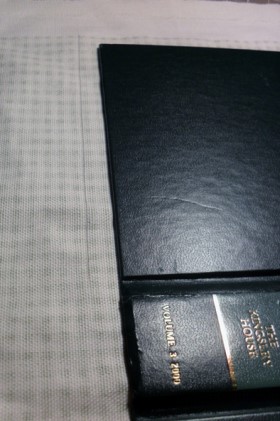
Cut all the fabric pieces with scissors.
Pin two side pieces together with the right sides facing inwards. Use a straight stitch to sew around the three longer sides leaving the bottom of the shape undone to turn the piece right side out. Repeat with the other side piece.
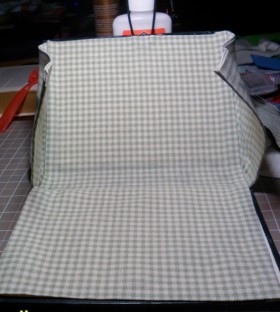
Apply an adhesive back fusible web to the outsides edges of the long rectangle on the wrong side.
Fold the edge over ¼ of an inch and iron to secure.
Open the cover and place on the work surface with the inside of the cover facing up. Turn the side pieces right side out and apply a bead of epoxy along the bottom edge of the back cover. Line one of the side pieces up to the edge and press down into the epoxy. Hold for about one minute and then repeat with the other side piece.
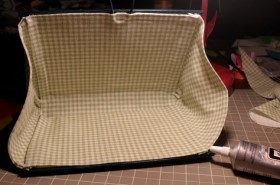
Apply a bead of epoxy along far right edge of the inside of the cover and line the long rectangle up to the edge. Place the elastic hair tie in the center of the cover and press the fabric rectangle over the elastic and into the epoxy.
Hold tightly for about one minute and then let the piece dry for about one hour.
Now, apply a bead of epoxy along the side pieces where the fabric rectangle will cover the edges. Place a few dots of epoxy on the cover and press the rectangle into place. Hold tightly for about one minute, then leave the project to dry for about one hour.
Apply a bead of epoxy along the top edge of the spine of the book and fit the bottom of the side piece into the spine. Hold in place for a few minutes and then repeat on the bottom edge of the spine.
Apply epoxy over the edges of the side pieces and along the cut lines where you removed the pages. Press the fabric into place and hold tightly. Let the project dry for about one hour.
Place the button on the inside edge of the book, in the center of the cover. Use a pencil or pen to make a dot where the holes of the button are.
Drill tiny holes in to the cover from the inside out where the dots for the button holes are.
Thread the needle and sew the button to the outside of the book. Insert a elastic hair tie under the button to leave enough space when sewing the button on. Dab a bit of epoxy over the ends of the threads on the inside of the cover to secure.
After the epoxy has set along the spine of the book, apply a bead of epoxy along the top and bottom of the front cover about 1 to 2 inches at a time alternating top to bottom.
Once the sides are attached allow the bag to dry for 15 to 20 minutes and then glue the rectangle over the sides of the bag. Apply a bead of epoxy along the outer edge of the front cover to finish gluing the large rectangle inside the purse.
Allow the purse to dry for about 24 hours before using to make sure the epoxy is completely set.
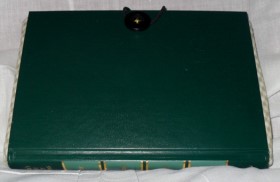


wow, totes AMAZE im gonna use this at my ball.
this is such a clever project, i made mine with a chain for a handle so that i could use it like a bag? i’m now going to make them for my freinds! thank you for having such an amazing idea