
What you need
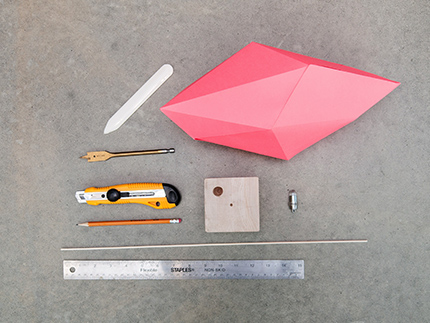
To make this paper crystal centerpiece you’ll need:
1. Card stock paper (11 x 17 inches)
2. Cutter or scissors
3. Bone folder
4. Ruler
5. Glue
6. Steel or wooden rod (17 inches or more depending on how high you want).
7. Spade drill, hammer and punch to make the holes for the bulb and rod.
8. Wooden block (3.5 x 3.5 inches, 1 ½ inches thick)
9. LED light bulb.
Instructions
Free Branding and Digital was the Creative Sponsor for IABC (International Association of Business Communicators) 2016 Capital Awards in Edmonton. We made these magical table toppers to bring our “Dreamscape” concept to life. You can use this project for any occasion complementing your theme by changing the colour of the paper or spray painting it.
Here’s a step by step instruction on how to make paper crystal table toppers:
Step-1: Download the pattern here. Print it on any card stock paper preferably 11 x 17 inches. The pattern looks like the image below. (Don’t print this image, as it’s not scaled to 11 x 17)
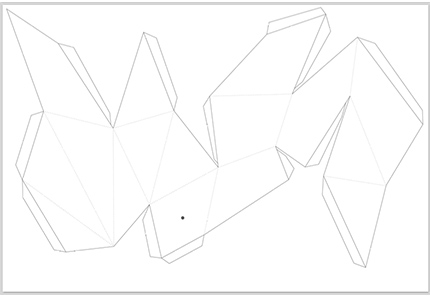
Step-2: Cut the pattern using cutter or scissors (whichever you think will help you cut the pattern as best and precise as possible). Then punch a hole on the grey dot that I marked. This is where you’ll insert the rod for the stand.
Step-3: Using the bone folder, start scoring the solid and dotted lines.
Step-4: Fold the solid lines first to create flaps followed by the dotted lines to form the crystal structure.
Step-5: Start building the crystal. Do not put glue directly on the flaps, use a brush instead. Avoid too much glue as it will wrinkle the paper. Follow this guide of connecting the flaps making sure you wait a couple of minutes for the glue to dry up every time you connect it to the other end.
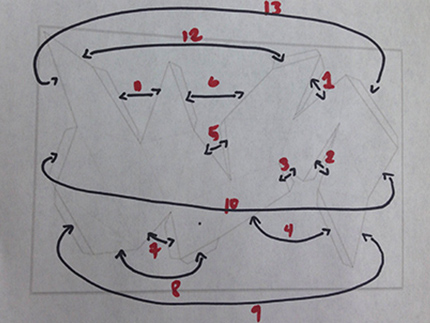
I tried recreating it on a smaller scale, here’s what it looks likes after cutting and folding the flaps.
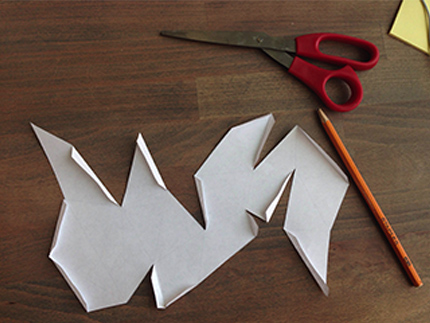
Here’s what it looks like before connecting the final part.
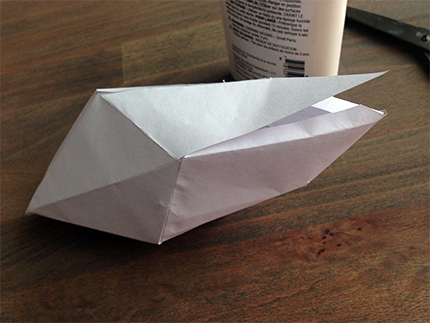
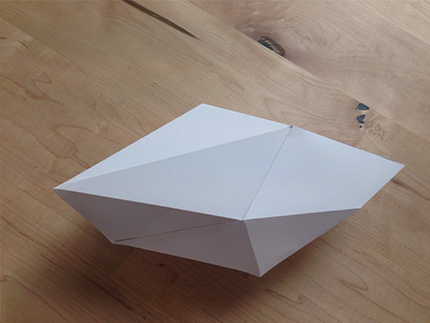
Here’s a better version of the finished crystal.
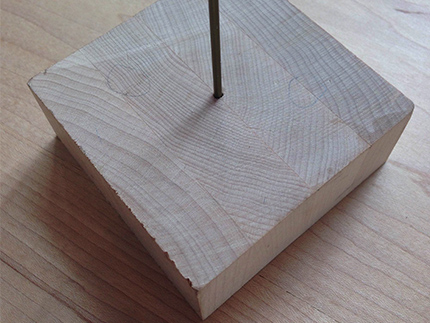
Step-6: Create the hole for the rod using hammer and punch, then the hole for the LED light bulb using the spade drill.
Step-7: Assemble the parts together. Stick the rod on the wooden block followed by the LED light bulb. Insert the paper crystal into the rod. Turn on light bulb, and voilà!
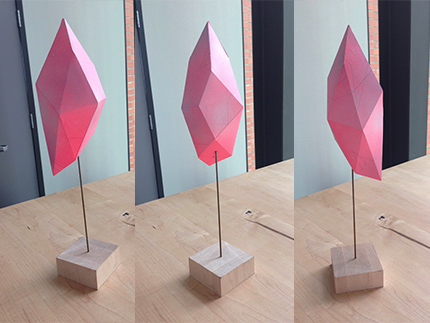
The glow from the light bulb creates shadows that looks awesome when the lights are dimmed. Here are photos of the actual event.
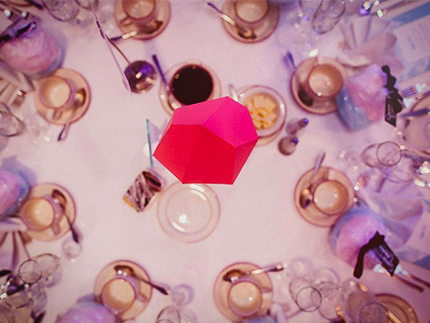
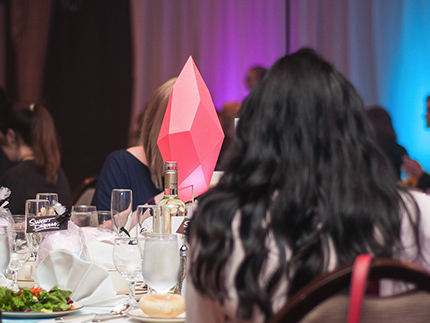
We received great compliments from our guests. It really took the spotlight for every table and helped set the mood of the event. I hope you have fun making these. Good luck!



What do you think of this project? Let us know!