
What you need
Cardstock, scissors, pencil, glue, nail polish- black and clear, jump rings and chain.
Instructions
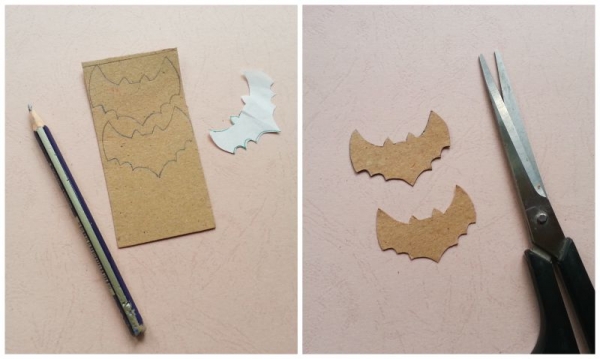
Step-1: Adjust the size and print out a simple bat template for the pendant. Place the template on a cardstock and trace around the edges using a pencil. Draw 2-3 bat shapes on the cardstock and cut them out using scissors. You may add more layers if you want the pendant to be thicker.
Step-2: Now carefully and neatly glue the cut out bat shapes one over another. Allow the glue to dry. After the glue dries use scissors or x-acto knife to make fine edges.
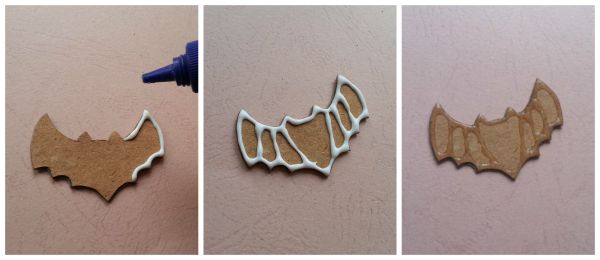
Step-3: Use glue tube for this step. Apply glue from the tube to create thin stripes on the bat pendant. I traced around the edges and added a few stripes on the wings of the bat. After you’re done designing allow the white glue to dry.
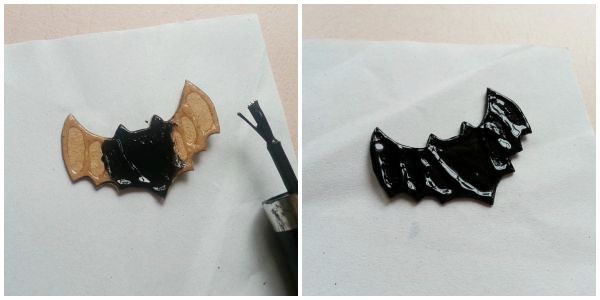
Step-4: After the glue dries apply at least 2 coats of black nail polish. After the black coats dry apply a coat of clear nail polish to give the pendant a final touch.
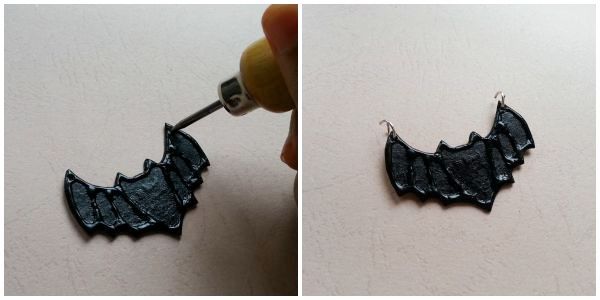
Step-5: Make holes on both wings of the bat bt using an awl. Attach jump rings on both holes of the wings(of the bat.
Step-6: You will need strings or thin rolo, figaro chain.Use cutting pliers to cut the chain exactly into half and then attach the pendant in the middle of the chain by attaching the jump rings with the chain.
Done! Wear it and enjoy!

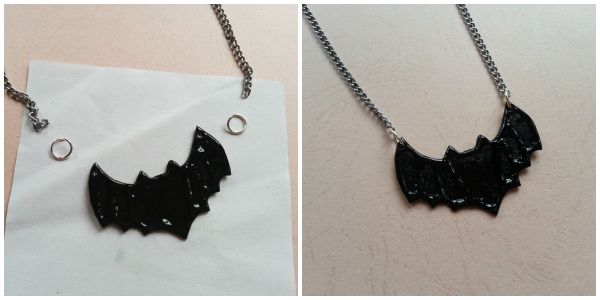


Very cute and very easy!!!
very cool. will be popular this halloween!