
What you need
Fabric is 44″-45″ wide cotton quilting weight fabric (see below)
1 package (8) Dritz plastic rings 1 “½ in diameter (You will only use 4 rings)
1 package Wrights double fold bias tape (can be contrasting color or matching)
Pellon 987F Cut(2) measuring 12″ wide x 12″ high
Webbing (1″ wide) measuring 54″ long
Velcro 1″ long
1” wide decorative button to match (or contrast) your fabric
Fray Check
Instructions
Fabric
3 different but coordinating fabrics (Fabric A, Fabric B, and Fabric C). In the sample bag shown, Fabric A is the cat fabric, Fabric B is the black with large white polkadots, and Fabric C is the black with small white polkadots.
Fabric A – ¼ yd or Fat Quarter to make 4 panel s (2 for back of bag and 2 for front), flap
Fabric B – 1/3 yd for 1 front panel, 1 back panel, and lining
Fabric C – ½ yd for outer pockets (front & back) and inner pocket
1 package (8) Dritz plastic rings 1 ½” in diameter (You will only use 4 rings)
1 package Wrights double fold bias tape (can be contrasting color or matching)
Pellon 987F – Cut(2) measuring 12” wide x 12” high
Webbing (1” wide) measuring 54” long
Velcro – 1” long
1” wide decorative button to match (or contrast) your fabric
Fray Check©
Cut 4 panels from Fabric A measuring 4” wide x 12” high (front and back of handbag)
Cut 2 panels from Fabric B measuring 4” wide x 12” high (decorative center panel of front and back of bag)
Cut (2) 12” x 12” of Fabric B for lining
Cut 2 outer pockets from Fabric C measuring 12” wide x 12” high (outside pockets for front and back of bag)
Cut 1 inner pocket from Fabric C measuring 8 1/2” wide x 11” high
Cut 2 strips of double fold bias tape measuring 12” long (decorative binding for top of both outside pockets)
Cut 4 strips of double fold bias tape each measuring 3” long (tabs for rings)
Cut 2 panels of interfacing (Pellon 987F) measuring 12” wide x 12” high
Cut 2 of Flap pattern piece in Fabric A
Cut 1 of Pellon interfacing for Flap
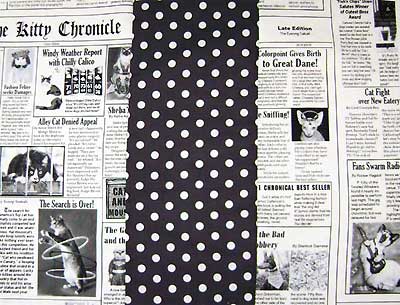
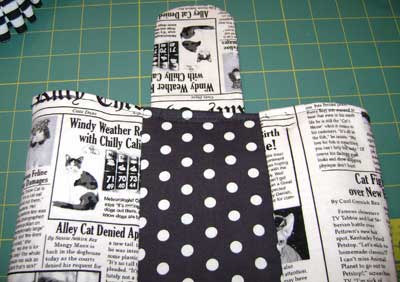
PUT FRONT AND BACK HANDBAG PIECES TOGETHER: Sew 3 panel strips together as follows: 1 strip of Fabric A, 1 strip of Fabric B, 1 strip of Fabric A (See photo). Follow this step for the front bag piece and the back bag piece.
MAKE POCKETS:
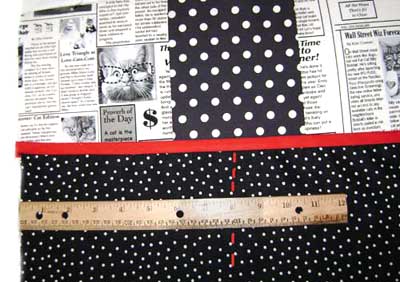
Fold the fabric pieces that you made for the outer pockets (Fabric C, 8” w x 12” h) in half with WRONG sides together so that they now measure 8” w x 6” h.
Attach your 12” strip of binding to the folded top of your pockets. (If you do not know how to attach bindings, see our binding tutorial.)
Sew your pockets on each piece of your main bag pieces (front bag piece and back bag piece) up the sides. At the top of your pocket, backstitch to add strength to the top of your pocket.
MAKE INSIDE POCKET:
Fold the fabric that you cut for your inside pocket (Fabric C) in half with RIGHT SIDES together. Your pocket now measures 8” wide x 6” tall.
Sew along 3 sides, sewing as close to the sides as possible, but leave a gap in the bottom side about 2” wide.
Turn the pocket RIGHT SIDE out and press.
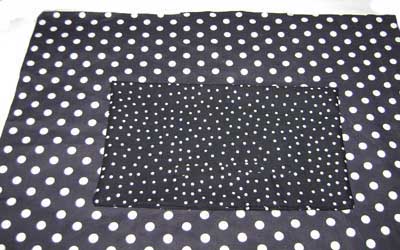
Place pocket on the RIGHT SIDE of one lining fabric piece, 2 1/2” in from each side and approximately 2 ¾” up from the bottom.
Attach the pocket to the lining by sewing down both sides and across the bottom with back stitching at the top of both pocket sides. If you want, divide the pocket in half by sewing up the center.
ASSEMBLE LINING:
Place the 2 lining pieces with RIGHT SIDES together, making sure that the top opening for your inner pocket is facing towards the top of your lining.
Sew along both sides and the bottom.
Clip the corners of the 2 bottom corners of your lining making sure you don’t cut into your sewing line.
Pinch the 2 bottom corners of your lining, forming a triangle. (See photo under “Assemble Bag”)
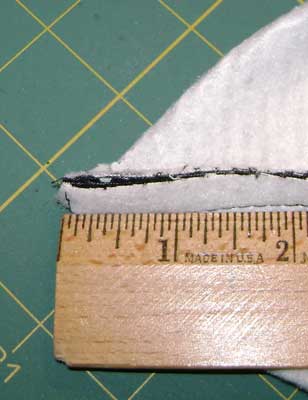
Measure in 1” from the pointed top of your triangle and mark it with chalk, a marking pen, etc. (it won’t show).
Sew across the base of this triangle on both sides.
ASSEMBLE FLAP:
Iron on Pellon for the flap to the WRONG side of one of your flap pieces.
Place your 2 flap pieces with RIGHT SIDES together and sew the rounded bottom and the 2 long sides, leaving the top open for turning.
Turn your flap RIGHTSIDE out and press.
ASSEMBLE BAG:
Place your 2 main bag pieces with the RIGHT SIDES together, making sure that the binding on the top of your outer pockets are in a straight line with each other circling the main bag.
Sew along both sides and the bottom, leaving the top of your bag open.
Clip the bottom corners of your bag, making sure you don’t cut into the sewing line.
Pinch the 2 bottom corners of your bag so that it forms a triangle.
Measure in 1” from the top of the triangle and mark it with chalk, marking pen, etc. (it won’t show).
Sew across the base of this triangle – this will form the bottom of your bag.
Center your flap in the middle of one of your center decorative panels and sew, attaching the flap to the WRONG side of your bag (flap is sewn on the interfacing side of your main bag).
ADD TABS AT TOP OF MAIN BAG:
Press the raw edge of the your main bag top down ½” to the WRONG side of the bag.
Sew the top.
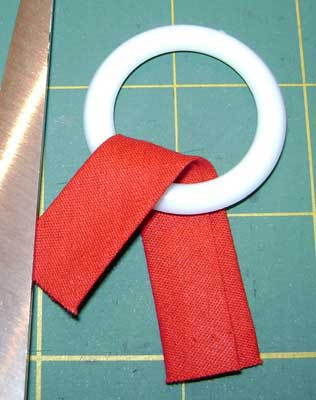
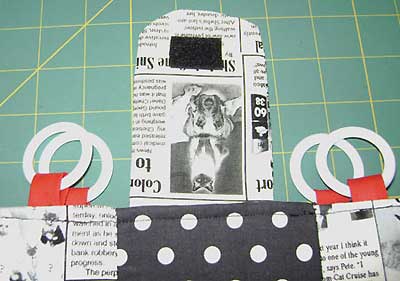
On each side of your main bag, attach 2 of your 3” strips of binding, folding in half with your ring inside the fold and measuring in 5/8” from center decorative panel on both front and back of bag (see photo).
Sew the tabs and rings with the rings close to the top of your main bag.
ADD VELCRO TO FLAP:
Take your Velcro and attach one piece to the underside of your flap approximately ¾” in from each side near the rounded part of the flap. Attach the other part of the Velcro in the middle of the center panel (the black polkadot fabric) about 1 ¾” down from the top, making sure they fasten with the flap and the bag straight and aligned properly.
FINISH LINING AND PLACE IN BAG:
With your lining WRONG SIDE OUT, fold over the top raw edge of you lining about ¼” and press.
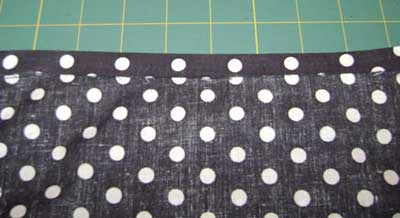
Place the lining in your bag with the top of the lining even with the top of your main bag with WRONG SIDES of the main bag facing the WRONG SIDE of the lining.
Sew the lining in the bag, following your previous stitch line on the outside of your main bag and making sure your rings are not caught between the lining and the bag.
ATTACH HANDLE:
Thread your 54” piece of webbing through your 4 rings.
Line the handle up with the ends overlapping about 1”.
Pin the handle before sewing to connect the handle in one continuous loop (this is to make sure the handle is not twisted).
Sew the 2 handle ends together, backstitching across several times.
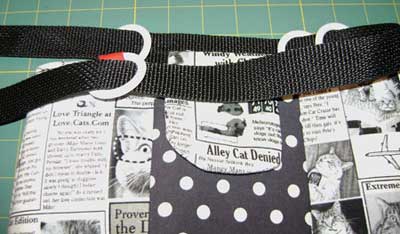
Treat both raw ends of your webbing with Fray Check and let dry.
Sew a decorative button on the flap, covering up your stitching attaching the Velcro.




Lovely