
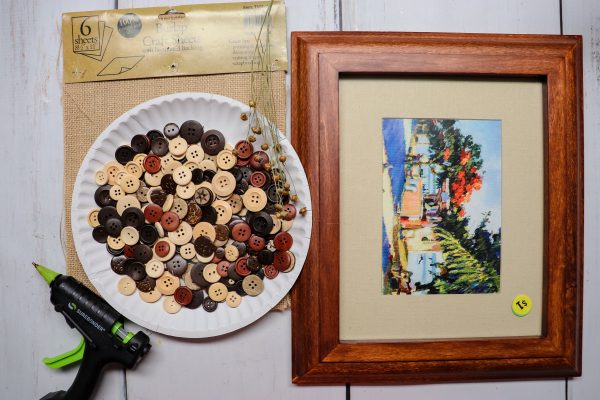
What you need
- 8×10 Frame – I picked this beautiful wood frame up for $1 at a garage sale. A good quality wood frame will really make your craft stand out and look extra great.
- *Optional – A few sprigs of dried herbs or flowers – These were from Hobby Lobby • Buttons – These wood buttons are great!
◦ Esoca 650Pcs Wood Brown Buttons


Instructions
Gather buttons together. I like to dump them all on a paper plate and then sift through to find the colors I want to use. Here I chose red tones, black buttons, orange, and light beige. I also chose small and medium sized buttons.
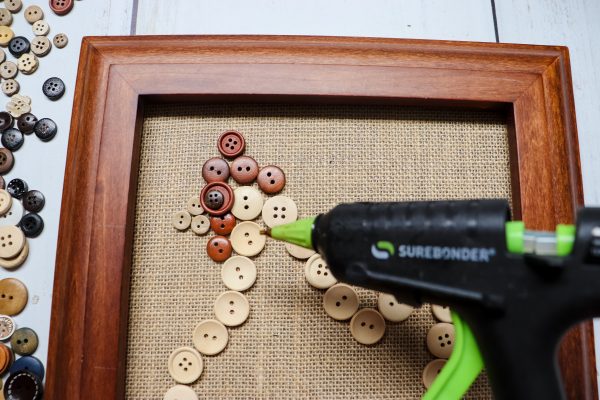
Lay out the outline of the chicken, starting with the head, using red buttons for the chicken comb and waddle. Use dark buttons for the leg and foot.
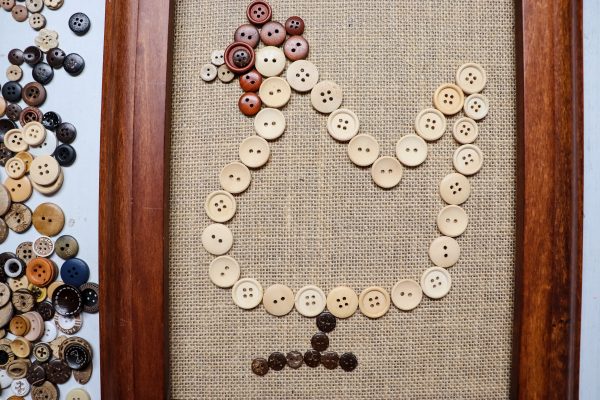
Once you get the outline set, start gluing buttons into place.
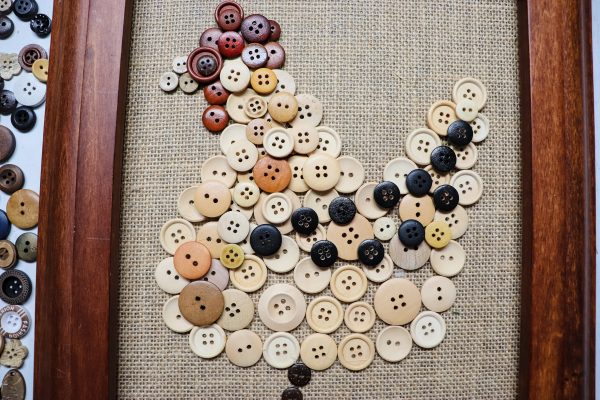
Start to fill in the chicken with medium sized buttons and smaller ones for tight spaces. • Now we will build up the chicken by overlapping buttons. Here you can bring in orange tones to add depth and outline your chicken wing. I used black for the wing. 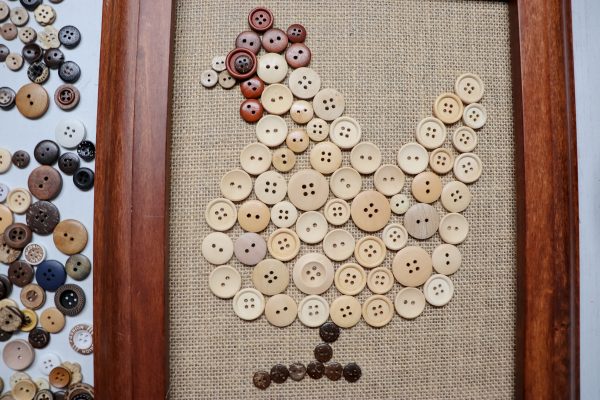
Once your chicken is finished, you can hot glue a few sprigs of dried herbs or flowers at the sides of the chicken.
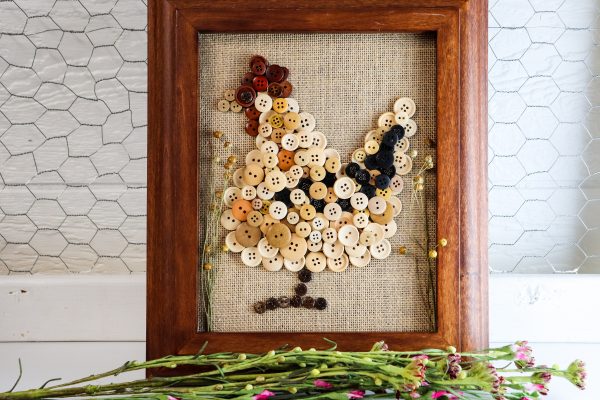
Hang to display or set on a buffet.


I love it! I love button projects. Thank you!