
What you need
2 9×12 pieces of felt in your choice of color (this is your main/outer piece)
2 9×12 pieces of felt in your choice of color (this is your lining)
Sewing machine
Sewing scissors
Cotton thread
Pins or wonder clips
Turning tool
Cutting mat, rotary cutter and ruler if desired
Iron and ironing board
Instructions
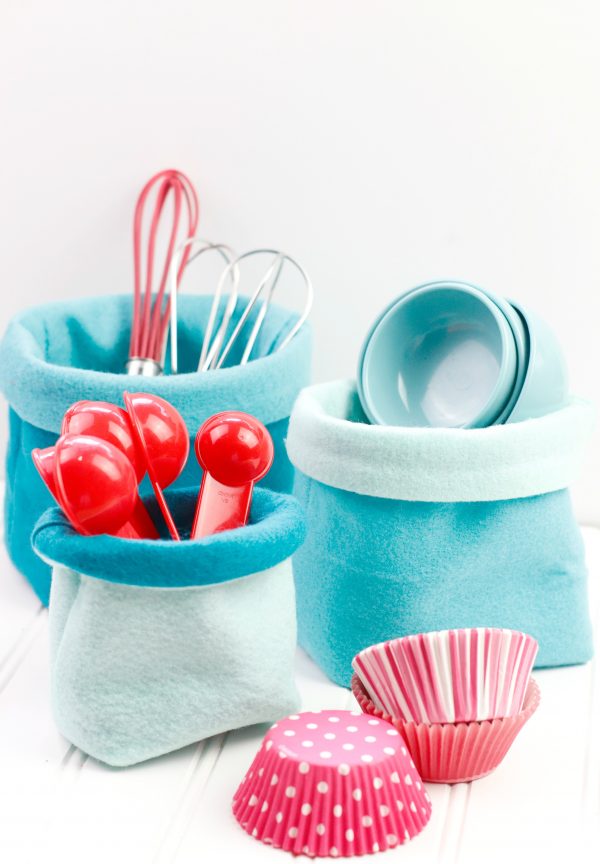
Step 1: Cut your 2 pieces for the outer and lining. For our three bins, we cut our pieces 9”x9”, 8”x8” and 7”x7”. For the
larger piece, Cut out a 2”x2” square from each corner. For the medium piece, cut a 1.75”x1.75” square from each corner
and from the smaller piece, cut a 1.5”x1.5” square from each corner.
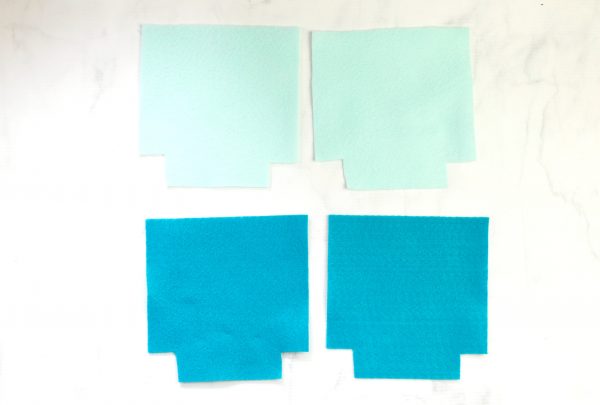
Steps. 2-3: Pin or clip your pieces and using a 1/2” seam allowance, sew along the sides and bottom of your outer main
piece and do the same for your lining, leaving the 2” gap for turning. Press your side seams open.
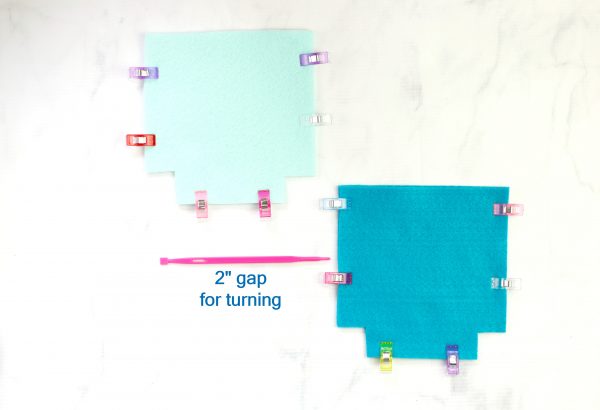
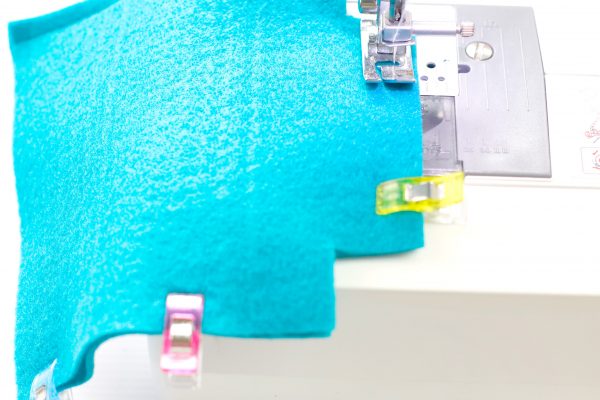
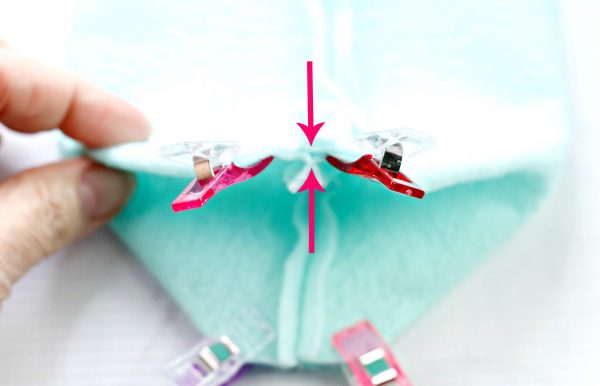
Step 4: Make a box corner for both the outer piece and the lining. Do this by pinching the opening of the corners and
lining up the seams. Using a ¼” seam allowance, close the opening.
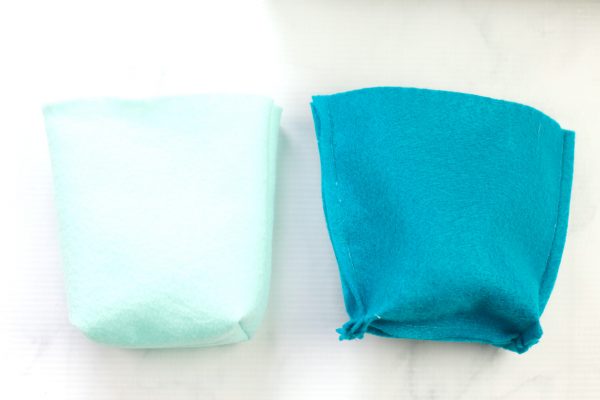
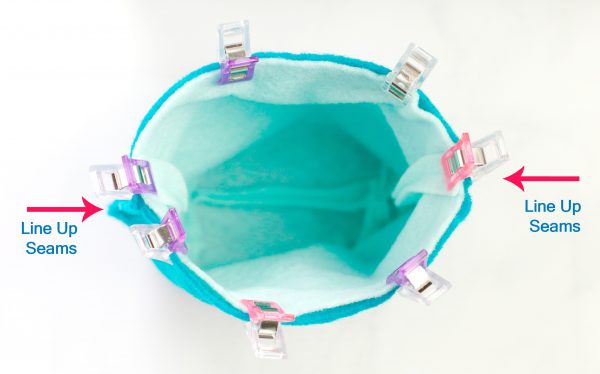
Steps 5-6: Turn the main basket inside out and the lining right side out. Place the outer basket inside the lining, so that
right sides are together. Match up the side seams and pin or clip into place. Sew the inner and outer bins together by
going around the top.
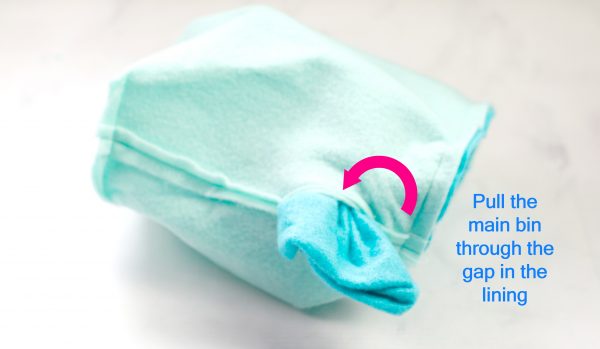
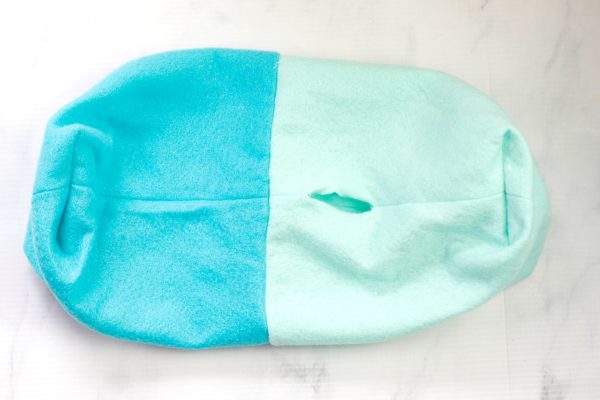
Steps 7-8: Gently pull the main bin through the gap, until both pieces are “freed”. Close the gap with a 1/8” topstitch.
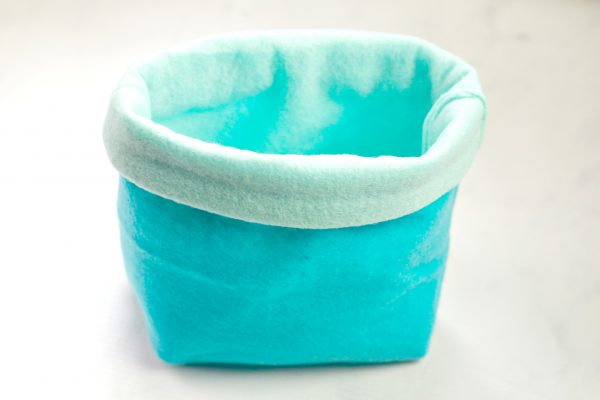
Step 9: Fold over the lining and enjoy your new bin!



What do you think of this project? Let us know!