
What you need
– Paper from the recycle bin, such as junk mail, copy or printer paper, notebook paper, paper bags from the grocery store
– Dryer lint
– Water
– Blender
– Tub or sink; it needs to be deep enough to submerge the screen in
– Cornstarch
– Screen*
– Clean dish towels
– A rolling pin; if you don’t have a rolling pin you can press with your hands.
– Optional; glitter, threads, plant parts, foil, bits of paper with text. Anything that can be ripped or cut up and that floats can be used. These optional elements should be used in varying sizes from 1/4 inch to two inches. Do not put them into the blender. They will be added in the last step.
Instructions
Papermaking is a fun activity that uses items that might otherwise be tossed or recycled. Making paper is easy but does require water so it is best done in a kitchen, bathroom, laundry room, or outdoors.
The color of your paper and dryer lint will determine the final color of the paper. If you want a specific color it is good to make a scrap pile of that color. Mixing too many colors in the blender will result in gray or brown paper, not in a rainbow of colors. The sky is truly the limit and there is a lot of room for experimentation. These papers are great art and collage papers and there is no such thing as a mistake. If you are not completely happy with your paper just cut it up and embellish it or rip it up and start all over.
* There are several types of screens that can be used or made. A paper making screen with a mold and deckle are perfect but not necessary. You can make a screen using an old picture frame, wire mesh screen, and a staple gun. Cut the screen a couple of inches larger than the frame.
Set your frame face down on top of the screen, pull the edges up tightly around the frame and staple snugly onto the frame back. You can also use embroidery hoops, which is what was used in this tutorial.
Cut the screen a bit larger than the hoop, open the hoop, set the screen on the inside hoop, bend the edges up, put the outside hoop back on and tighten. This works best with wooden hoops, as the plastic ones are slippery against the frame and don’t hold.
1) Determine how many sheets of paper will be made.
To make a standard sheet of paper one cup or a 1/4 liter of paper bits and dryer lint are needed. Rip up the paper being recycled into one inch square bits. Do the same for the dryer lint. Put the paper and dryer lint into a bowl, cover it with hot water (it will float but should be soaked thoroughly and sitting in water), and let it soak for at least 30 minutes and up to 12 hours. This softens the fibers in the paper and lint, making it easier to blend.
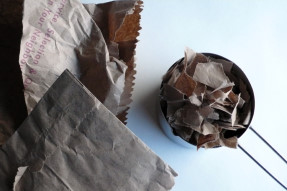

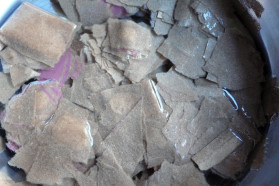
2) Put the paper, dryer lint, and water into the blender.
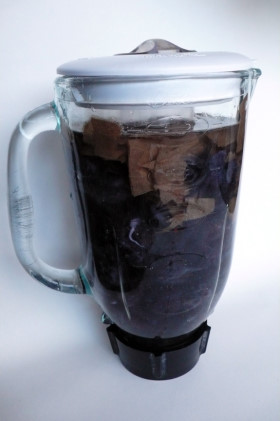
A good ratio for filling the blender is one part paper and lint to four parts water. Don’t fill the blender more than 3/4 full with paper, lint and water, or it will seep out from under the lid when turned on. If are using large amounts it will need to be blended in batches. Blend on medium to high in short bursts until the liquid is smooth. This is your slurry.
3) Fill the tub part way with clean water.
Pour the slurry (pulp and water) into the tub. Blend the rest of the batches and add to the tub. When ready to start making paper just quickly mix the slurry if it has settled. When using large amounts of lint it is good to add 1 Tablespoon of cornstarch to the tub. This is used as sizing, which helps the paper stay together. Any optional elements can be added now.
4) Hold the screen with the frame on top.
If using an embroidery hoop, use it upside down, so that the slurry settles into the recessed hoop. Mix up the slurry, then dip the screen into the water, allowing slurry to settle onto the screen.
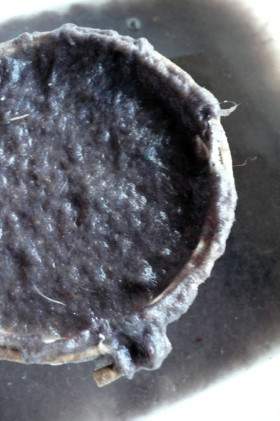
Move the screen from side to side while still in the water so that the slurry spreads evenly onto the screen. Pull the screen straight out of the tub and let the water drain off of the screen. Check to make sure there are not any areas that are too thin or too thick. If there are, dip the screen and try again. Once the water has drained off the screen gently press on the paper with your hand to remove more water. Don’t worry if finger indents are left on the paper, the sheet will be rolled flat in the next step.
5) Fold the towels in half or quarters.
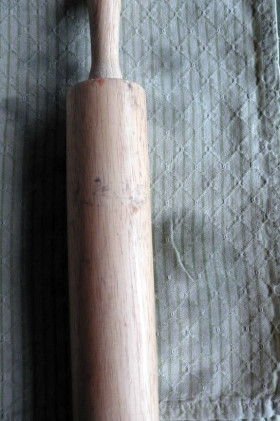
Turn the frame over on top of the towel. Loosen a corner of the paper first to make it easier to remove. Once the sheet is off of the screen cover it with another towel. Using a rolling pin, roll over the towels. Remove the top towel and gently remove the paper from the bottom towel. Place it on a drying rack or using a clothespin, hang it from a line. It will take up to three hours to dry, depending upon temperature, humidity, and the thickness of the paper.
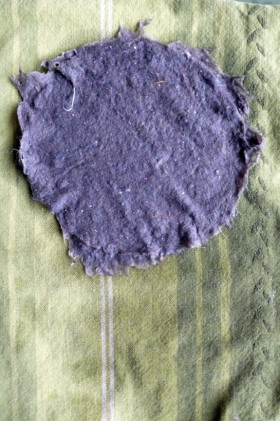
6) Make something with your newly made paper!


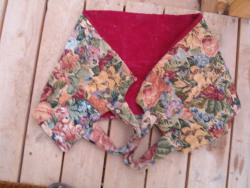

cool idea!