
Whether you're going for a rustic vibe or something more elegant, this project is versatile enough to match any theme. Plus, your guests will be amazed when they find out that these beautiful, bespoke chargers were handmade by you! Let’s dive into this fun and creative DIY project that’s perfect for adding that extra flair to your special day.
What you need
Instructions
These custom chargers are a chic way to elevate your table settings and are incredibly easy to create using simple items like pizza trays and paper napkins. Cardboard pizza bases make the perfect foundation for this project, and the best part is you can buy them in bulk from packaging suppliers—just Google to find the best deals in your area.
This amazing idea and photos were contributed by Maggie Amos. Thanks so much for sharing your idea Maggie, we love it! a great way to save money on a wedding or party.
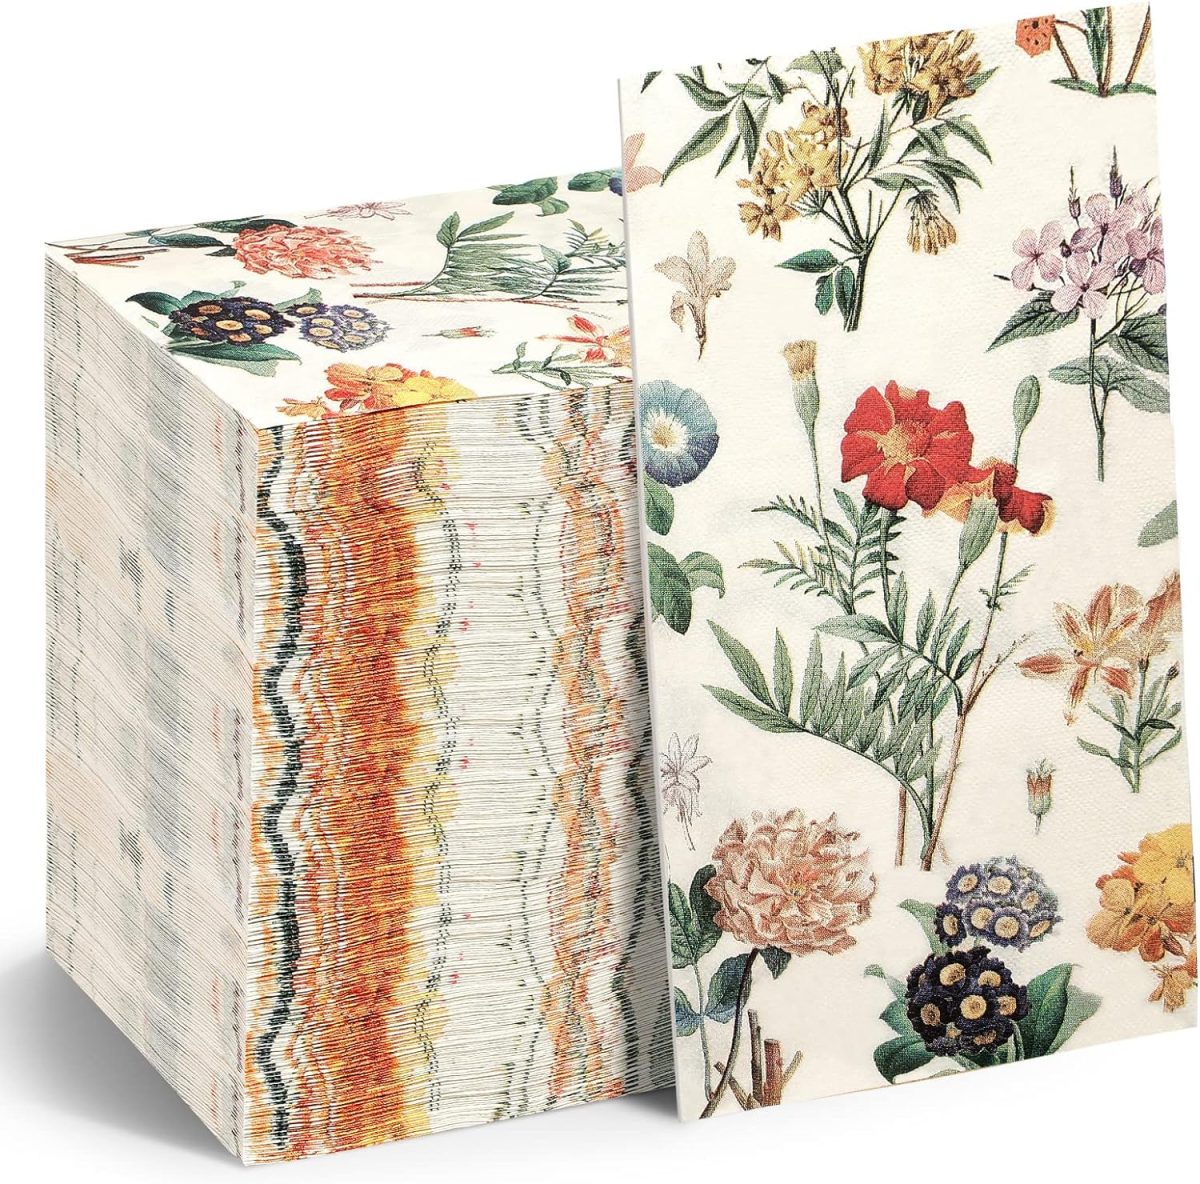
For this tutorial, I have linked to the actual amazon link for the same floral napkins, but of course, you can use any design you like. Designs that repeat work best as majority of the image is hidden behind your serving plate.
Start by laying your napkin down on the table. If you have thick napkins, you may need to separate the ply leaving just the top design. this is done simply by pulling the layers a part. Keep in mind that the thinner the napkin the base color will show through. For this design white pizza boards were used. You could paint the bases if needed to bring more color into your chargers.
I have also found that opening up the napkins ahead of time helps to remove the fold lines, You could open them up and weigh them down with some books for a couple of days to help iron out the creases.
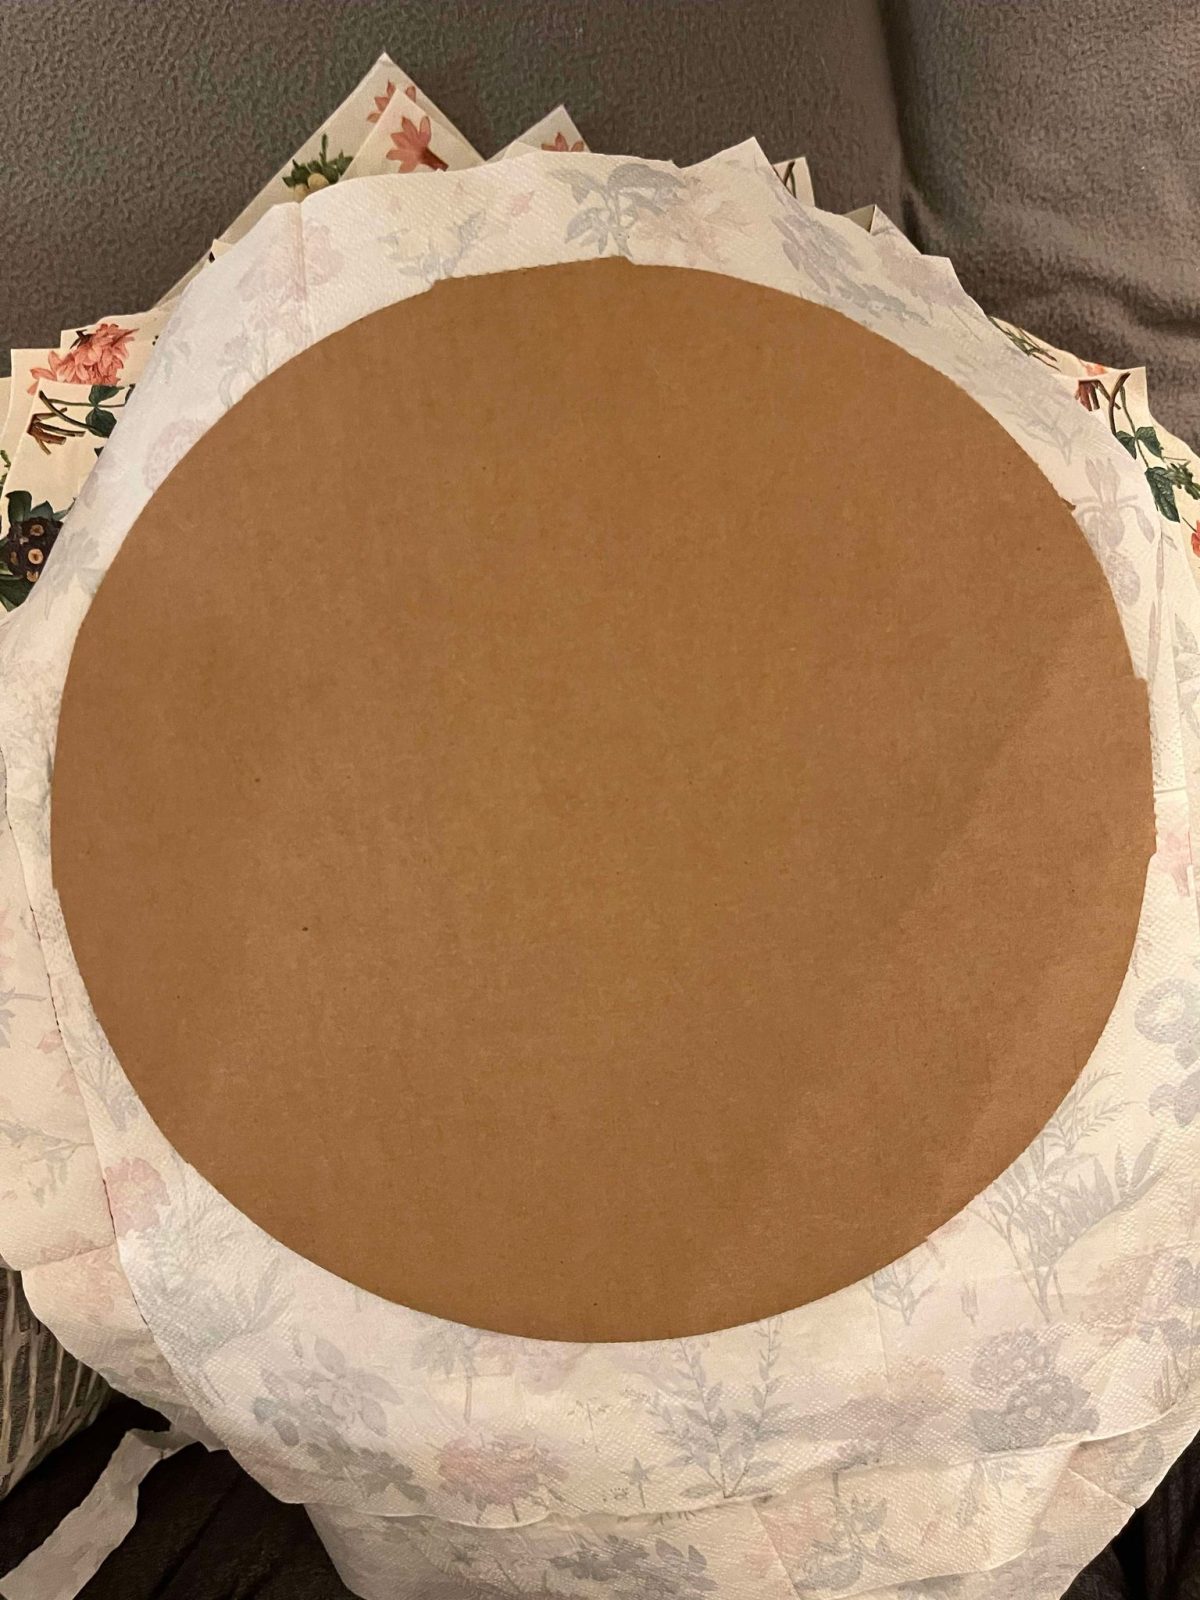
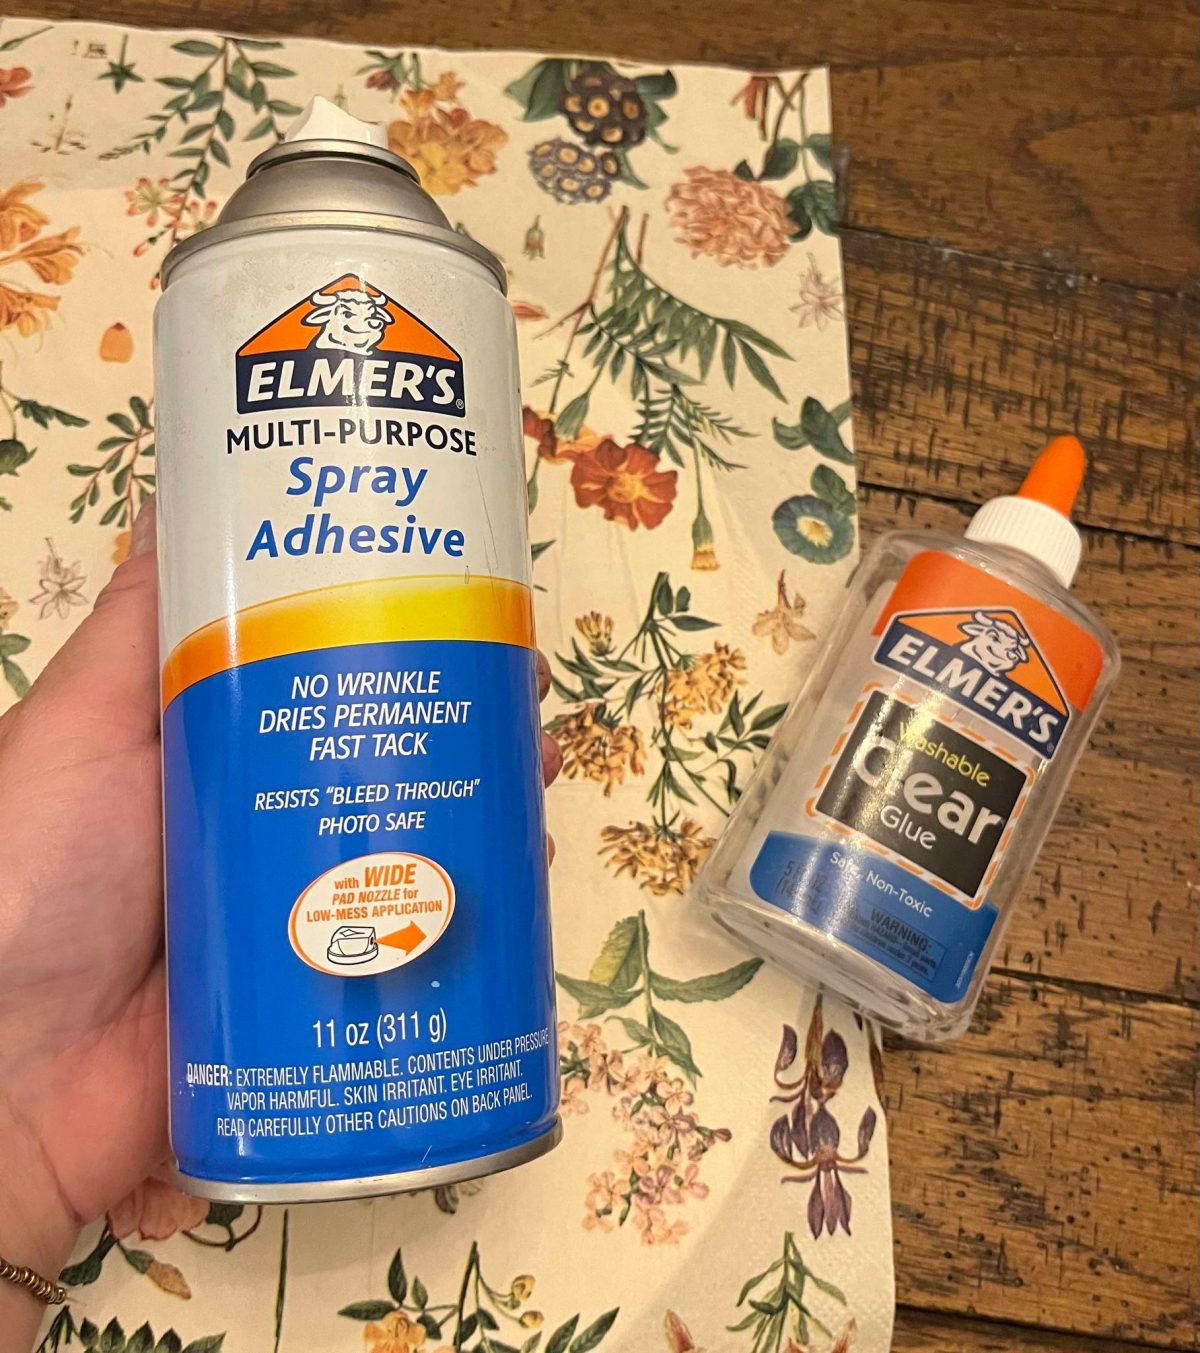
The easiest way I have found, is to apply the glue to the board then lay your napkin onto the board, I know some people like to do it the other way, but I always believe the glue should be applied to the most stable object, in this case the board. Make sure to get the glue all the way to the edges.
Place the board onto the napkin, or the napkin onto the board. Using a roller roll out the napkin or press gently with your hands. As with all decoupage, start from the middle and work your way out. This prevents air bubbles forming.
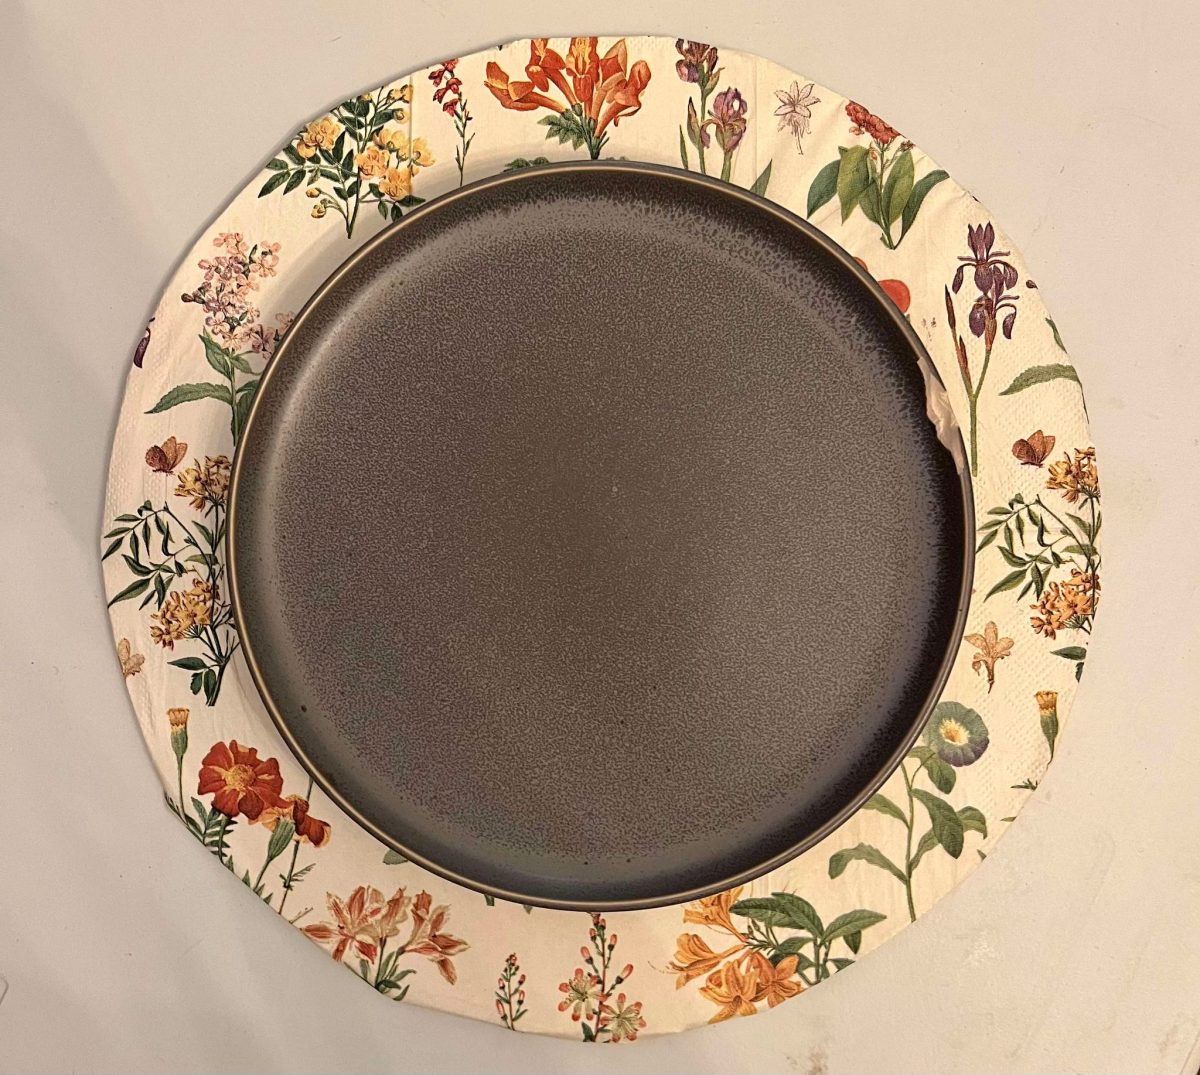
Once dried, use an exact kife blade or scissors to trim the edges and excess off.
Once dried you can seal the board with a spray varnish or a coat of white (dries clear) Mod Podge or Wood glue.


What do you think of this project? Let us know!