What you need
¼ pound of white Sculpey or Fimo clay
Wax paper
Rolling pin
Knife
Bangle bracelet
Crystals
Coarse- and Fine-grit sandpaper
Spray paint
Super Glue gel
Instructions
Use small chunks, fine crystals or stone beads to make your bangle. Here are the mystical properties of a few popular stones:
Some crystal meanings are these, choose a crystal gemstone that reflects your healing needs.
Rose Quartz – For love and heart health
Sodalite –For inner peace, wisdom and calming a quick temper
Amethyst – For spiritual awakening, promotes healthy sleep and raises the personal vibration
Clear Quartz—For clarity, healing of all kinds, promotes positive energy
Wedge the clay until it’s pliable. Roll out a strip that’s approximately ½ inch thick, 1 inch wide and 6 inches long. Change the dimensions according to your preferences. Cut the sides of the strip with a sharp knife so the size is uniform and the sides are straight and even. Shape the strip of clay around an existing bangle that fits your wrist. Refrigerate the clay for approximately 20 minutes.

Use a knife to gently carve away clay at each end of the bracelet to give it a more graceful shape. Trim each end so they have straight, clean edges.
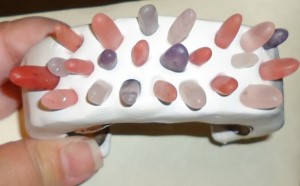
Arrange your crystals in an attractive pattern. Poke each crystal into the uncooked clay to create indentations where each stone should go. Take a photo so you remember the design and remove the stones. Gently remove the clay from the existing bangle and place on a cookie sheet, reshaping if needed. Remember that a clay bangle won’t have the ability to stretch snugly around your wrist; for the best fit, make the bangle slightly smaller than you think you need it. Bake according to the manufacturer’s directions. Cool.

Sand with coarse paper to remove any flaws and further refine the shape of the bangle. Remember that each tiny scratch will seem magnified once covered with metallic paint. Smooth the entire piece with a fine sanding and brush any residue from the holes where you placed the stones.
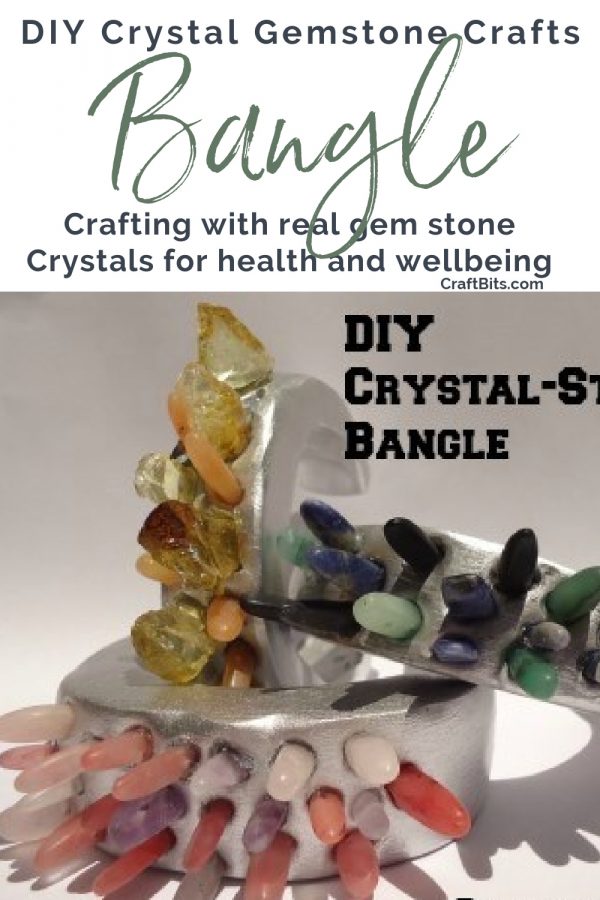
Spray the bangle with two coats of metallic paint, allowing the first coat to dry completely before applying the second. Once completely dry, glue the stones into their corresponding holes and your crystal studded bracelet is finished.


What do you think of this project? Let us know!