
What you need
Fabric, Quilt Batting, Pins, Sewing Machine, Velcro
Instructions
1. Using a large dinner plate (or other circular object) trace a circle onto the back of your fabric. You want it atleast 12″ wide, mine is 14″. You need 2 circles.
2. Cut out 2 circles from quilt batting the same size as your fabric circles.
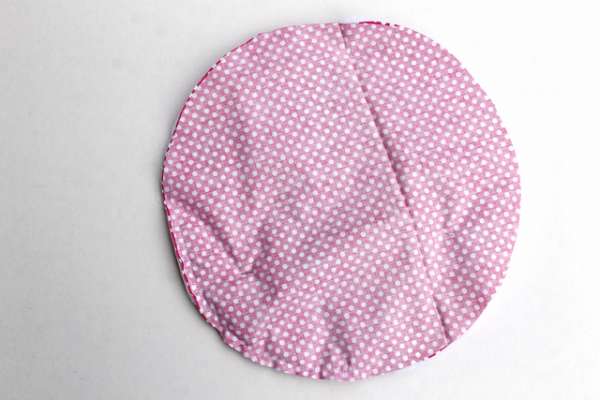
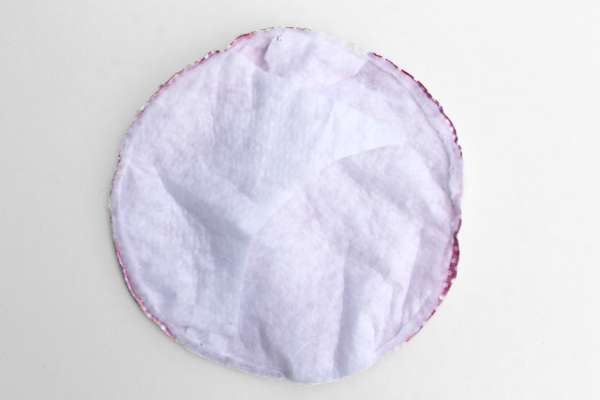
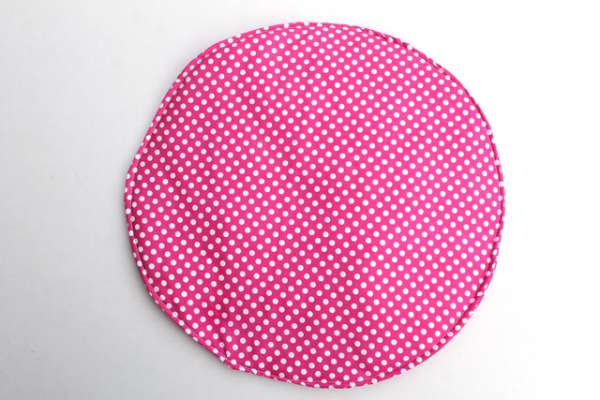
3. With your 2 fabric circles right sides together, Place your batting on top and stitch around the outside edge using a 1/4″ seam allowance and leaving a 3″ opening to flip it right side out.
4. Flip right side out through the opening you left.
5. Iron the edges down and iron the edge of the 3″ opening in.
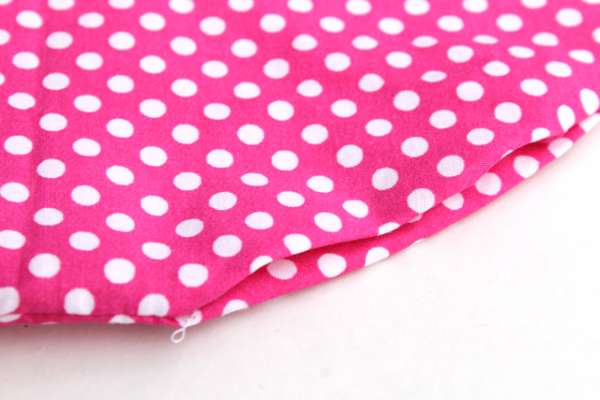
6. Use your sewing machine to stitch around the outside edge, about 1/4″ from the edge. You should also be sewing the opening closed here.
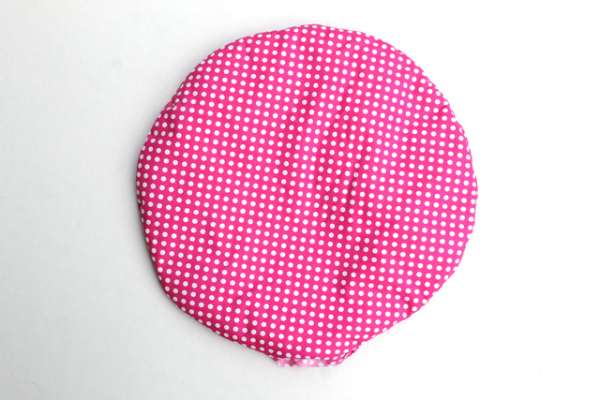
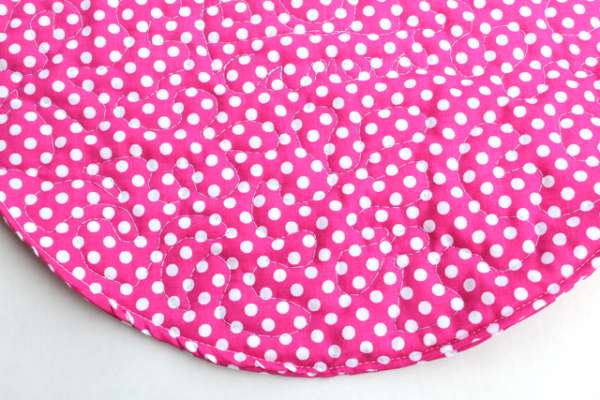
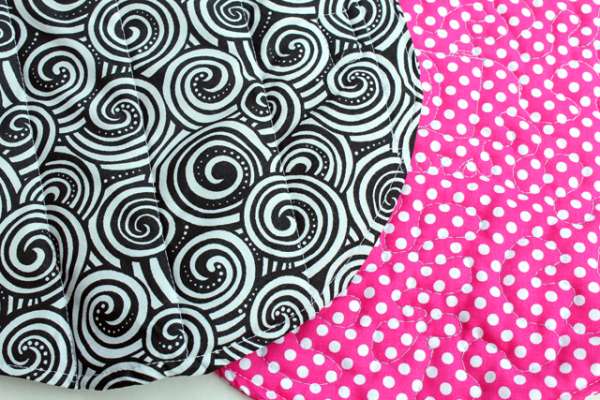
7. now it’s time to quilt it. You quilt it by stitching through both layers of fabric and the batting in between. You can do this by either stitching straight lines, like on the black & white lens wrap, or by using a free motion foot on your machine and quilting squiggles like the pink lens wrap. If you’re new to sewing, I recommend straight lines.
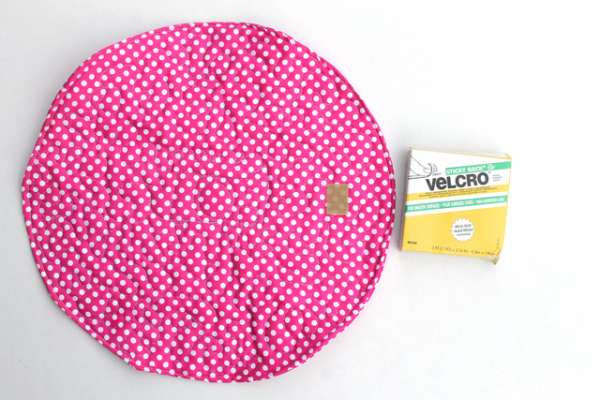
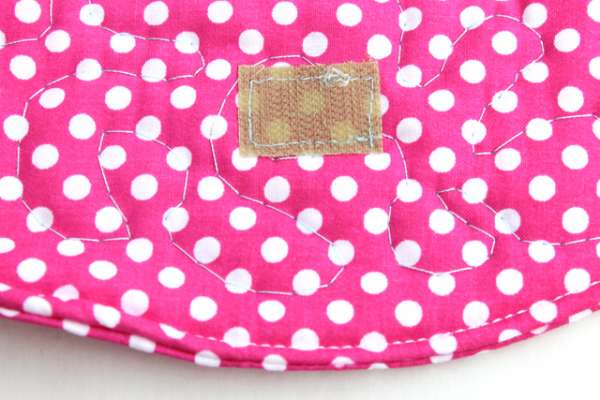
8. Cut a piece of velcro 1″ long. Place one side of the velcro about 1″ in from the edge on the front of your lens wrap. Place the other piece of velcro 1″ in from the edge on the opposite end of the circle, on the backside. See the pictures below.
9. To fully secure your velcro, stitch it down by sewing around the edges of the velcro pieces.
All done!








What do you think of this project? Let us know!