
What you need
Ring base – I like adjustable bases. (These can be found in craft & jewelry supply stores and online)
Jewelry glue or clear “super†type glue
Polymer clay – any brand – 3 colors of your choice & translucent (Premo is recommended for translucent)
Liquid clay
Clay knife or plastic knife
Shaped cutters – various sizes – I used a flower
Acrylic roller or dowel
Sand paper or nail file
Clay dedicated pasta machine (optional)
Work surface – ceramic tile, file folder or wax paper
Instructions
This polymer clay project shows you how to hand make a ring that looks like resin.
Condition each color of clay until soft and pliable by rolling and squeezing in your hands. Test to see if it cracks when you bend it – that means it needs more conditioning!
You will need half of one 2oz block of translucent clay for each color & about a dime sized portion of the other colored clays. Blend thoroughly. A pasta machine will speed up the process.
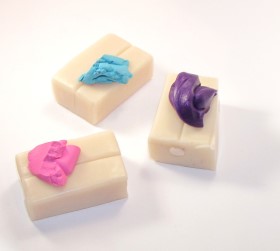
Roll out an even sheet of each color (I used double thickness for the bottom layer to add strength). A pasta machine on the thickest setting works great!
Use your cutters to cut out various shapes and sizes for each color.
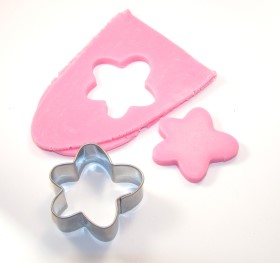
Gently bend or curl the edges to add dimension to each layer, if you like. You can also pull and stretch the clay.
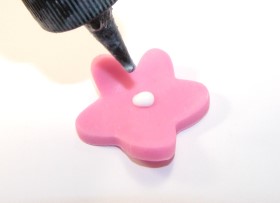
Place a small drop of liquid clay in the center before stacking the next layer on top. Turn each piece to give interest and dimension. Repeat in between each layer. I did 3 of the same, larger size and 1 smaller one for the center
Roll tiny balls of clay for the center of the flower or other accents and press into place. You won’t need liquid clay if you press firmly.
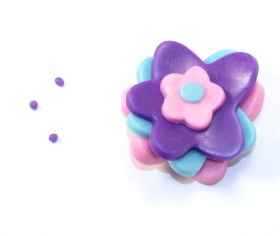
Add any texture and details you may want with a toothpick or pin.
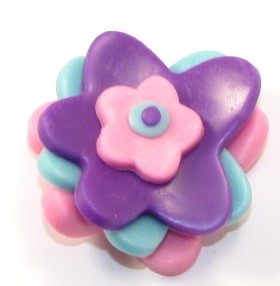
Bake according to the manufacturer’s directions.
Glaze if desired. I use varathane – found in most hardware stores. For small projects, use the clay manufacturer’s glaze. The bottles are smaller & more affordable!
Sand or scratch up the bottom of the clay piece before adhering it to the base. Especially if you glazed it, this will help ensure a secure attachment.
Enjoy your new jewelry for yourself or give them as a colorful gift!
***TIP***
***SAVE those pieces you trimmed off and roll them together to make swirly accent beads!
***Dark colored clay, like red, blue, etc. can leave some pigment on your hands. To help keep lighter colors from turning pink, etc. handle most of the light clay first. You can also use baby wipes to clean your hands and tools (alcohol is a solvent for the clay) or wear latex gloves & switch in between colors.
***Once you use cookie cutters, pasta machine, etc for clay, it is recommended to no longer use it for food. Shop around for inexpensive cutters at your local craft store.



I LOVE IT !!!!! <3 <3
cute!!! <3