
What you need
Fleece (1/2 yard in the color of your flower, plus some coordinating scraps for the center and leaves). You could also use felt, but I think fleece is softer!
Hot glue,
Polyfil stuffing
Instructions
I did sew around the edges of our pillows and on the leaves, but the majority of the project was just done with hot glue (and I’m sure you could even hot glue the edges of your pillow together to make this a completely no-sew project!)
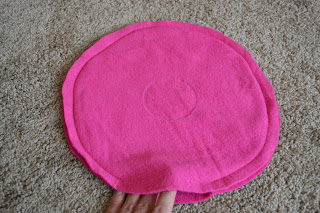
1. Cut two circles out of your fleece. The size is up to you. I traced a large bowl and my circles were about 14″. Sew (or hot glue) around the edges, leaving an opening for stuffing. Next, using a piece of chalk or marking pen, trace a smaller circle for the center of your flower and three additional rings to make a bullseye design. (I somehow missed the picture of the completed bullseye, but you can get the idea). These guidelines will help you place your petals.
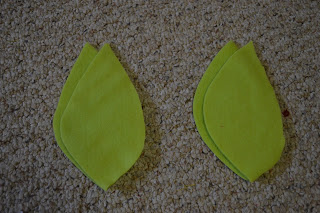
2. Cut out four leaf shapes. I just eyeballed them. Then sew the leaves together along the outside edges and add stitched leaf veins. (You could also just hot glue the edges and draw the veins on with fabric paint or markers.)
3. Add stuffing to your pillow and stitch (or glue) closed the opening. I then used pinking shears to trim the edges of the pillow and leaves to make it a little more decorative (optional).
4. Using hot glue, attach the leaves to the edge of your pillow.
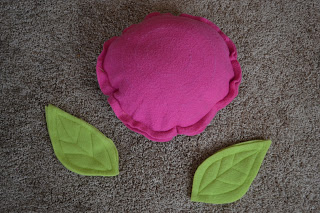
Everything is sewn.
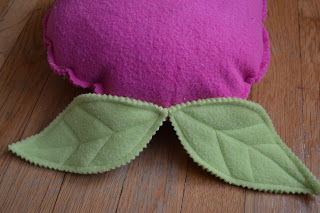
The edges are “pinked” and the leaves are attached.
5. Cut out a bunch of petals. Again, I just eyeballed a petal-like shape. You could make them wider/narrower/more rounded/more pointed, etc. depending on what you want your flower to look like. I made them in two sizes, a larger one for the outer petals, a smaller one for closer to the center.
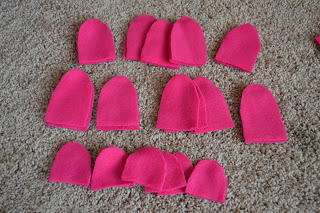
I actually cut out and used a lot more, probably 50-60 or so.
6. Starting on the outer ring of the bullseye you traced, start gluing down your petals. I found it worked best to put a line of glue along the bottom of the petal, pinching the center to give it a little dimension, then attaching it.
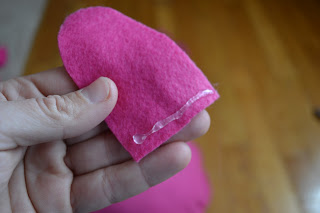
A line of hot glue.
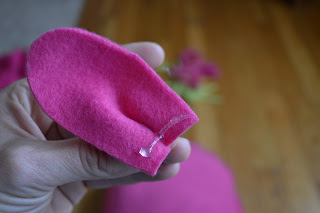
Pinching the center to give the petal dimension.
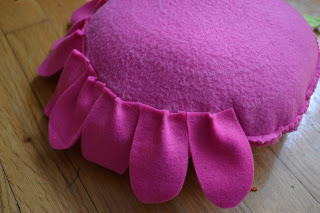
Attaching the outer row of petals.
7. Once the outer row is complete, start working on the next ring of petals. I added an additional drop of hot glue to each petal to help hold it down and cover the line where the first ring of petals were attached.
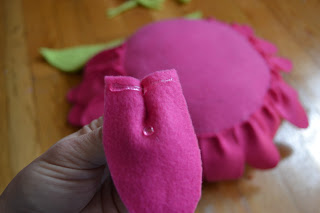
Use an additional drop of glue on the inner rings of petals.
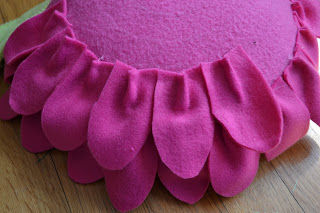
Working on the next row of petals.
8. Keep adding petals until your flower is complete. I used the larger petals for the outer two rows, a mix of large and small for the next row, and all small petals for the inner row.
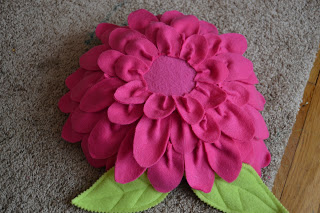
Almost done!
9. Cut out some circles to create the center of your flower. (I used pinking sheers again). For each circle, add a bit of hot glue to the center and squish it to form a little ruffle-y shape and attach them to the center of your flower to fill it in.
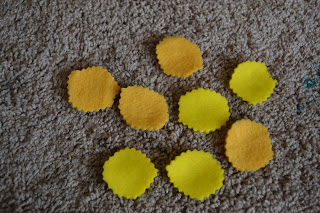
My circles. They don’t have to be cut precisely.
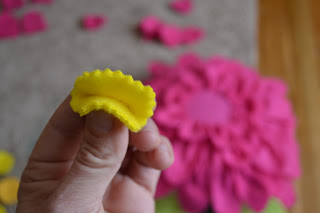
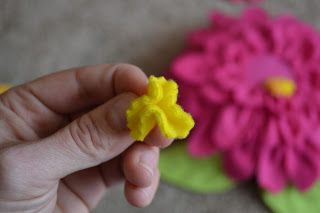
“Ruffle-ing the circles and attaching them to form the flower’s center.
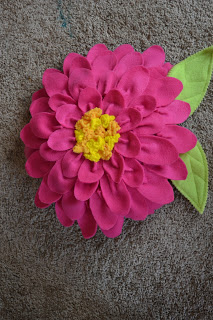
And you’re finished! Isn’t it pretty?



I think ths is a lovely idea. Thank you.
Is it available to print out?
Made 2 already as per your instructions, beautiful
awesome
this is a great idea, but for some reason there are five sets of the instructions on this page i hade to scroll through to place this comment.
Hi there – sorry about that. We have now fixed it.
Laura, you are so talented. This is a beauty. Going to try it and I think I can with your excellent instructions.
I am going to buy the supplies tonight and make one! (pink of course!) This is a great idea! Can’t wait to make one!
Gracias por tan hermosa manualidad, bellisimos, excelente explicación…
great idea and instructions…thanks for sharing
Wow! Those are lovely. Can picture them in all kinds of colors. Thanks for the pattern.
awsome instructions perfect for gifts Luv it:)
The finished product is terrific and clever. What a great way to spend an afternoon! This one’s a keeper!
I would love to make this it looks so sweet. s