
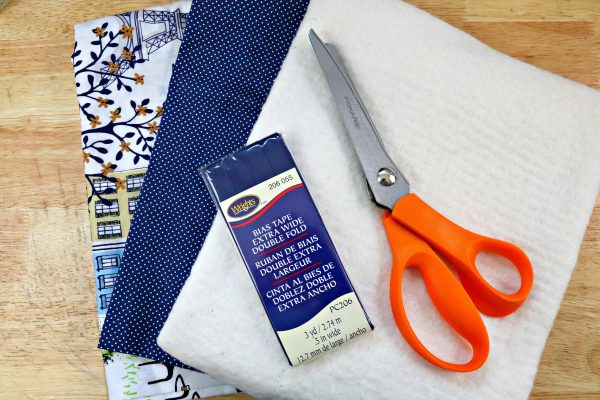
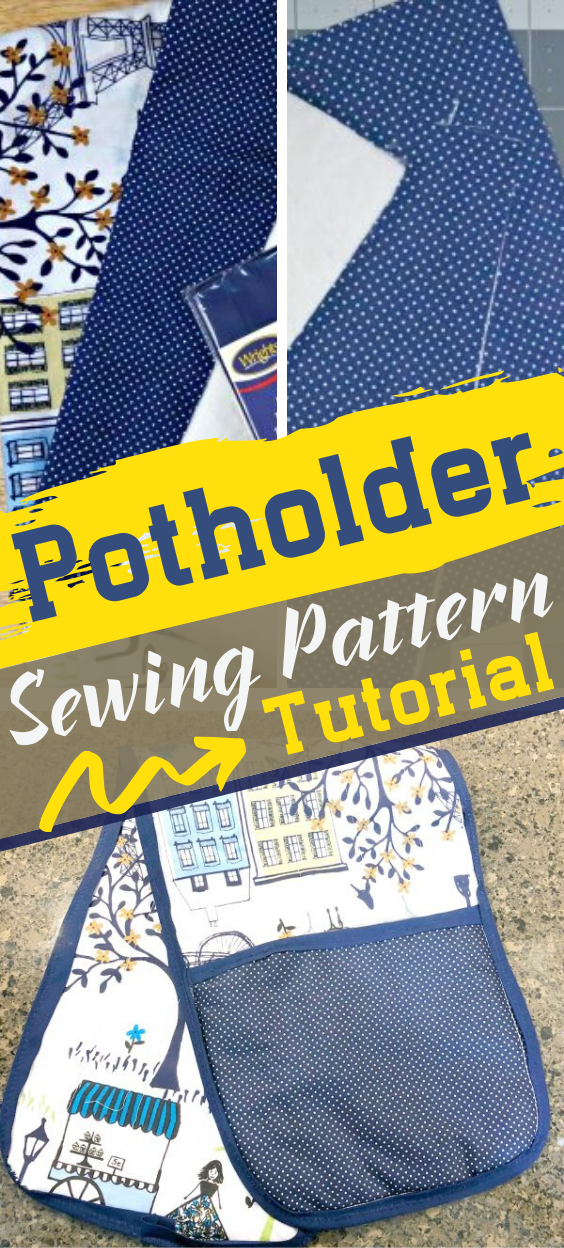
What you need
1/2 yard of your main cotton fabric or one fat quarter
1/2 yard of your heat-safe fabric like Insul-Bright or cotton batting
1/4 yard of your complimentary cotton fabric
Washable fabric pen
Rotary cutting mat set
All-purpose thread
Wonder sewing clips
1/2” double bias tape
Sewing machine
Instructions
1/2 yard of your main cotton fabric or one fat quarter (I got mine from Amazon)
1/2 yard of your heat safe fabric like Insul-Bright or cotton batting (I got mine from Amazon)
1/4 yard of your complimentary cotton fabric
Washable fabric pen
Rotary cutting mat set
Wonder sewing clips
1/2” double bias tape
Sewing machine
Instructions:
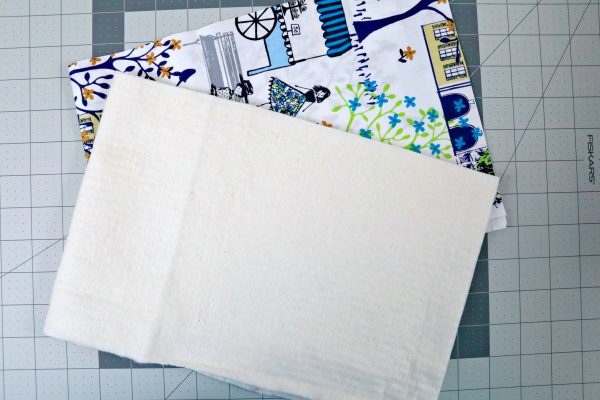
Step 1: Measure, mark and cut two 8”x24” pieces of your main and one 8”x24” piece of your heat safe
or cotton batting. If possible, you can cut on the fold and the pieces would be 8”x12” instead.
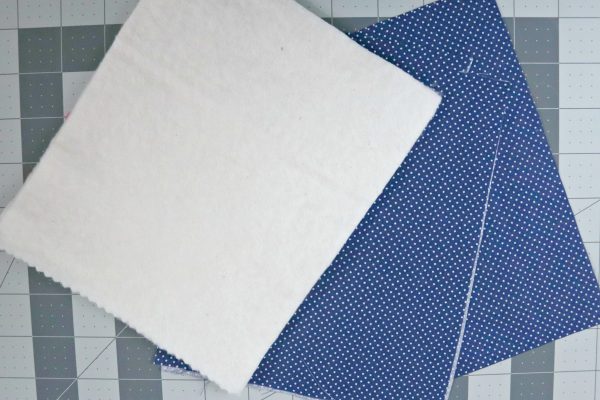
Step 2: Next, you will cut four 6.5”x8” pieces of cotton and two 6.5”x8” pieces of the heat safe or cotton
batting.
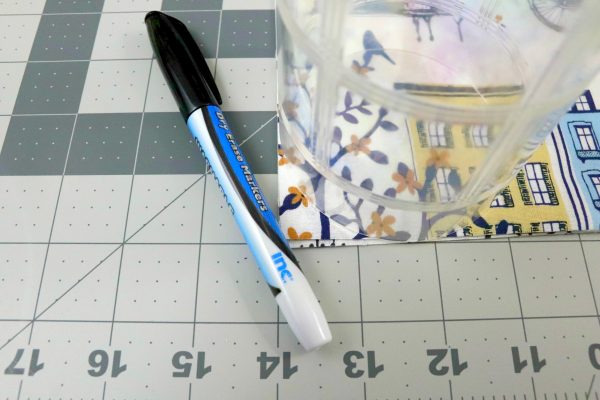
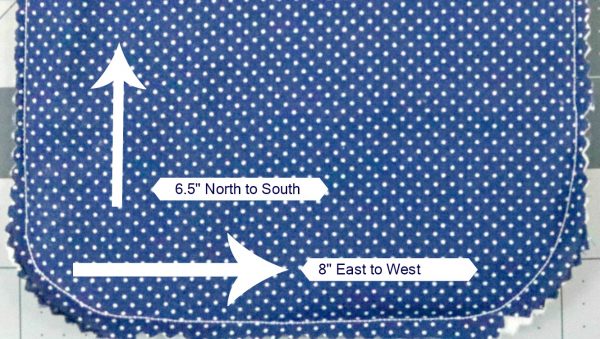
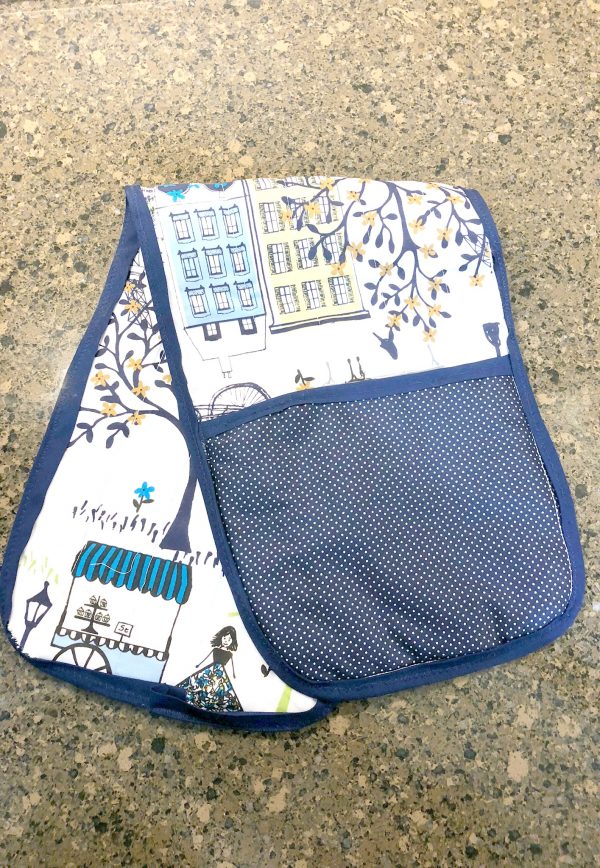
Step 3: Place a glass on the 4 corners of the longer piece and trace around it, making rounded corners.
You will do the same on the small pieces in the two bottom corners (you will position these pieces with
the 8” on the east and west and the 6.5” on the north and south.
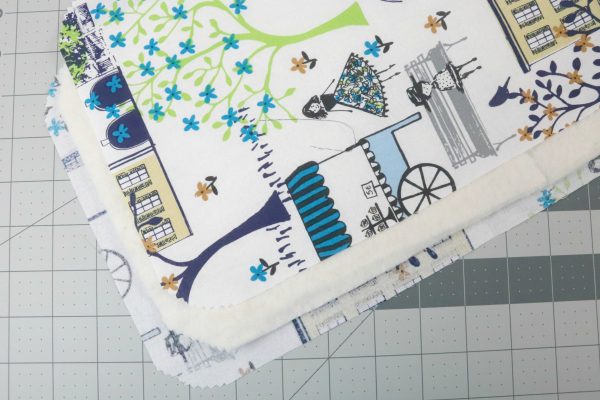
Step 4: Lay one piece of the longer piece of fabric, right side down, then the heat safe or cotton batting
piece and then the other piece of the longer fabric, right side up. Pin around all 4 sides.
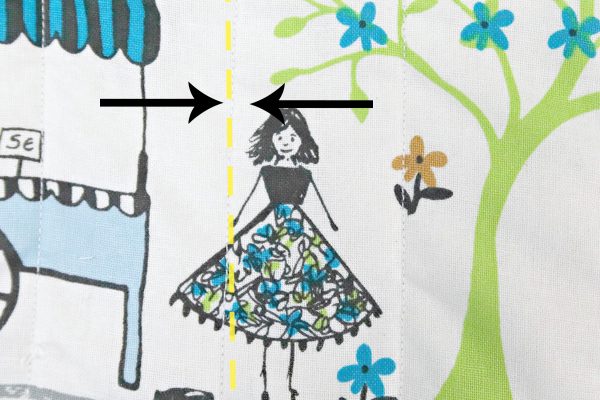
Step 5: Using your fabric safe pen, running along the 24” length of the fabric, mark lines 1.5 “ apart and
stich along the lines, so they have a quilted look. Because the fabric may shift during the sewing, you
may need to trim where it is uneven. It is completely optional, but I stitched a 1/4” seam around the
edges to make securing the bias tape in step a bit easier.
Step 6: Take the four smaller pieces of fabric and heat safe or cotton batting and layer like you did with
the longer pieces in step 4. Pin and sew a 1/4" seam allowance around the four sides.
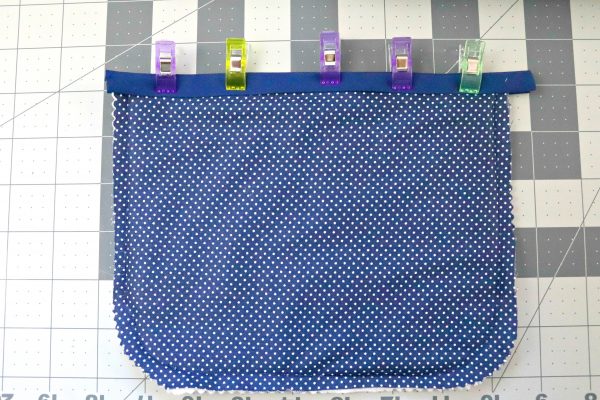
Step 7: Attach bias tape along the top of each of the smaller pieces
Step 8: Matching the round edges of the smaller pieces to the longer pieces, clip or pin into place.
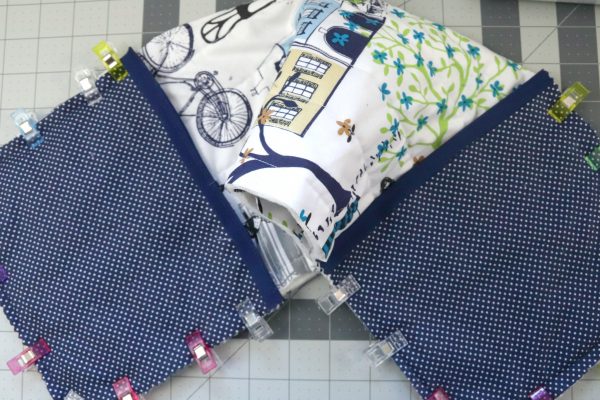
Step 9: Sew a 1/4" seam allowance around the four sides.
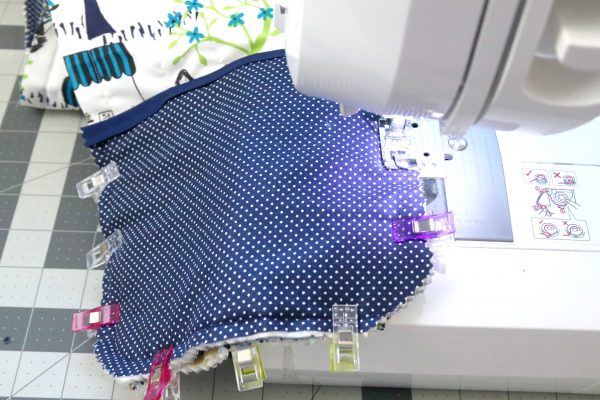
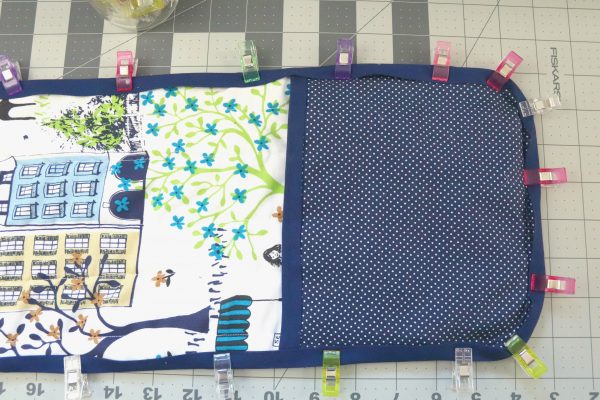
Step 10: Pin or sew your bias tape along all four sides and secure into place with a 1/4" seam allowance
around the four sides.
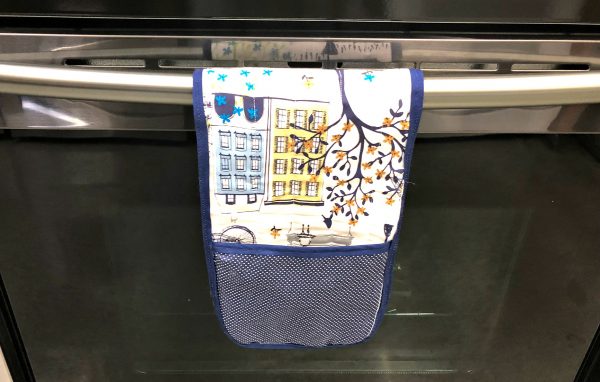


Love this and it’s a good excuse to buy fabric!!