
What you need
Decorative paper (natural handmade paper works best, but you can also use other kinds of decorative paper, including scrapbook card stock)
Dried pressed flowers and leaves
Clear laminate paper or contact paper (enough to cover the bookmarks on both sides)
Pinking shears, decorative edge scissors, or plain scissors
Tassel if desired (you can also make your own tassel from embroidery thread, crochet thread, or thin decorative cord)
Ribbon if desired
Hole punch (optional – you’ll need this if you want to add a tassel or ribbon)
Craft glue
Wooden toothpicks (to apply the glue)
Instructions
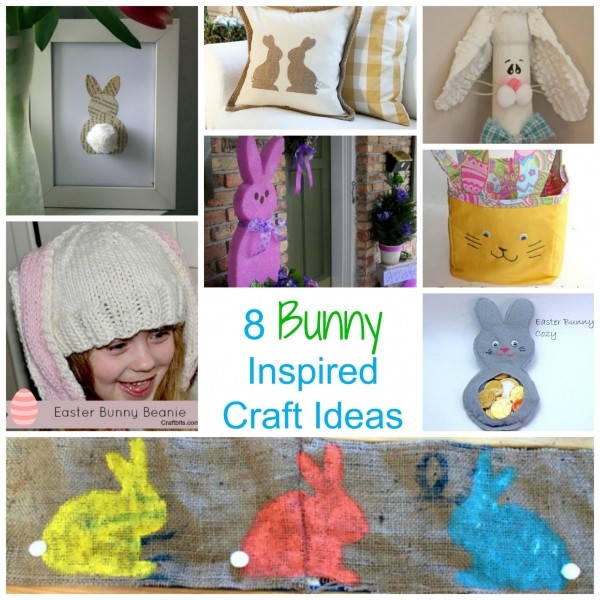
You will enjoy using these bookmarks for your own books, or make several to give as gifts. These are also quick and easy to make for craft shows, or as an easy kids’ craft.
Cut a piece of paper into the desired size for your bookmark. You can use whatever size works best for your use, but most bookmarks are no larger than around 8 inches long and 2 inches wide. Choose a color of paper that coordinates well with your dried flowers. Light colored flowers look striking on dark colored paper, and dark colored flowers generally look best on lighter paper. However, use whatever colors appeal to you most.
Arrange your dried flowers on the bookmark. Simply lay them on the paper at first, so that you can move them around until you find an arrangement that you like. Once you are satisfied with how they look, use small amounts of craft glue to attach them to the bookmark. A toothpick works well when applying glue to small stems and flowers. Try to keep the glue only on the backs of the flowers so that none of it shows on the front of the bookmark. Let the glue dry completely.
Cut two pieces of clear adhesive contact paper, making sure that they are at least a quarter inch larger than the bookmark on all sides. To make it easier to keep things straight, you can even cut the contact paper pieces larger, since you’ll be trimming the bookmark when you are done.
Peel the paper backing off of one piece of contact paper, laying it sticky side up on the table. Place the bookmark face side down on the contact paper, being careful not to create wrinkles or bubbles. The edges of the contact paper should extend on every side of the bookmark by at least a quarter of an inch.
Peel off the backing from the other piece of contact paper, and press carefully over the back of the bookmark. Again, make sure the contact paper extends at least a quarter inch past the edges of the bookmark.
Using plain or decorative edged scissors, cut around the edges of the bookmark, leaving a quarter inch of contact paper extended on each bookmark side so that it stays firmly sealed.
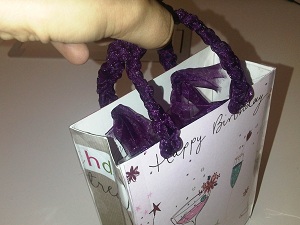
If a tassel is desired, punch a hole in the bottom of the bookmark, and use embroidery thread or crochet cord to tie on a tassel. Or, punch a hole at the top of the bookmark and add a ribbon loop.
Home decor specialist, Alyssa Davis, is a regular writer for Metal-Wall-Art.com, and she offers many ideas on how to design your favorite ooms with turtles metal wall sculptures and wire wall art.


What do you think of this project? Let us know!