
What you need
Old desk or nightstand, solid wood is best
Paint in a color of your choice
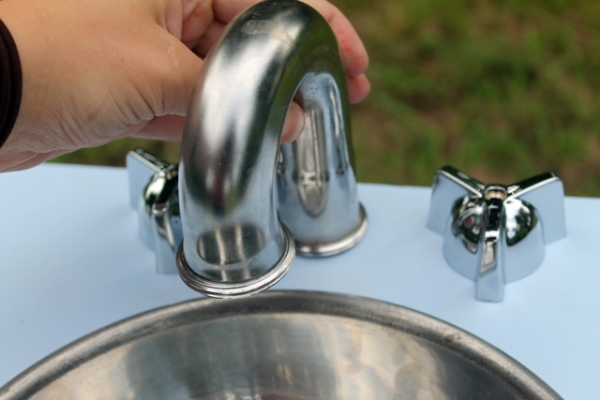
Curved “j” shaped pipe for sink handle
Steel or aluminum mixing bowl
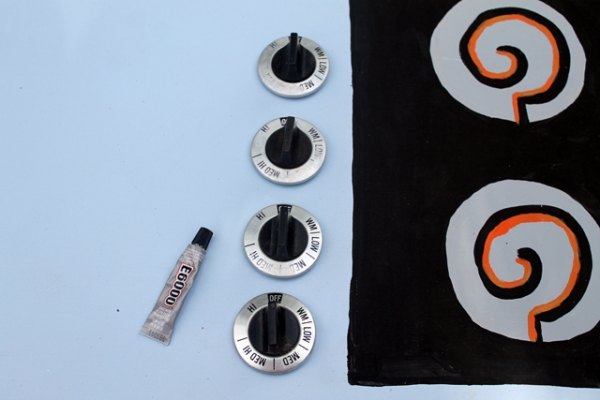
Recycled stove burner knobs
Recycled sink knobs
Clamps for gluing
Wood glue
Superglue
Drill
Jig Saw

Instructions
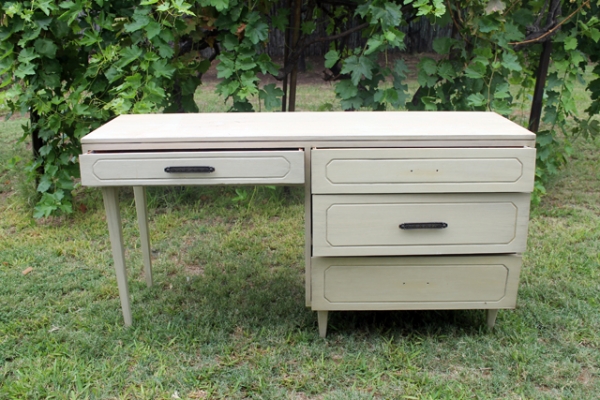
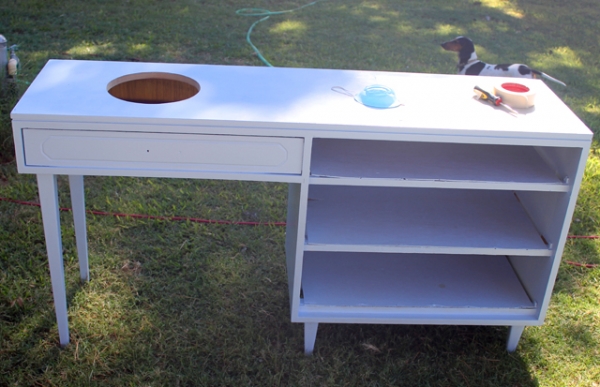
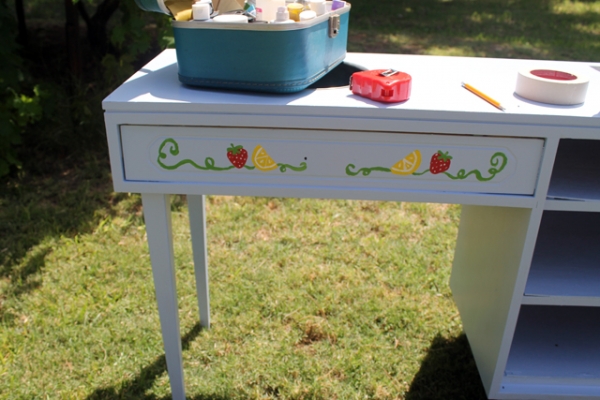
Depending on the piece of furniture you are using, there are many variations of this project and the steps needed to complete it. Here’s the desk I started with. The bottom drawer was damaged and falling apart, so I knew it had to come out.
2. The sink and stovetop parts all came from the local Restore. To save money, find these at yard sales or thrift shops.

3. Flip the sink bowl upside down on the desk surface, positioning it where you want it and trace around the edge. Now draw a smaller circle by freehand about 1/2″ inch smaller inside the larger circle. Using a drill bit, drill a hole in the smaller circle to get started. Then, using a jig saw, cut out the entire smaller circle.
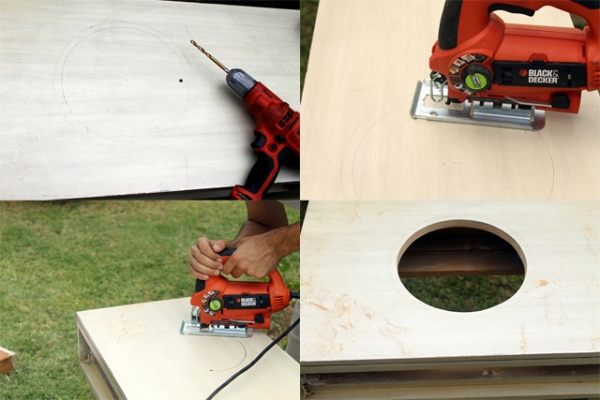
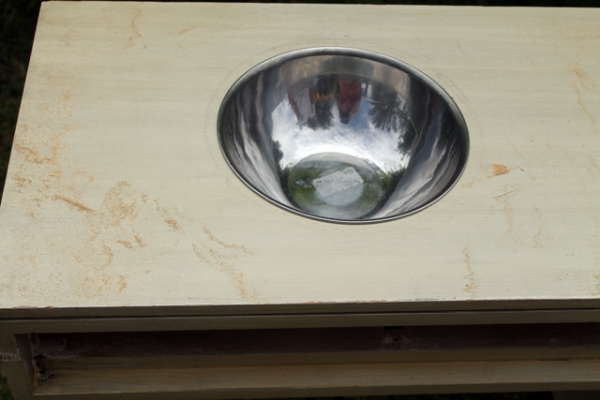
The sink bowl should fit down inside the hole.

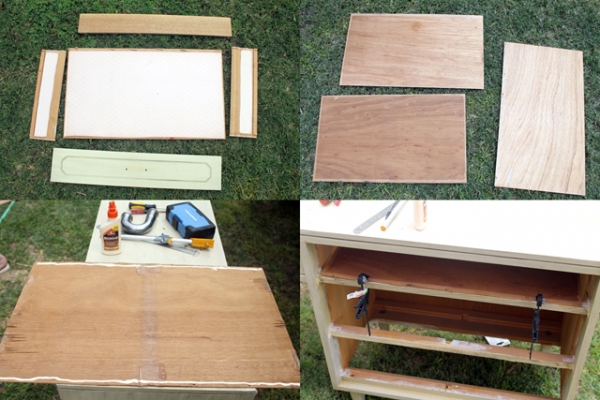
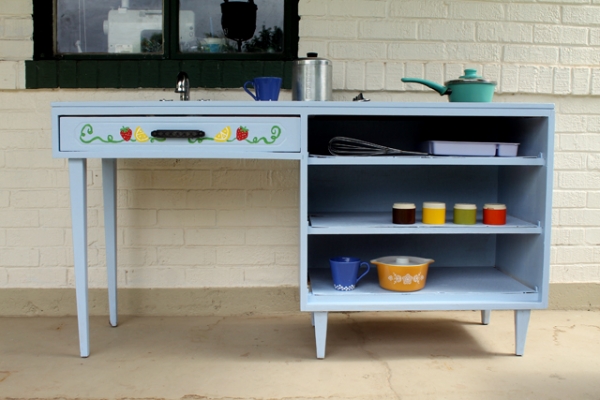
4. To make the pantry shelves we took out the desk drawers and disassembled them. They were glued together only lightly, so with some prying and a rubber mallet, we pulled the drawers apart. Use the bottom piece of each drawer for each of the shelves. Trace the edges of the with wood glue and place on the old drawer tracks, as shown in the picture below. Use clamps to hold the pieces securely while the glue dries. Repeat for all three drawers.
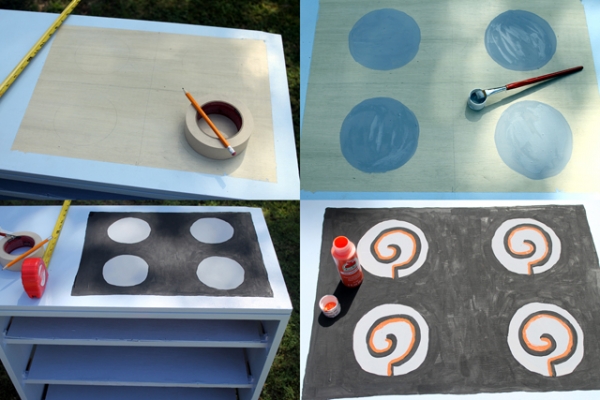
5. Next we painted the desk, except for a square area taped off on the top for the stove (see pictures below). An exterior paint is good to use so that the play kitchen can be brought outside on nice days.
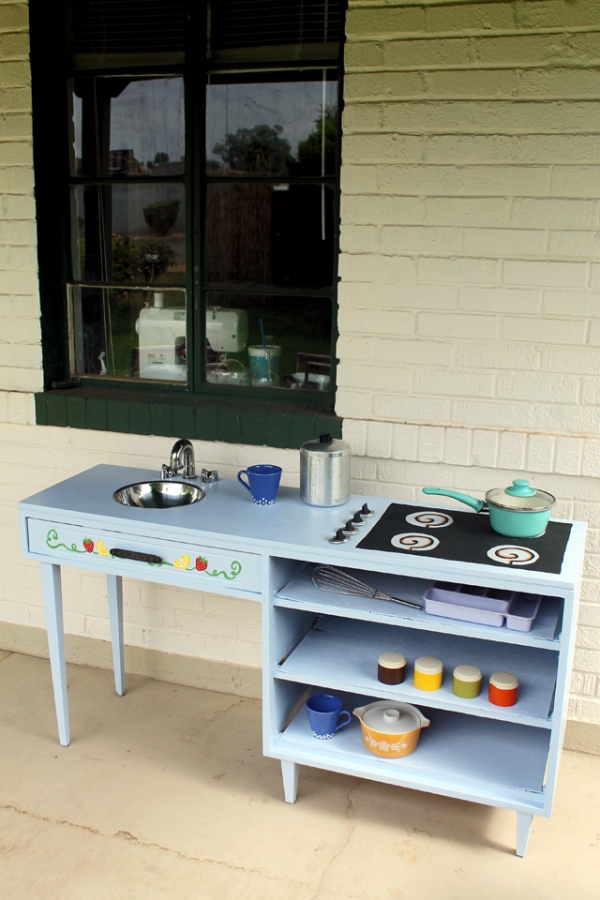
To paint the stove, trace out four circles for the stove burners. We traced around a roll of masking tape. Paint the surface area black and the burners gray. Next, we painted on black swirls for the top of the burners and highlighted with orange paint for the “heat.”
6. Using super glue, position and adhere the sink pipe and handles above the sink bowl, let this dry for several hours before using.
7. Next, attach the stove burner knobs with super glue as well. With a drill, these could be screwed in so that they are able to be turned.
8. Finally, paint and decorate your play kitchen! We went for a kitschy, vintage kitchen vibe. We also returned the drawer handle to the small desk drawer on the front.


Super cute recycle idea! I’ve had problems with super glue holding, but have found that construction adhesive (cheap in small tubes) will hold better. I think this is going to be a project that gets made for our grandbaby to enjoy here at grandma and grandpa’s house!