
What you need
To make this one you only need:
1)Red, Yellow, Green Polymer clay.
2)Roller
3)Thin bush and gold paint (I recommend acrylic or nail polish even, for rainy weather)
4) Piece of wire
5) Thin Gold Chain
6) 2bead tips
7) 1 Clasp
8) Pliers and cutters.
Optional and mentioned in the how-to video:
9) Clay conditioning machine
10) X Acto knife
Instructions
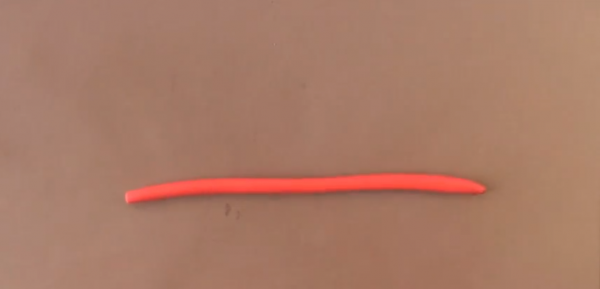
Take red clay and roll it into the shape of a snake, as thin or as thick as you´d like.
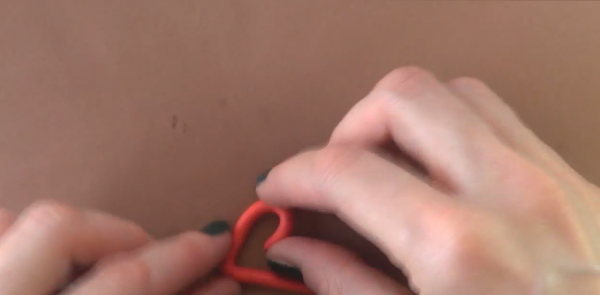
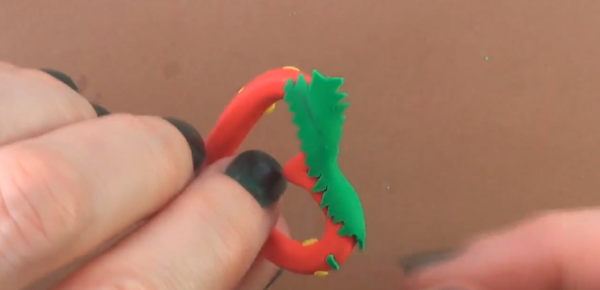
Shape your now red snake into a heart. Start from the bottom part making a “V” shape and then going up, making both end met in the middle. Smooth surface using a Ziploc bag on the top, to avoid fingerprints.

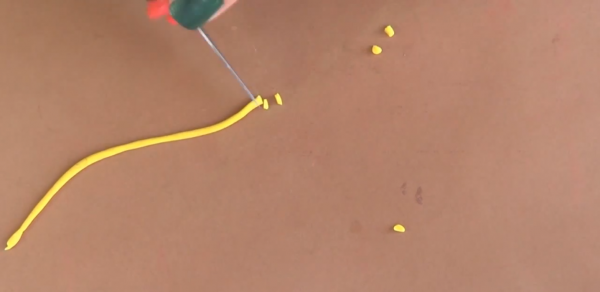
To make the seeds make a much thinner snake with yellow clay. Cut little bits and roll them, then add them to your red heard.

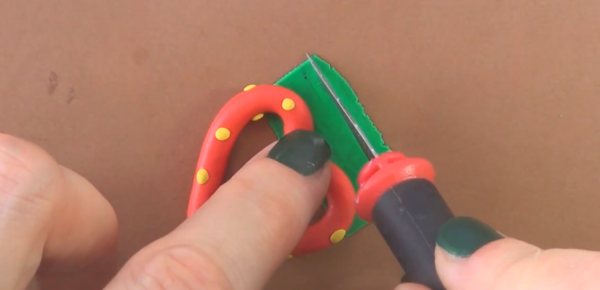
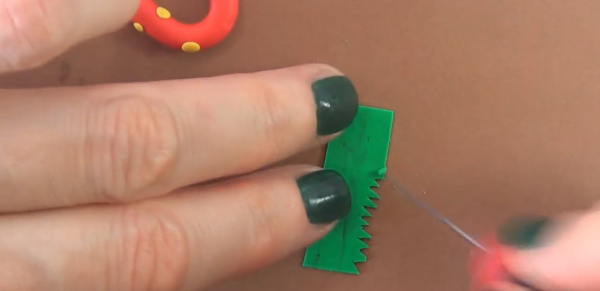
Take green clay, flatten it, and cut it to match the width of your red heart. Remove excess and then cut random tiny sized triangles, to simulate leafs. Place your green piece on top of your hear, shape and smooth it.
Make a whole with a piece of wire, from one side of your red heart to the other. Make a whole big enough so your chain can go through.

Bake according to clay instructions.
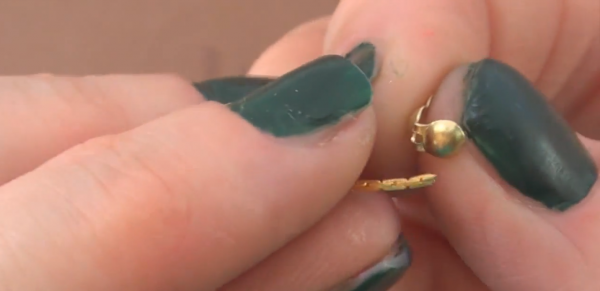
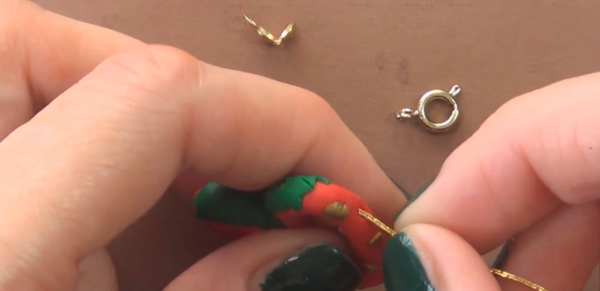
Grab your chain and your bead tip. Insert your chain through the bead tip´s tinny hole. Once your chain is in, close your bead tip with pliers.
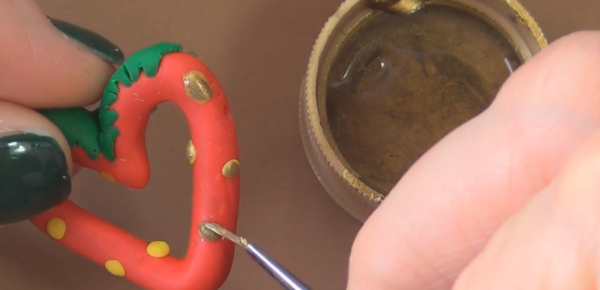
As something extra, once your heart is baked and cooled, you can add some extra sparkle by painting seeds with gold acrylic paint and a detail brush, wait until dry.
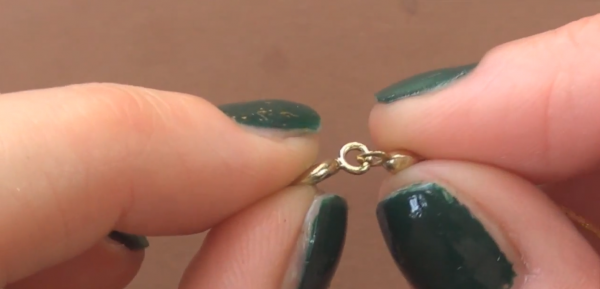
Once your piece of art is dry, you will insert it through your chain. Close the chain by doing the same thing with the bead tip as we did before, but then attaching the clasp, open clasp´s loop with pliers, inserting the bead tip and then closing the loop.
Follow the photos of the step-by-step tutorial here, and complement it with it´s tutorial, with tips as we go: https://www.youtube.com/watch?v=IWQEokW8L9c
Visit my blog: http://cutesimplestuff.blogspot.com.com/2013/07/strawberry-hearth-clay-necklace.html


What do you think of this project? Let us know!