
What you need
fuzzy fabric
thick thread
felt
cotton stuffing
large sewing needle
sharp scissors
tweezers
skewer
neck embellishment optional
Instructions
1. To start set out all of the needed materials and tools for this project.
2. Place the fabric on a flat surface, laying it out in two layers. If needed pin down to a stable surface. The right sides should be facing each other. Meaning the side of the fabric that will end up being on the outside of the finished bear needs to start as the inside.
3. Using the fabric pen free hand the desired pattern. Draw the ears, arms, legs, and head separately from the main body.
* I used the book Bobby Dazzler’s Misfits for inspiration. The patterns in the book were smaller than what I had wanted to use. So I sketched out my own design for the panda bear. You may use whatever inspires you. A drawing, cartoon character or an original design of your own.
4. If fabric has not yet been pinned down now you should do so. Making sure the two layers are lined up. Slowly start to cut out your finished pattern using a good pair of scissors.
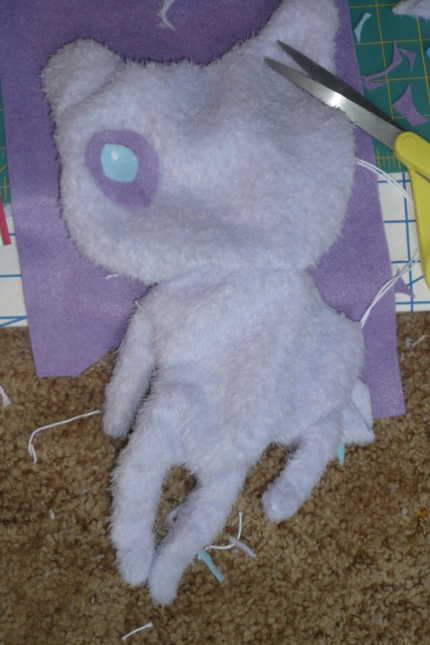
*After cutting again make sure the pieces are lined up properly. Now you may begin stitching by hand using the thick thread and large needle. You may start with any part first but remember to leave an unsown edge for when you will attached each part to the main body. For the main body a small hole at the top and side should be left. This is to leave a place to attached the head and fill with the cotton stuffing.
5. Before finishing the head you may start work on the eyes, nose and mouth. Using the felt cut out a desired eye shape and nose. For the nose you may use the felt or the thick thread. Start to stitch them to the head. Before completing the feet if desired you may stitch them up into a standing position. This takes some time to do however.
6. After you have stitched up each part used your fingers and the tweezers to turn them right side out.
* However if you choose you may wait until you’ve mostly attached the parts to turn them right side out.
7. Start to attach the parts to the main body. As stated above leave holes for the cotton stuffing.
8. Fill the parts with cotton fill. Using the skewer as needed.
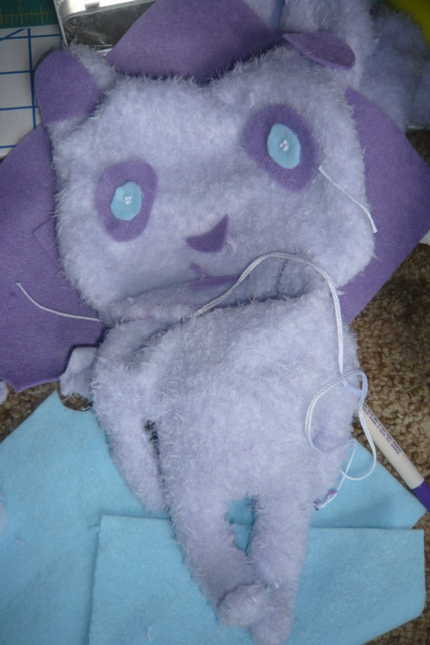
9. Close up the openings and trim off any loose thread and fabric fluff.
* add an embellishment to the panda’s neck if desire.
10. Take a look at your finished project and take a pic to show it off!


What do you think of this project? Let us know!