
Note that this project does contain small objects and may not be suitable for all ages. While small objects should remain in the pillow, be sure to supervise children when playing with puzzle pillow.
What you need
18″ x 11″ piece of fabric for larger pillow (remnants work great and keep cost down) or 11″ x 8″ for smaller pillow
Thread to match chosen fabric
1/8 yard clear vinyl (found at craft stores in fabric dept.)
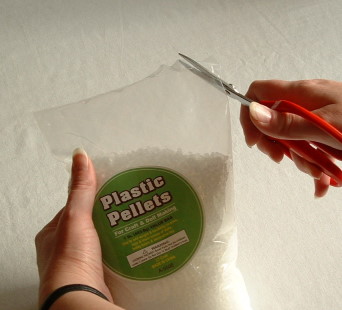
8oz – 1lb bag of bean bag fill (depending on how full you want your pillow and size of pillow you choose to make)
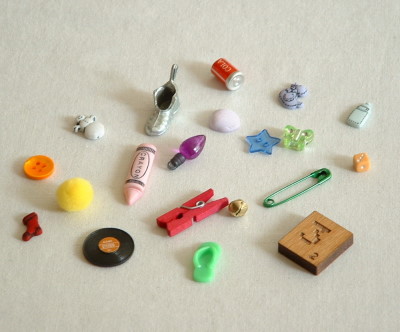
20 miniature objects (safety pins, paper clips, buttons, etc.)
Ruler
Chalk or pencil to mark fabric
Scissors
Sewing needle
Sewing machine (not required but helps make project go faster)
Instructions
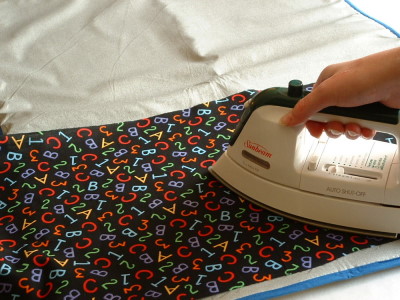
Step 1: Iron fabric to get all creases and wrinkles out.
Step 2: Measure, mark and cut:
• one piece of fabric to either 18″ x 11″ (larger pillow) or 11″ x 8″ (smaller pillow)
• one piece of clear vinyl to either 5 1/2″ x 3 1/2 (larger pillow) or 4″ x 4″ (smaller pillow)
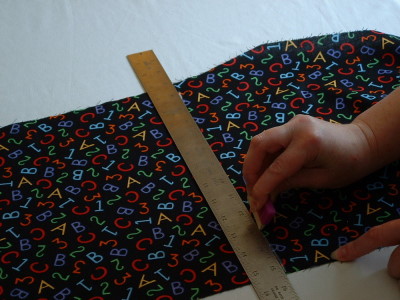
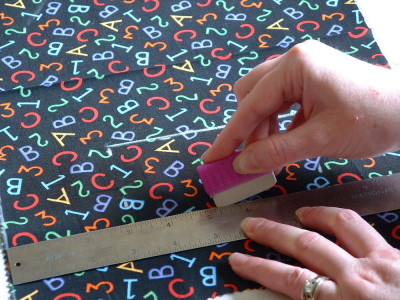
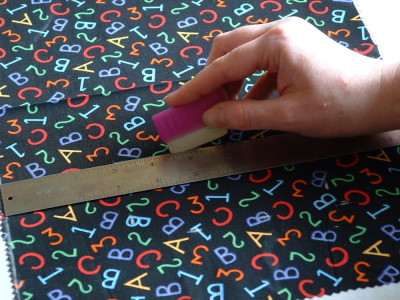
Measure
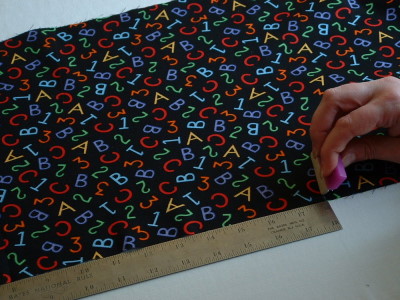
Mark
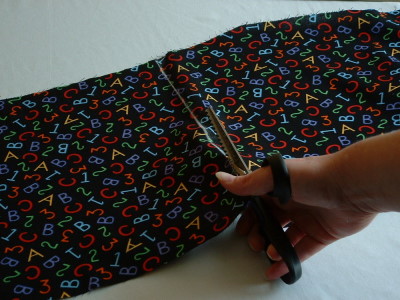
Cut
Step 3: Fold fabric in half making a 11″ x 9″ rectangle (8″ x 5 1/2″ for smaller pillow) and iron crease in center. From the center of the pillow, measure 3 inches and mark then 6 inches and mark (1 1/2 and 4 inches for smaller pillow).
Now from the sides, measure and mark 3 inches and then 8 inches (2 1/2 and 5 1/2 for smaller pillow).
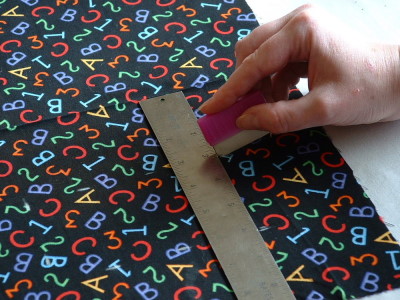
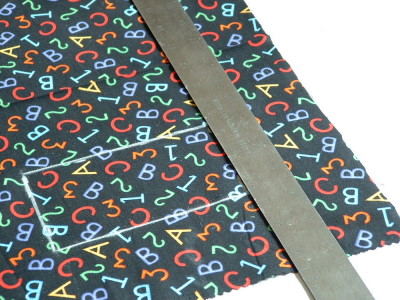
Using ruler, connect the marks, making a rectangle.


Step 4: Cut a slit in the center of the rectangle.
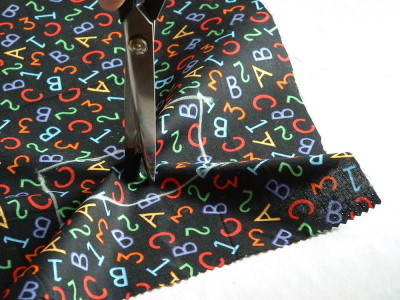
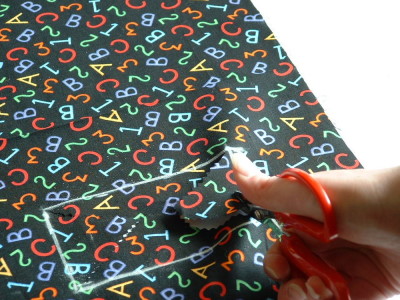
Step 5: Starting from the center, carefully cut line towards each corner making sure you stop at the chalked line.

Cut out excess fabric inside rectangle, making sure you leave at least 1/4″ of fabric.
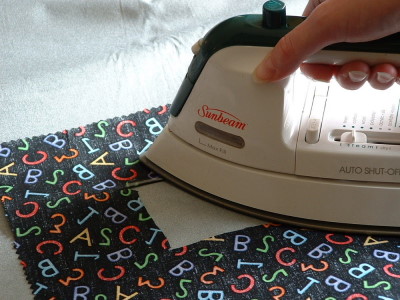
Step 6: Flip fabric so that the underneath side is facing up.

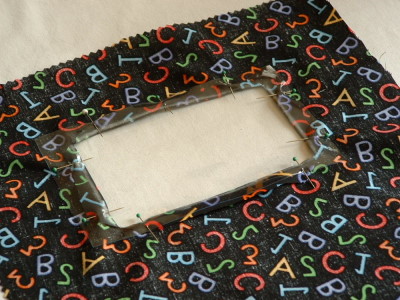
Turn up flaps and iron along chalk line.

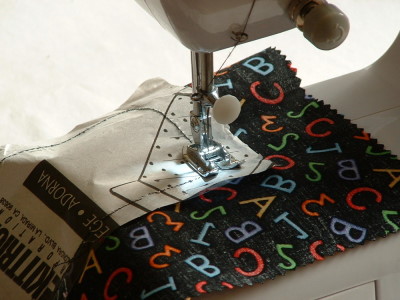
Step 7: Pin vinyl to fabric. * Tip: Once vinyl is secured with pins to fabric, pin a piece of the paper that came with the vinyl (or wax paper) to the plastic so that it does not get caught on the foot of the sewing machine.
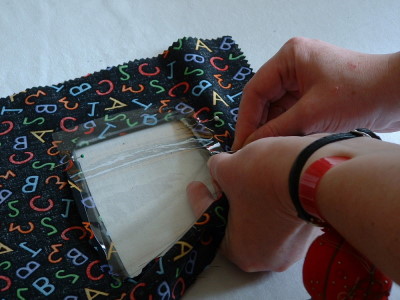
Step 8: Sew vinyl to fabric using sewing machine (or hand stitching).
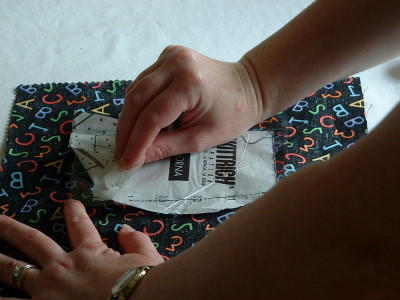
Step 9: Peel away paper from vinyl.
Step 10: With bag inside out, align edges and pin.
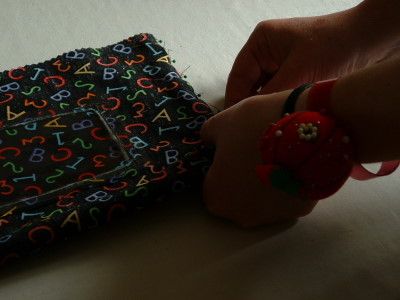
Make sure that you leave a 3 inch opening in one of the sides so you can fill your pillow with the
!
Sew along edges leaving 1/8 to 1/4 inch around edge. Don’t sew it totally shut–make sure you leave an opening for filler.
Step 11: Turn bag right side out.
Step 12: Cut small hole in bag of filler.
Step 13: Carefully fill pillow with filler.
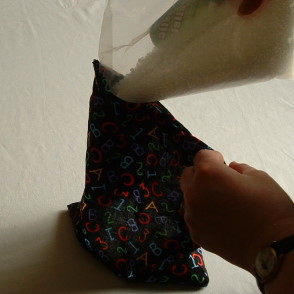
Step 14: Choose your miniature objects. Then add them to pillow with the filler.
*Optional: If you have a camera and printer, you can take a picture of your small objects before inserting them into the bag. Using your printer, print out small picture on cardstock. Punch hole in upper corner of cardstock. Attach object key card to pillow with yarn or ribbon and safety pins once the pillow is complete.
Step 15: Tuck edges of opening inside bag and sew shut with needle and thread.
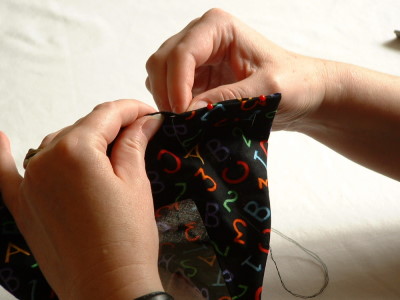
Now your puzzle pillow is ready to play with!
You may also purchase completed puzzle pillows and/or ready-to-go craft kits for this project by contacting me at my Etsy shop at : http://www.brittanysbest.etsy.com.


This is a variation of something I saw in a sewing magazine. I like THIS version better and plan to make it for my sister’s granddaughter to play with during church.
This is an awesome idea. I’m going to make one for my granddaughter for her first birthday. I might elaborate on it and make it even bigger so I can add bigger stuff inside (like blocks). Thanks for sharing this wonderful idea!
Is there a way to make “windows” in fabric sewing right sides together and then turning them inside out? I always end up with threads at the corners.
CUTE!!:)