
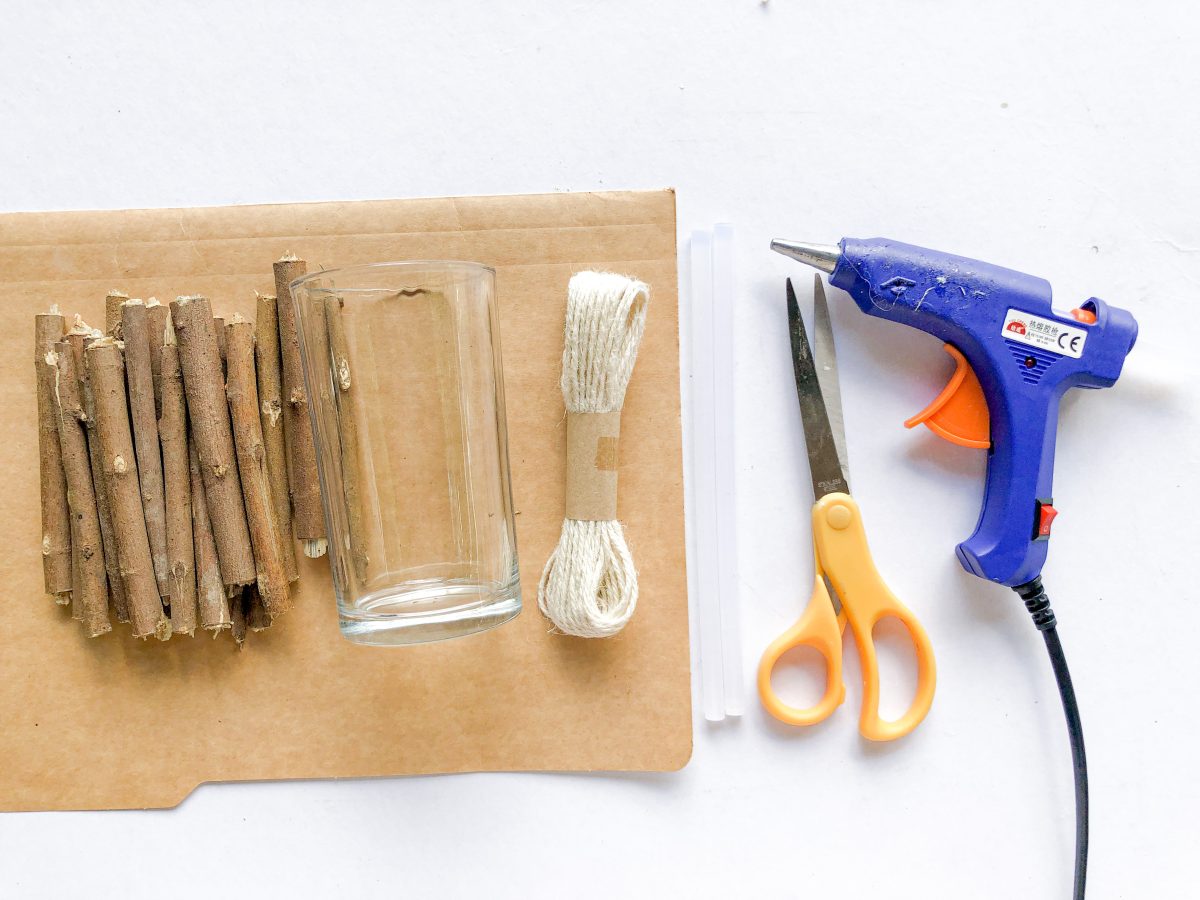
What you need
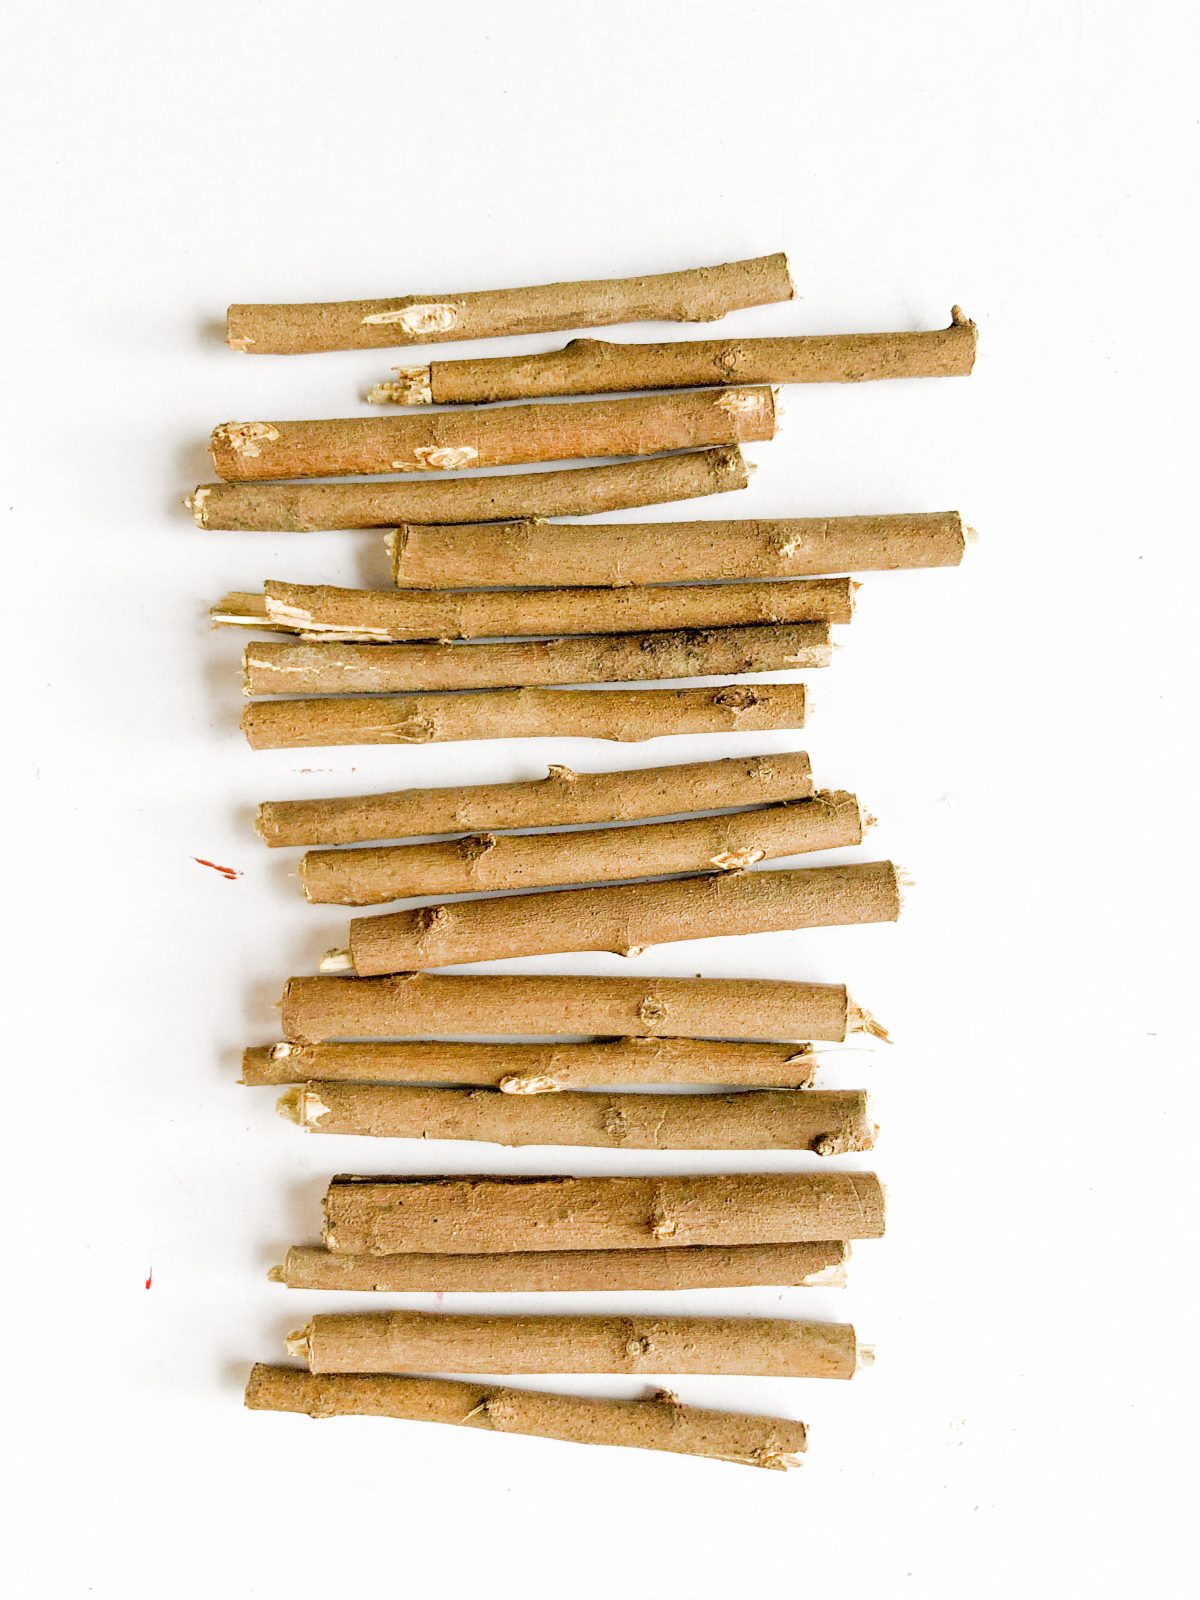
Collection of small twigs, ideally about a quarter inch in diameter
Empty plastic jar (empty peanut butter jars work well)
Strong rubber bands
Twine, ribbon or raffia
Small natural items such as pinecones or seed pods for embellishment (optional)
Thick craft glue (if adding embellishments)
Clippers or trimmers strong enough to cut the twigs
Instructions
This craft is easy and fun to do, and can be a great way for kids to spend an afternoon. If you have a large supply of twigs, try making several of these unique items. The best part is, that no two twig vases or pencil holders will ever look exactly the same.
1. Measure the height of your empty jar. Take this measurement, and add about an inch to it. The resulting measurement is the length you’ll want to cut your twigs. You can use clippers or trimmers to cut the twigs, or simply break them to create a rustic jagged edge. If a small child is making this craft, be sure to do any cutting or trimming for them, since they shouldn’t use sharp clippers.
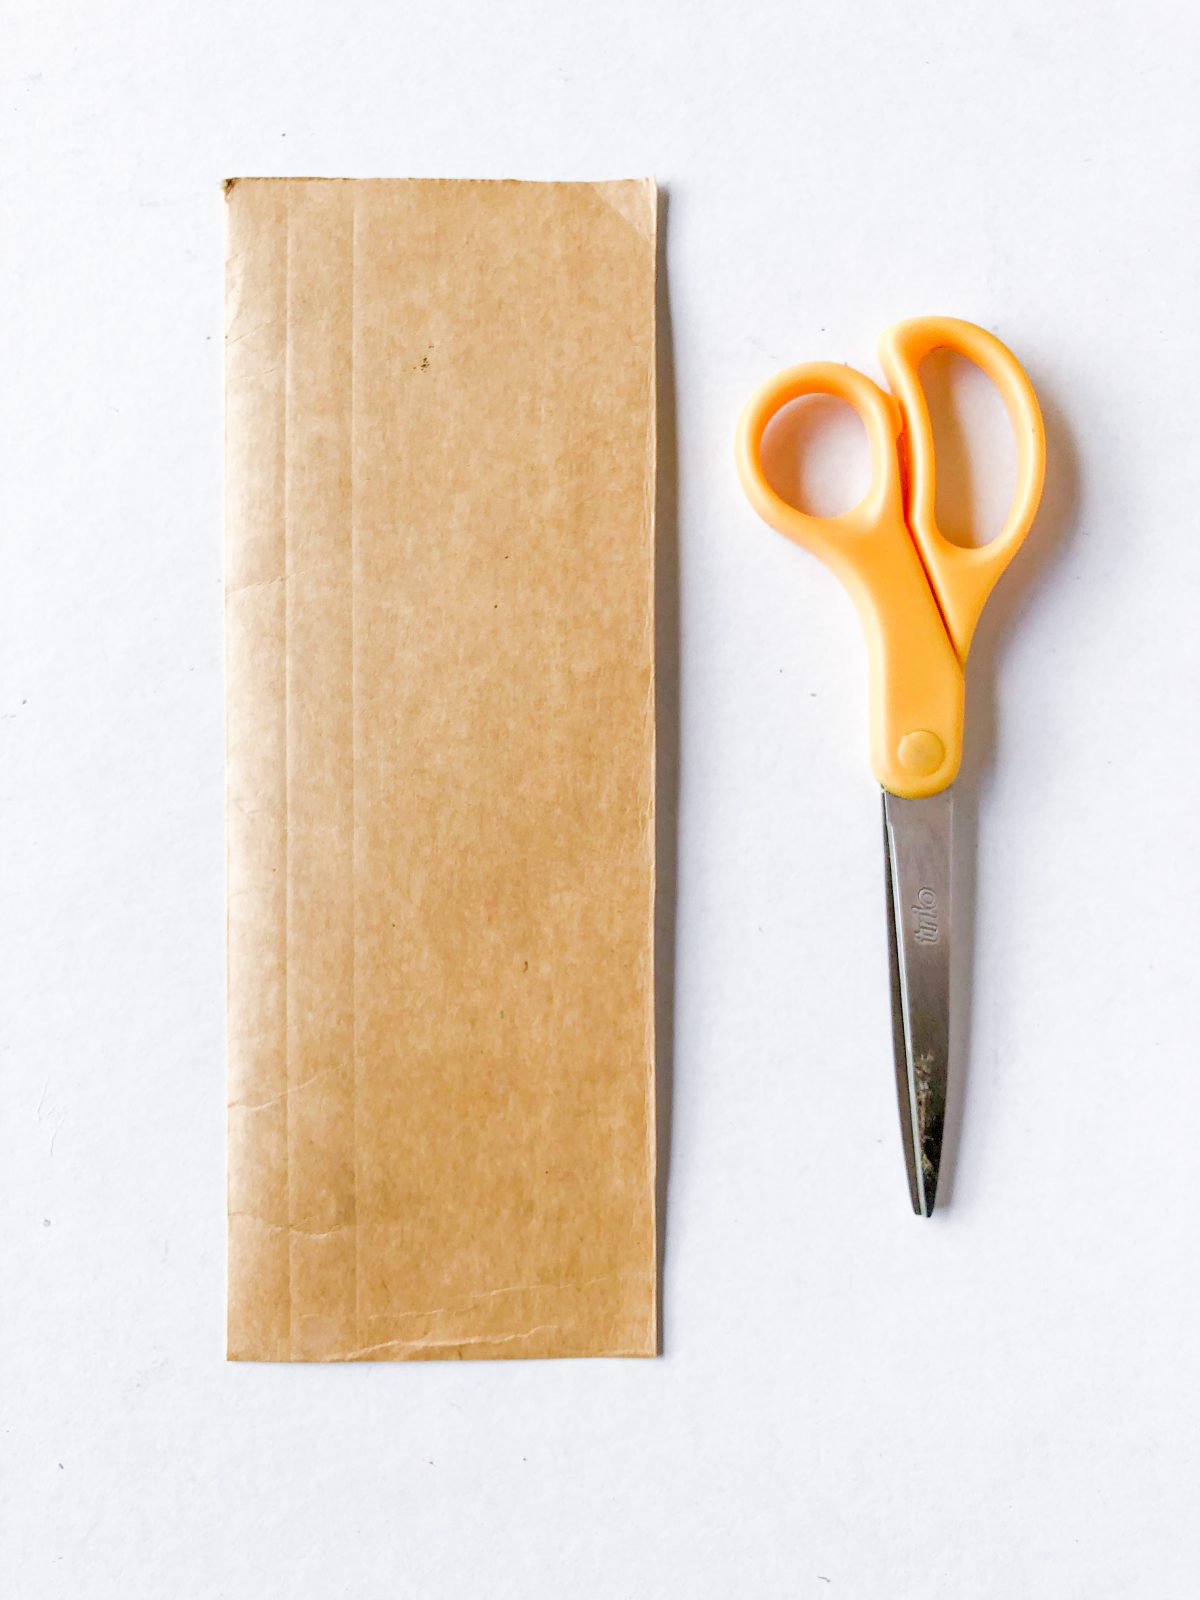
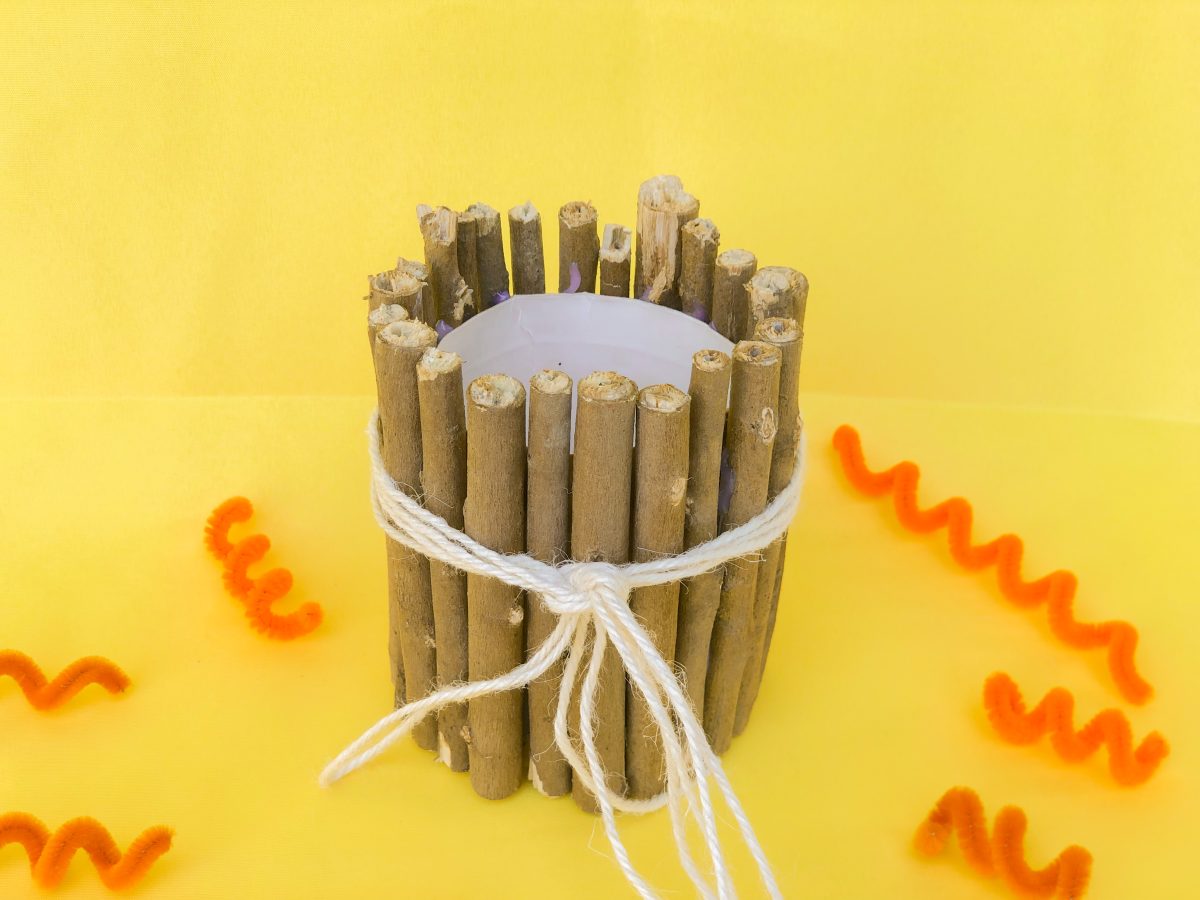
2. Place a piece of cardboard around the middle of the glass. about an inch from the top of the jar, and the other about an inch from the bottom of the jar.

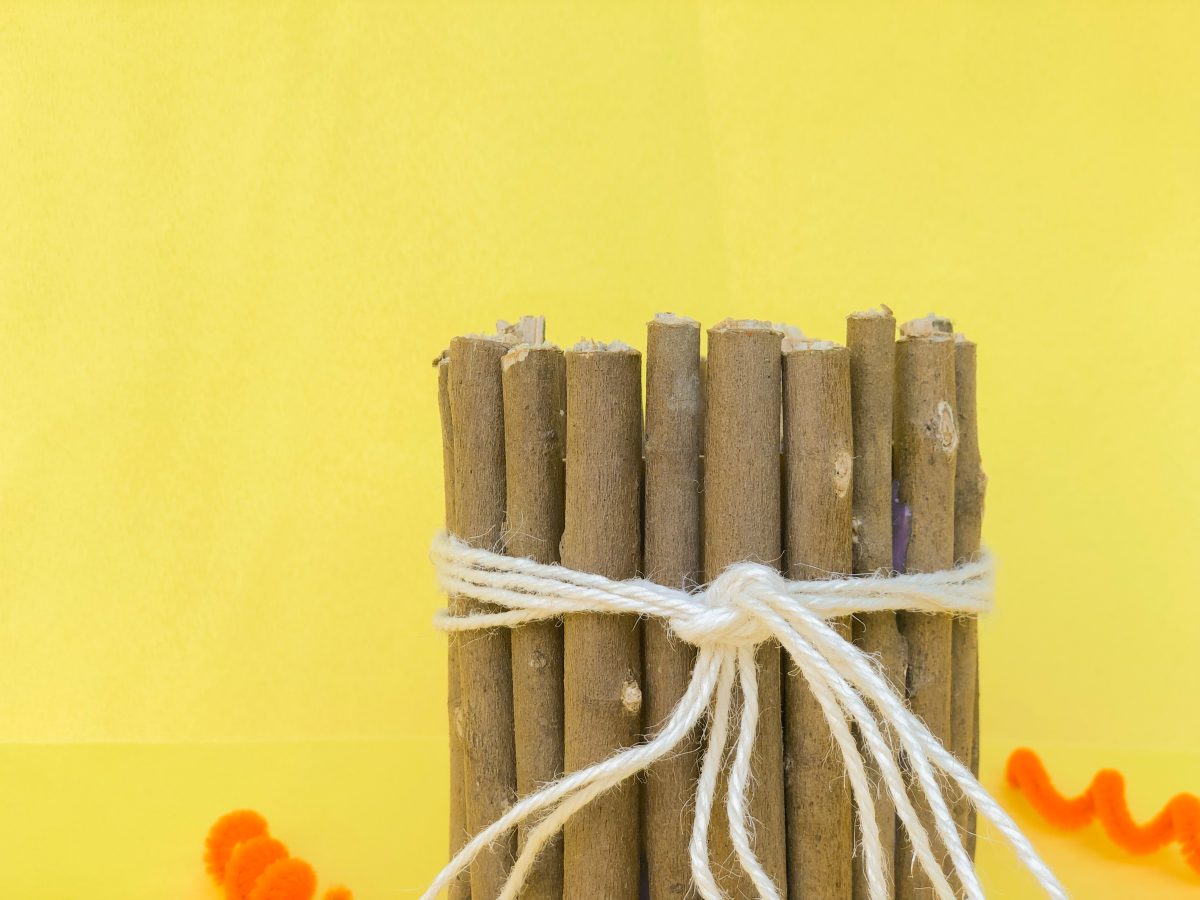
3. Glue the twigs to the board , you can use rubber bands to hold them in place whilst they dry. arranging them vertically around the plastic jar. The extra one inch of the twigs’ length should extend over the top edge of the container. Make sure that each twig is held in place by both the top and bottom rubber band. Place the twigs close together so that you can’t see much of the jar.
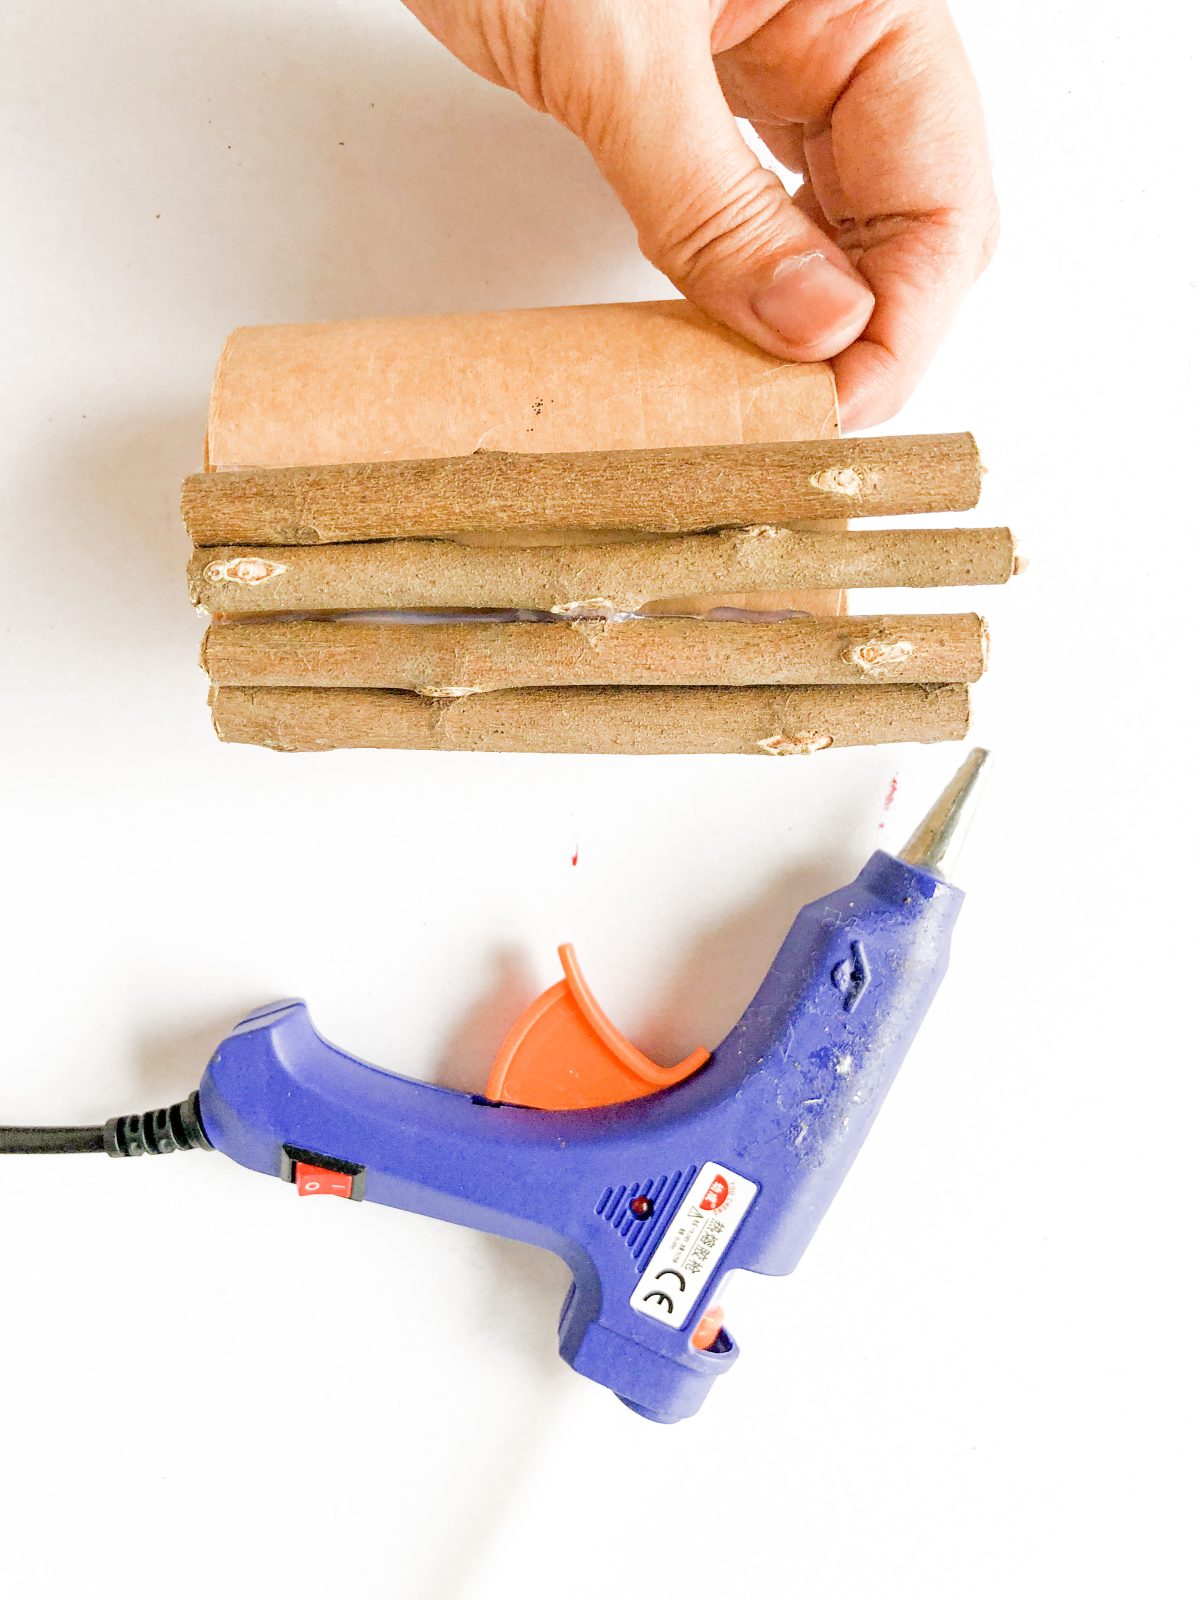
This is easier if you start adding the slightly thicker twigs first, then fill in the spaces with smaller and thinner twigs. Keep adding twigs until the entire jar is covered and you have a nice visual appearance. Make sure that none of the twigs sticks out past the bottom of the container, because that would keep it from sitting straight.
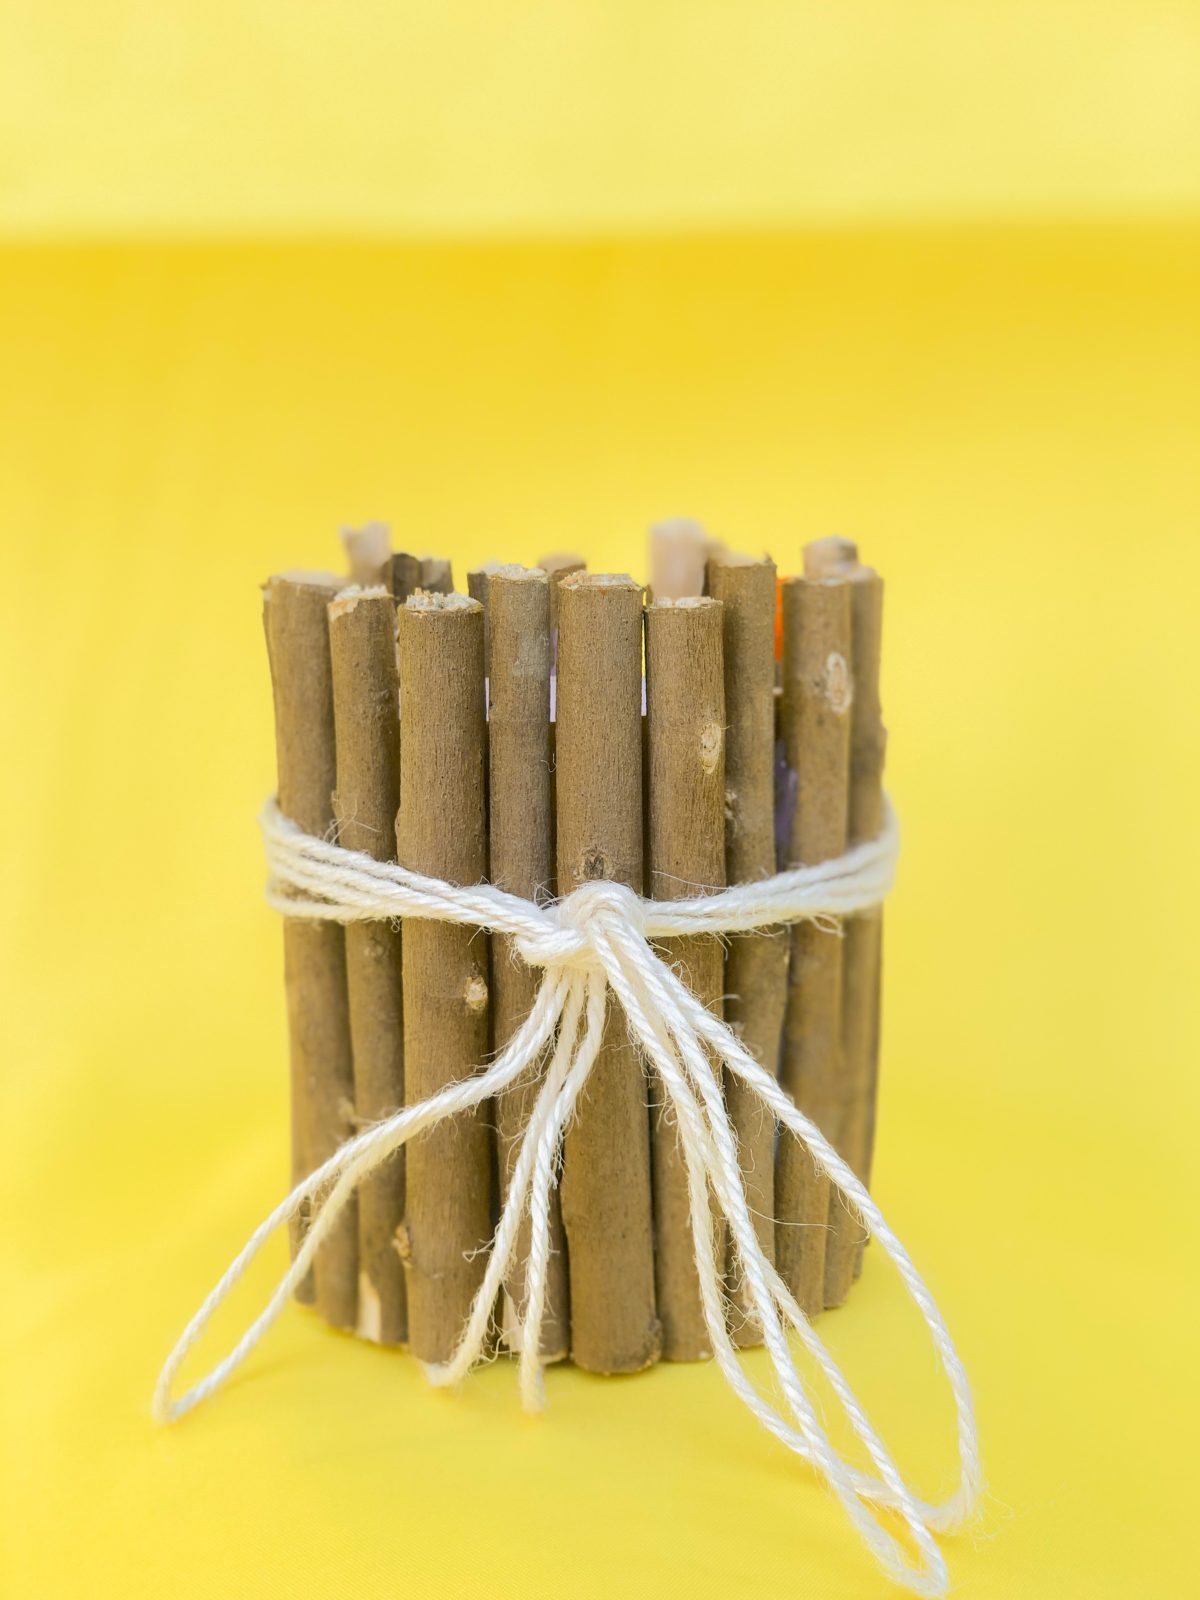
4. Once you are satisfied with your arrangement of twigs, wrap twine, raffia or ribbon around the jar to cover the rubber bands or remove them completely.
5. If desired, use craft glue to add embellishments to the vase. Small pine cones, seed pods, and other natural materials work well. Let the glue dry completely before using.
6. Once it is completely dry, you can use the jar as an interesting container for floral arrangements, whether they be fresh or dried flowers. These decorative containers also look great when displayed on a desk and make good pencil holders.


What do you think of this project? Let us know!