
What you need
Small piece of scrap Leather, the more wrinkled and aged the better
Small scrap of Cardboard (Hard back of a notebook would do fine)
1 piece of printer paper
Scrap of decorative Paper
1 O Ring
Gold Sharpie Pen (permanent marker)
Scissors
Hot Glue Gun
Bull Dog clip/Bag clip
Needle (to punch a hole)
Yellow Pages (to lean on)
Instructions
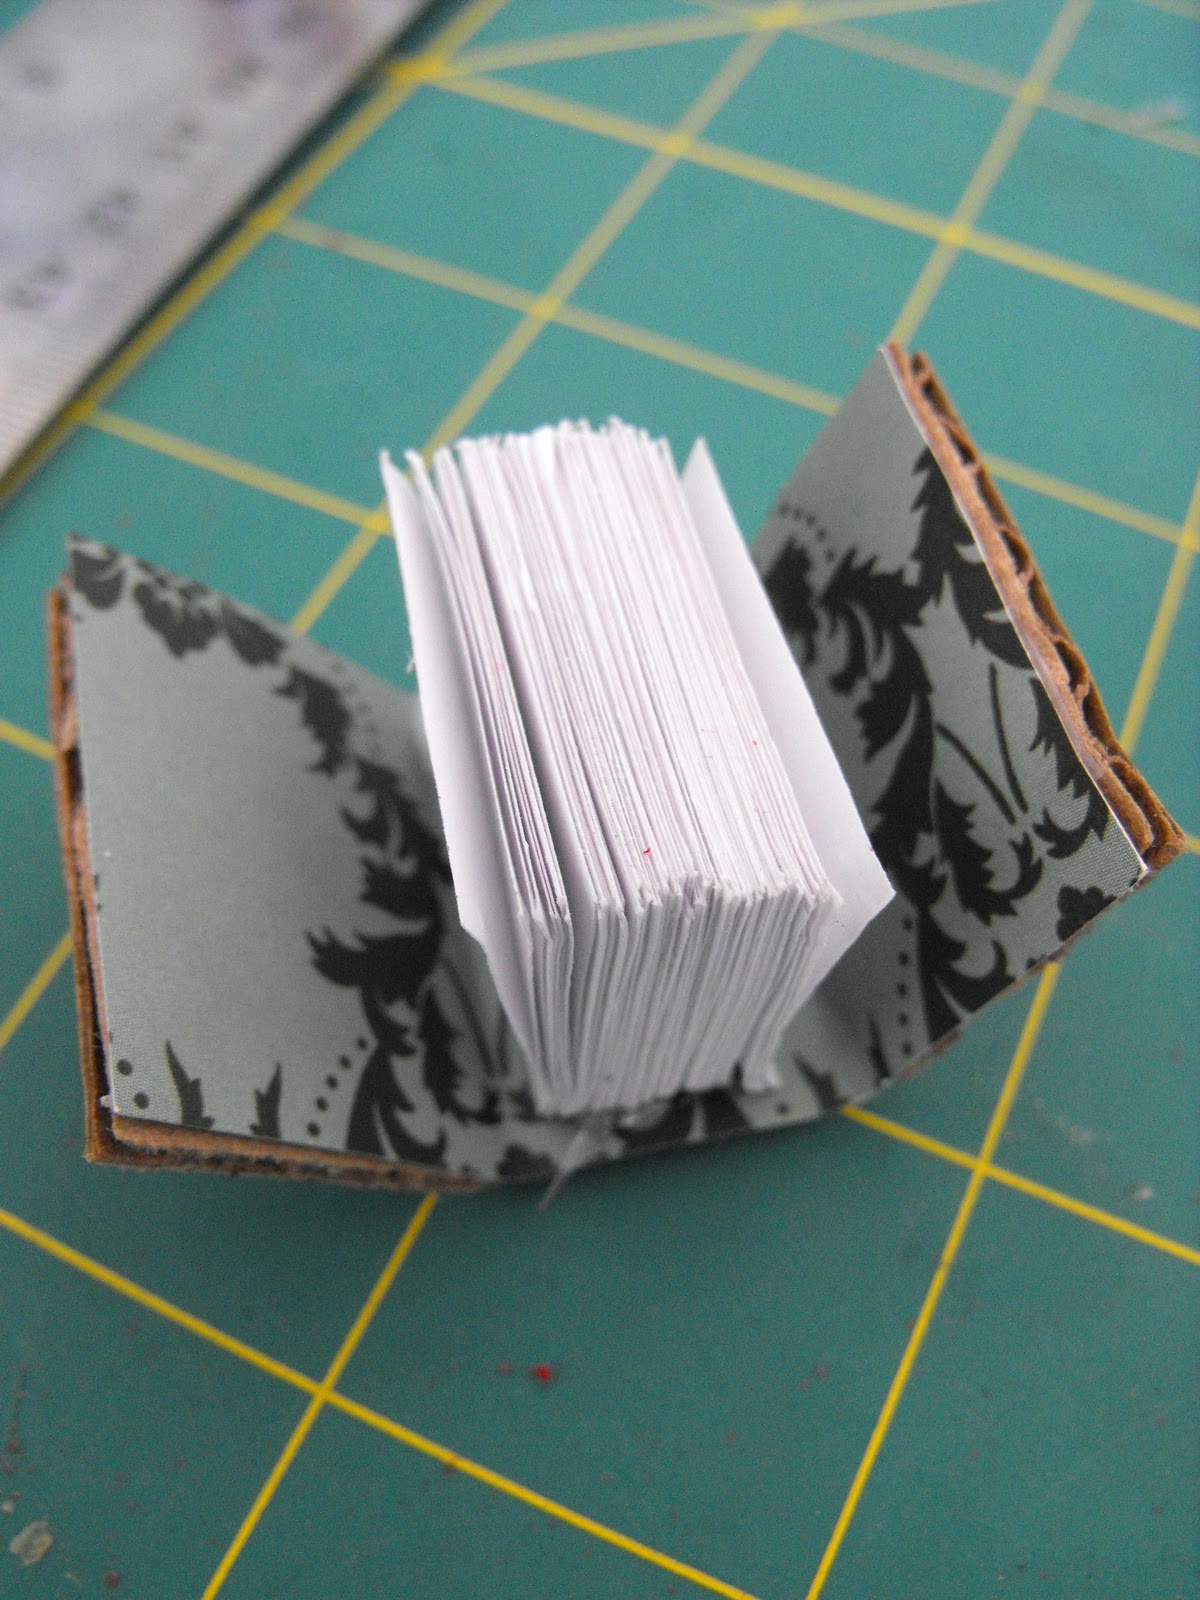
1. Take one piece of printer paper (A4 if you’re in the UK) cut it into 1 inch slices along the width of the paper. Divide the paper up into 5 smaller pieces which should measure roughly 1& 3/4 inches across. I used N.American sized paper which I know is different to A4 so you’ll have to play around with the sizes. Make a big pile of these rectangles then fold them in half and squeeze them with a bag clip/bulldog clip. All of the folded ‘spines’ should be facing the same side and that side should be poking out of the clip.
2. From Cardboard cut 2 rectangles, 7/8ths of an inch by 1 1/4 inches, these will be the front and back of the book,the spine should measure roughly 5/8’s by 1 1/4 inches.
3. Then tape them across the back leaving a hairs gap between the separate pieces, painters tape would be best but I used what I had.
4. If you left enough gap you should be able to fold the cardboard into a book shape.
5. Taking a scrap of decorative paper, draw around the book cover, depending on how large a gap you left the measurement for this will vary. Add Double sided tape to the decorative paper and stick to the book cover, either side is fine.
6. Fold the book to give you a less flat book cover.
8. Give it a little squish if you want your book to sit more closed, don’t if you want an open looking book.
10. Now for the fun bit, I used a Sharpie in Gold with a fine tip and made a rough edge of Gold around the outside of the book cover.then smudged it with my finger to age it a little.
11. To give the spine more definition take the Gold pen make a rough line and smudge it gently then add some small Gold dots, smudging again if it looks too crisp. These books are teeny tiny so unable to add a legible title or writing to it I made tiny dots of varying heights and smudged them. I just thought about where any text would be and put the dots there. In the pic below I gave the book yellowed pages by just scribbling along the book edges with gold pen.
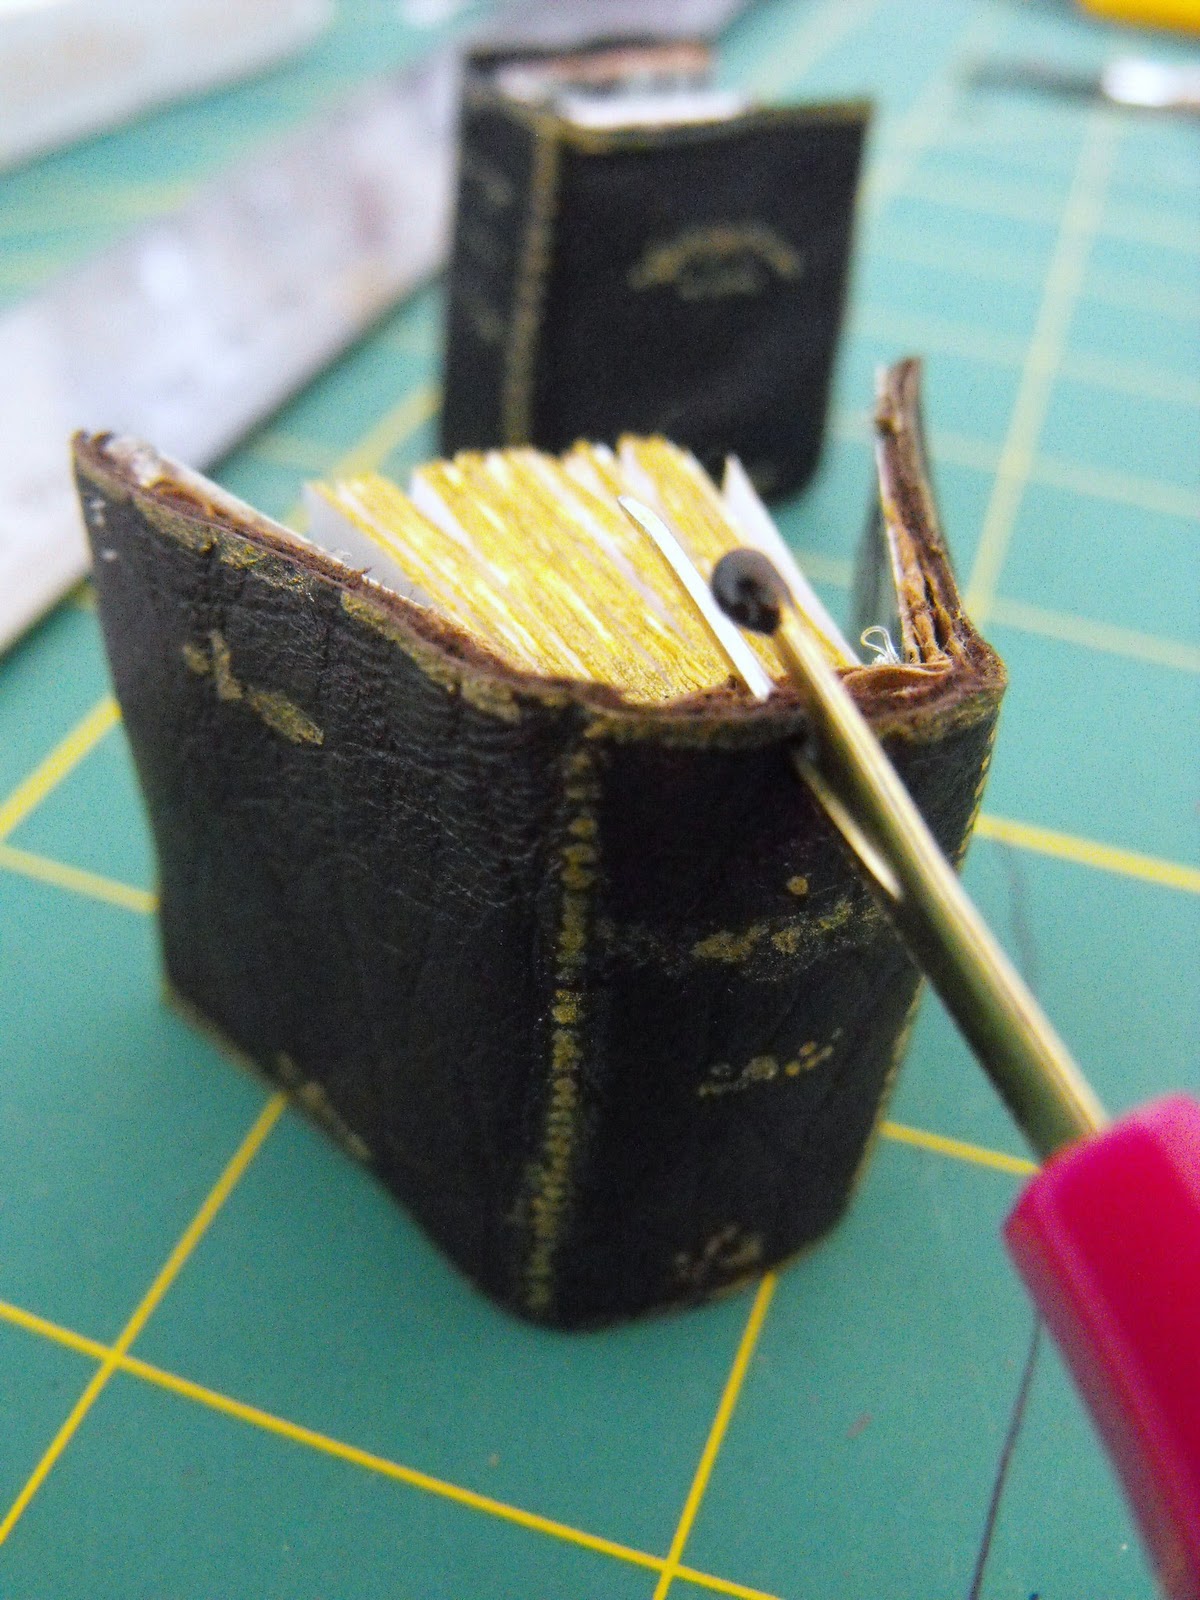
12. Punch a hole through the cover preferably with a needle and leaning on a Yellow pages, making sure you also go through the cardboard (take it easy, I missed first time eek),add an O ring then put one or two on a chain, and wear them.


Easy peasy tutorial, I made loads at the same time