
What you need
4×4 Wood block
Craft Paint
Foam Brush
Craft wire
Needle Nose Pliers
Vinyl or Die Cut letters
Sand Paper
Instructions
Start by marking your holes for drilling on the top side of the block. You will want them to be at least 3-4 inches apart and if your block is as long as mine (10 inches) you will want roughly 3 holes, one in front and 2 in back for the wire. Using a smaller drill bit, drill all hole about an inch deep in the block.
Next Paint all sides of the block, even the bottom and set aside to dry.
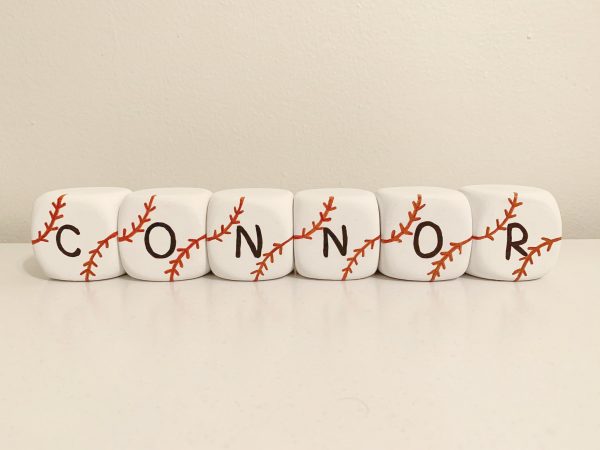
Once the paint is dry, lightly sand edges (optional) with a small piece of sandpaper or hand sander. With a slightly damp towel, wipe any dust remaining off of the block to prepare for vinyl lettering. Add vinyl using a squeegee or card, or if you use die cut letters apply lettering using Mod Podge and set aside to dry.
Then, cut wire roughly 7 inches long to leave enough length for curling (this is what holds the picture in place so you want enough wire to curl the ends at least 3 times). After all 3 wires are cut set aside and spray block with glossy finishing spray (optional).
Last, insert wires into block using pliers to curl the end of the wire.
Now your cute little block is ready to display your favorite pics!


I can not wait to make these for Christmas presents!!!!!! I saw them on a website called Listia that I got out bid on and really wanted to make these. I love the Craftbits web site and glad I get your emails. Kepp up the good work. Thanks Judy