
What you need
Fabric, Leather scrap, Sewing Machine, white felt, yellow felt, 2 black buttons, 7″ zipper
Instructions
1. Cut out 4 6.5″ squares from your patterned fabric. 2 of these will be the lining, 2 the outside.
Cut a 6.5″x3.5″ half circle from your leather scrap. You can also use a different material for this, like felt or fleece.

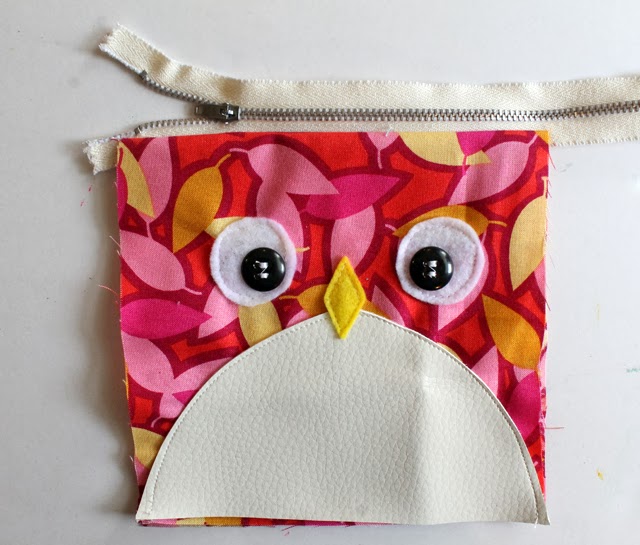
2. Cut out 2 white circles from felt, about .5″ larger than your buttons. Cut out a small yellow diamond from felt for the beak. Lay them out on to the front of one of your fabric squares with the half circle.

3. Stitch the owls features down. I just used a simple straight stitch to stitch everything down.

4. Lay your zipper face down onto the main fabric piece (with the face) so that they are right sides together and the zipper should be lined up with the edge.

5. Sew them all together by stitching a straight line down the edge, going through both fabric pieces and the zipper.
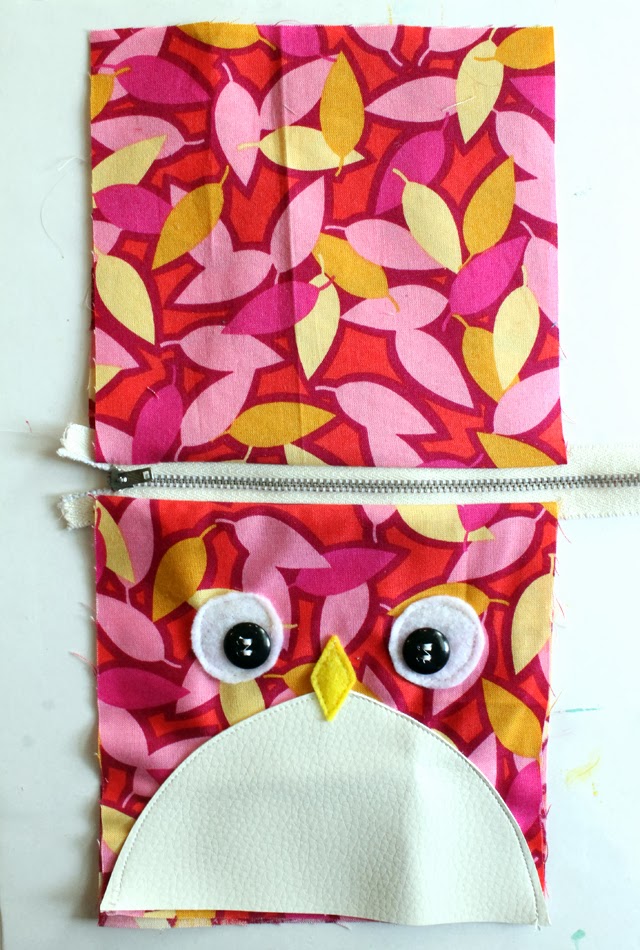
Now fold the lining over, and then around to the back. You want to have the wrong sides of both the lining and main fabric touching.

6. You want to repeat the last 2 steps with the other 2 pieces of fabric. Place the opposite edge of your zipper (opposite edge from where you already sewed it to fabric.) face down onto your other main fabric piece, and place your other lining piece right side down on top. Stitch down the edge, sewing through the fabric, lining and zipper.
Fold it open like you did with the first pieces.
7. Now you want to have the main fabric pieces right sides together and the lining right sides together.


9. Flip it right side out through the opening. Iron it flat, and stitch the opening closed.

10. Stuff the lining down inside of the pouch and you’re done!


I just taught a beginning sewing class where we did a simple zipper pouch. This one is so much more sophisticated and fun, and just as easy to do!
Very cute,easy, grandsons will love it.
I think it is a terrific idea!
It’s very cute and easy.