
What you need
To make this egg art frame you’ll need:
1. Foam board
2. X-acto knife
3. Craft glue
4. Pencil and ruler
5. Colorful buttons
Instructions
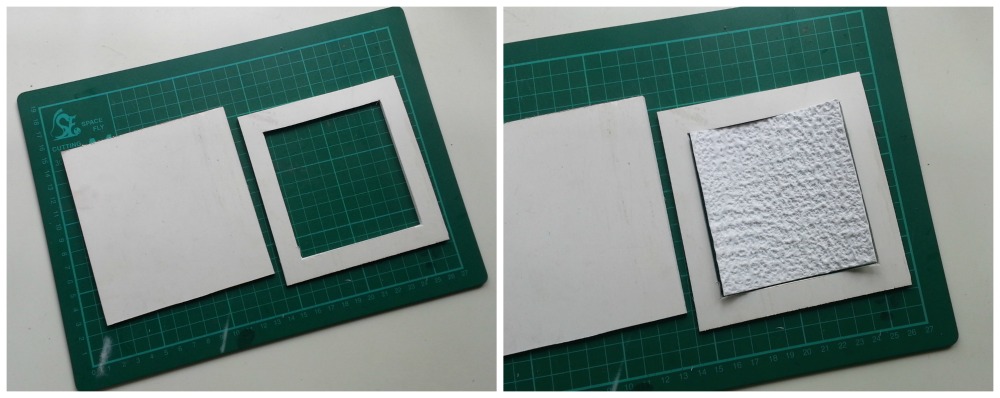
Step-1: Cut a square piece from the foam board according to the required frame size (including border and canvas). Mine was 13 X 13 cm. Now cut out a border for the frame from the foam board. keep the border thin, not more than 2 cm. I’m using white embossed paper for the canvas background. Cut out an embossed paper according to the canvas size.
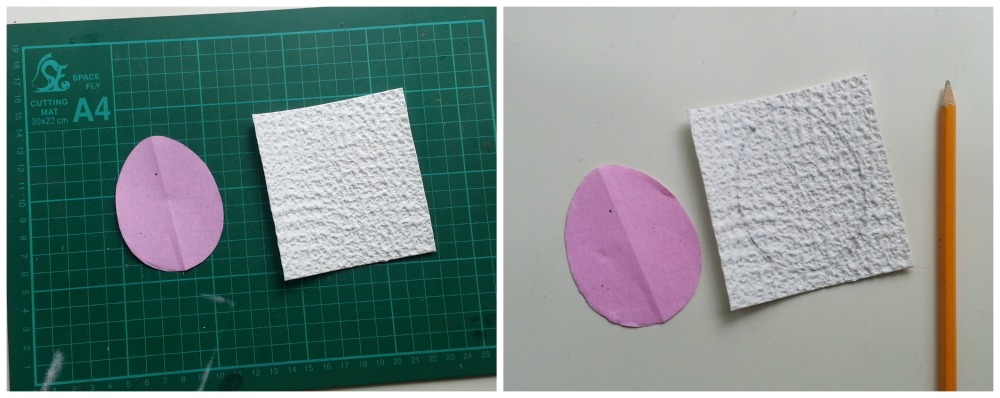
Step-2: Draw a simple egg pattern on a piece of paper. The egg size should be appropriate for the canvas, which means that there should be at least 1 cm space around the egg. Place the egg template on the embossed paper and trace the side with a pencil.
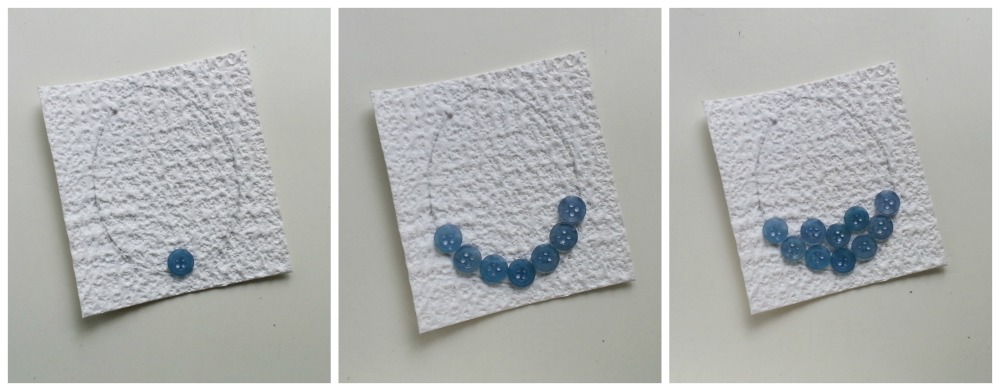
Step-3: Select the buttons you want to use for the art. The buttons should be relatively of the same size and the color pattern should be nice as well. I’m using blue, purple and pink buttons. Start from any one side, I started from the bottom. Apply a drop of glue on the back side of the button and place it on the traced eggs edge. Try tracing the bottom edge first. Fill the traced area with the particular colored buttons.
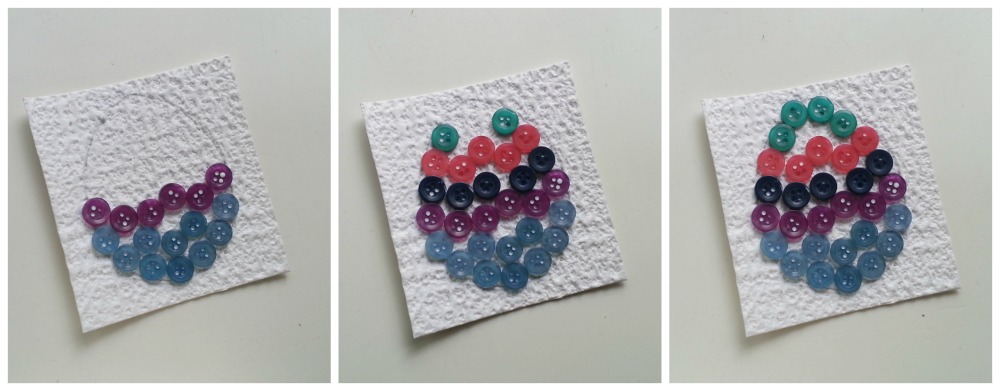
Step-4: Take a different color once you’re done using 1 color. Glue the buttons and move upwards. Remember to trace the sides first and then fill the egg. After reaching the other end of the egg glue buttons around the top edge instead of filling it from the bottom.
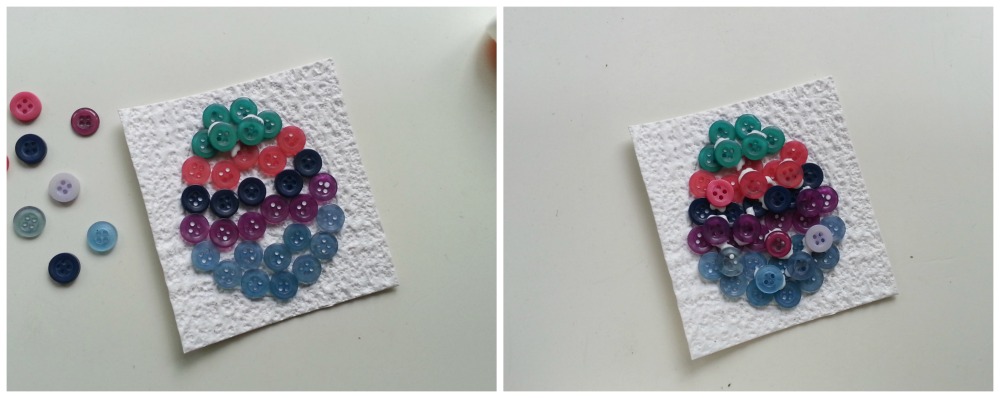
Step-5: Now use buttons to fill the gaps between the buttons. I tried to fill the big gaps instead of filling all the gaps between the buttons. Allow the glue to dry once you’re done adding the buttons.
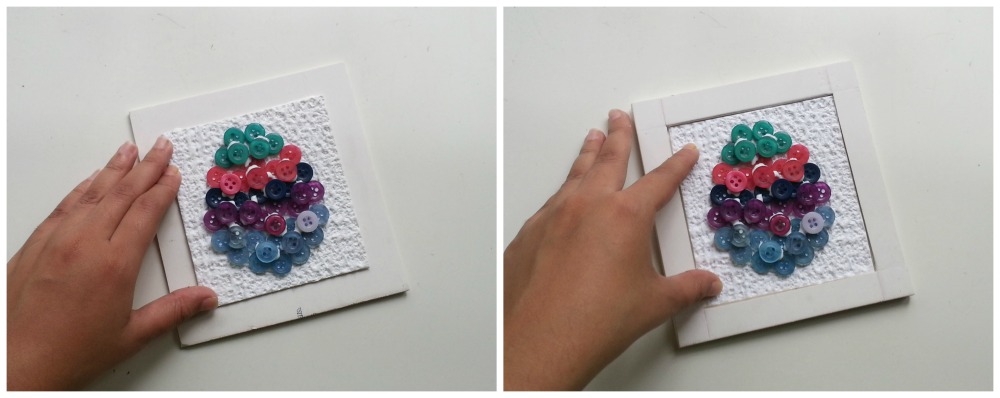
Step-6: Now glue the embossed paper on the base foam board piece. And then glue the border foam board piece to complete the frame. Press the border and the embossed paper against the base to make sure that they’re glued nicely.
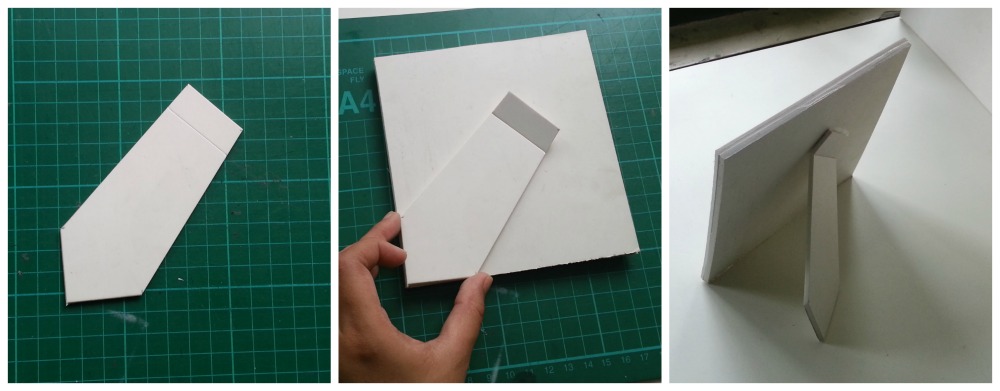
Step-7: For the stand cut out a basic tie shaped piece from the foam board. Make a half cut along the top 1 cm part of the stand and make a bend on it. Glue the 1 cm part of the stand on the back side diagonally by keeping ita corner matched with the corner of the frame. Allow the glue to dry.
Wasn’t that easy! Enjoy crafting one!


What do you think of this project? Let us know!